All orders placed between 5/3/2026-5/10/2026 will ship on 5/11/2026!
If you follow me on IG (and if you aren’t, you should) you have probably seen my latest obsession: the Pollinate Quilt. I'm obsessed with everything about this quilt. The pattern...amazing. The fabrics...so beautiful I can't stand it. The challenge of learning a new skill...I seriously can't get enough. It is all I want to talk about right now.
So, that's what a blog is for, right?
I thought it would be fun to share more about my journey into English Paper Piecing as I learn this new skill and make the Pollinate Quilt. And so, the blog series, Adventures in EPP, was born. I'll be sharing what I learn, what works (and what doesn't), and just generally talking about how much fun I'm having with it.

What is EPP? It stands for English Paper Piecing. It is a method of hand sewing that allows for incredibly accurate and intricate piecing. Starting with a paper template, fabric is wrapped around the template and secured using either glue or thread. Then the shapes are sewn together by hand. Sounds simple enough, right? Probably the most common EPP shape is the hexagon.
When I first bought the Pollinate Quilt pattern it sat in a drawer for a month. I felt really overwhelmed and I didn't have any idea where to start. So, I didn't. November rolled around and the pattern designer (Kitty Wilkin, @nightquilter) hosted a progress party on IG for everyone to share their quilts.
I can't resist a good IG party! I pulled my pattern out of it's drawer and started playing fabric choices. Once I nailed down my fabric choices for the first rosette, I was finally ready to turn off the video tutorials and get started. Buuuuuut, I realized I didn't have the necessary supplies...like hand sewing needles.
I was so busy watching videos on how to sew my shapes together, how to tie a quilters knot, and playing with various fabric options that I had completely forgotten I might need other tools and notions that I didn't already have. Oops.

I read several blogs about "must have tools and notions for EPP" and started making a list. Some things were on every list (like Sewline Glue Pens) which made it easy to add them to my Amazon cart. Other things were a little more confusing because they seemed to be personal preference of the person writing the list.
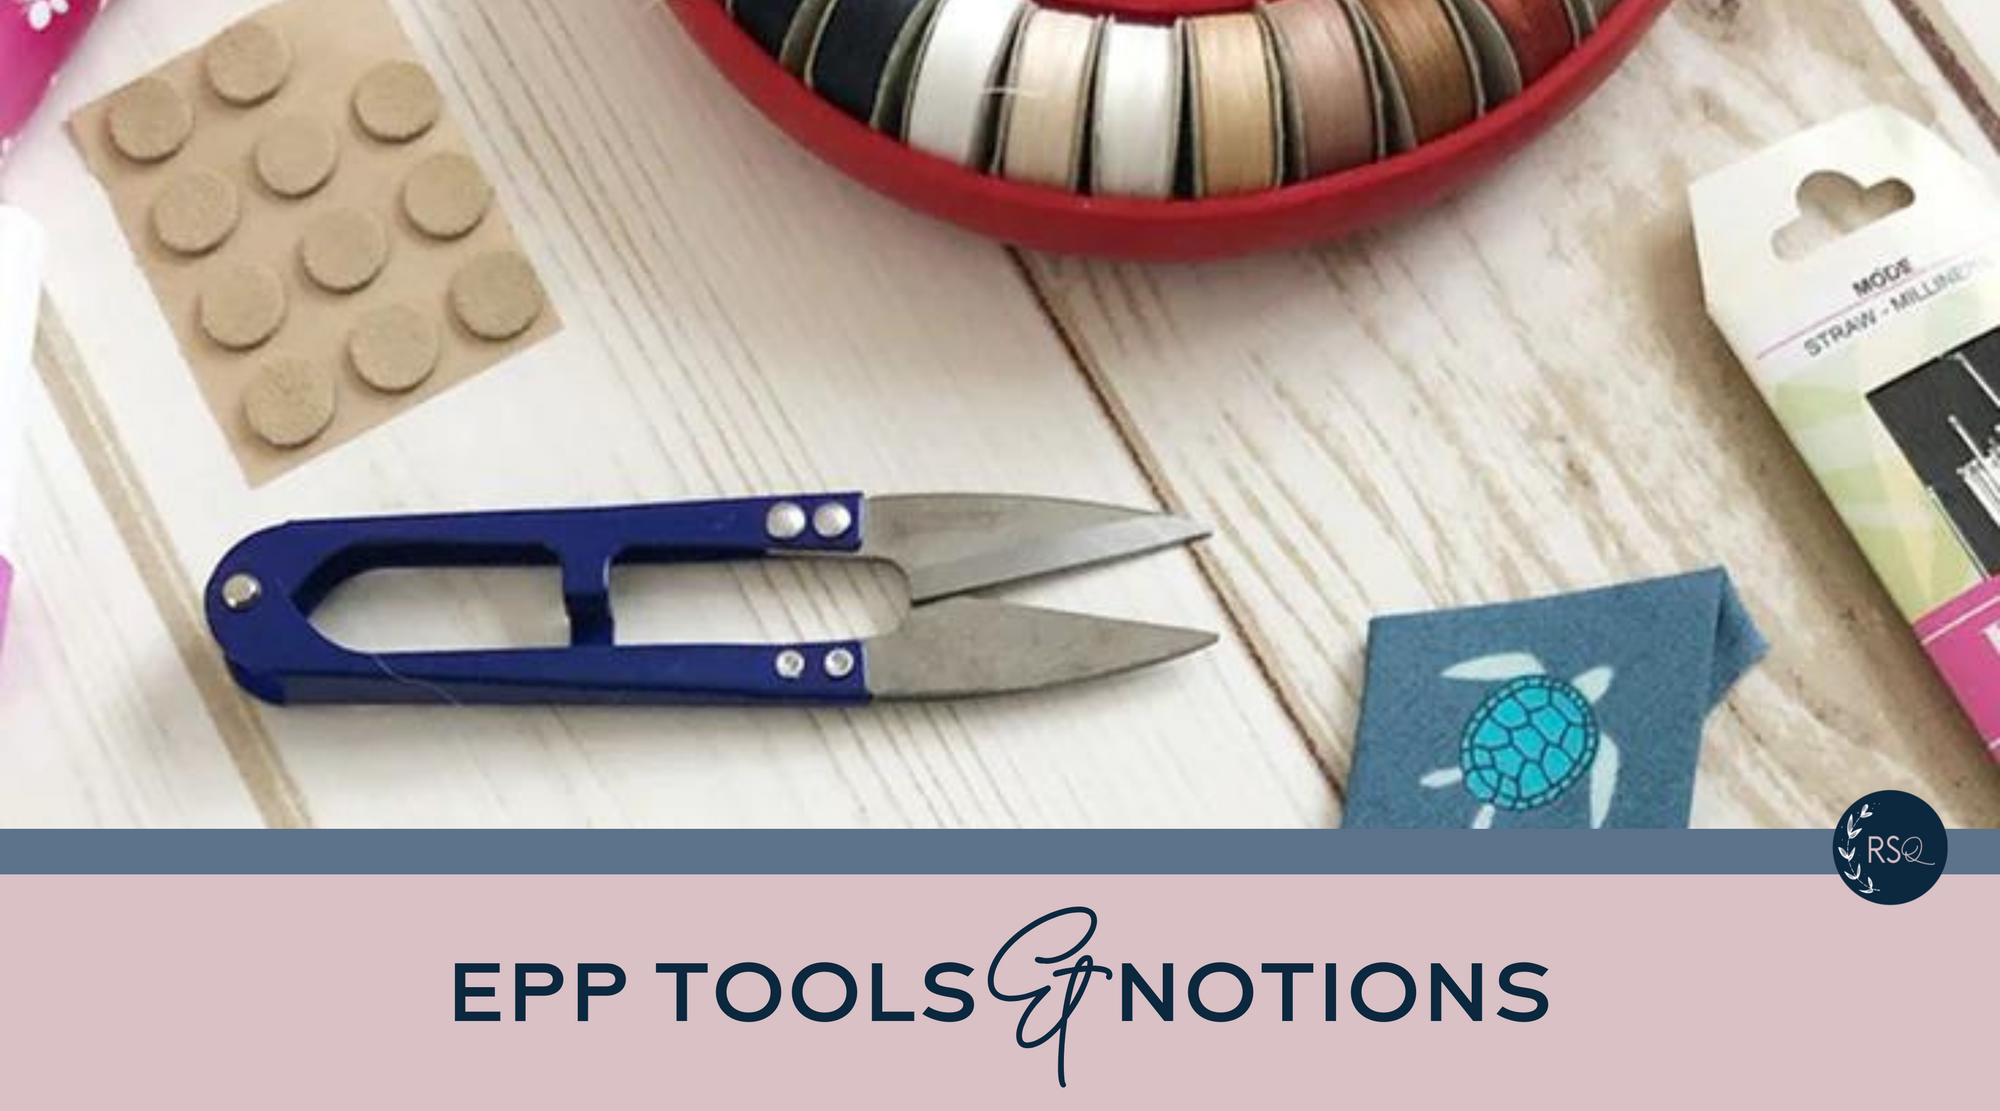
If you are like me and are wanting to start learning EPP, here are the tools and notions I went with and how I have liked them so far:
Sewline Glue Pens and refills - I think every single list I read included these. It was a no brainer to order them, and so far, they have worked beautifully. My fabric stays attached to the template, and I was able to remove the paper template easily. One last thing about the glue pens, I can't remember where I read this tip, but keeping the glue pen and refills in the fridge helps with finer application of the glue.
Millner needles - this is one I went back and forth on. Do I get a thicker needle that is sturdier or a thinner needle that pokes smaller holes in the fabric? What brand is best? I went with these. So far, I've bent both needles I've used. Maybe its something I'm doing wrong, or maybe it's the needle, but I think I will buy the next size up when I order again.
SuperBob's Bottom Line Thread - in quilting, I use 100% cotton thread. One of the comments I saw repeatedly was that cotton thread is more likely to shred as it is passed over the paper template repeatedly. Superior Threads Bottom Line thread was probably the most recommended option. I'm really happy with this purchase. I have every color I could possibly need, and the thread is really fine, but I haven't broken it once.
Thimble - several people recommended the thimble pad! Like the glue pens, it was a no brainer option for me. Now that I've used it, I have to say, I don't love it. I will be looking for a more standard thimble. When I first tried it, I had to reposition it several times. Then, after a while, the thimble pad kept siding around my finger. While it gets the job done, it is annoying. I have ordered this leather thimble, and I will report back!
Wonder clips - to hold the pieces in place as you stitch. This is more useful than you think. I didn't bother at first, and had to rip out my stitches and redo them because the pieces shifted ever so slightly. Chalk that up to a lesson learned the hard way.
Embroidery scissors - there are lot of threads to cut. This is a no brainer. I didn’t buy anything new, I used what I already had
Needle/Thread holder - I've been putting my used, still threaded needle back in the little paper envelope they come in - which has worked fine, but I do think this would be handy though.
Smaller rotary cutter - while my regular 45mm rotary cutter get the job done, I would like a smaller one that cuts around the templates easier.

I have the center of my first Pollinate Quilt rosette stitched together. One issue I've noticed is that my pieces are fitting together a tad too snug which is causing some puffiness in the center of the rosette. I suspect I'm stitching too much of the fabric together making the pieces just a hare to small which starts to add up as the quilt gets bigger.
My goal for this next row of pieces is to make sure I'm only getting the very edge of the fabric. Then we'll see how it looks! Luckily, I've caught my errors early enough on that I don't think it will negatively impact the quilt as a whole. Fingers crossed, anyway!

This post contains some affiliate links. Thank you for supporting Running Stitch Quilts!


