June 08, 2021 0 Comments
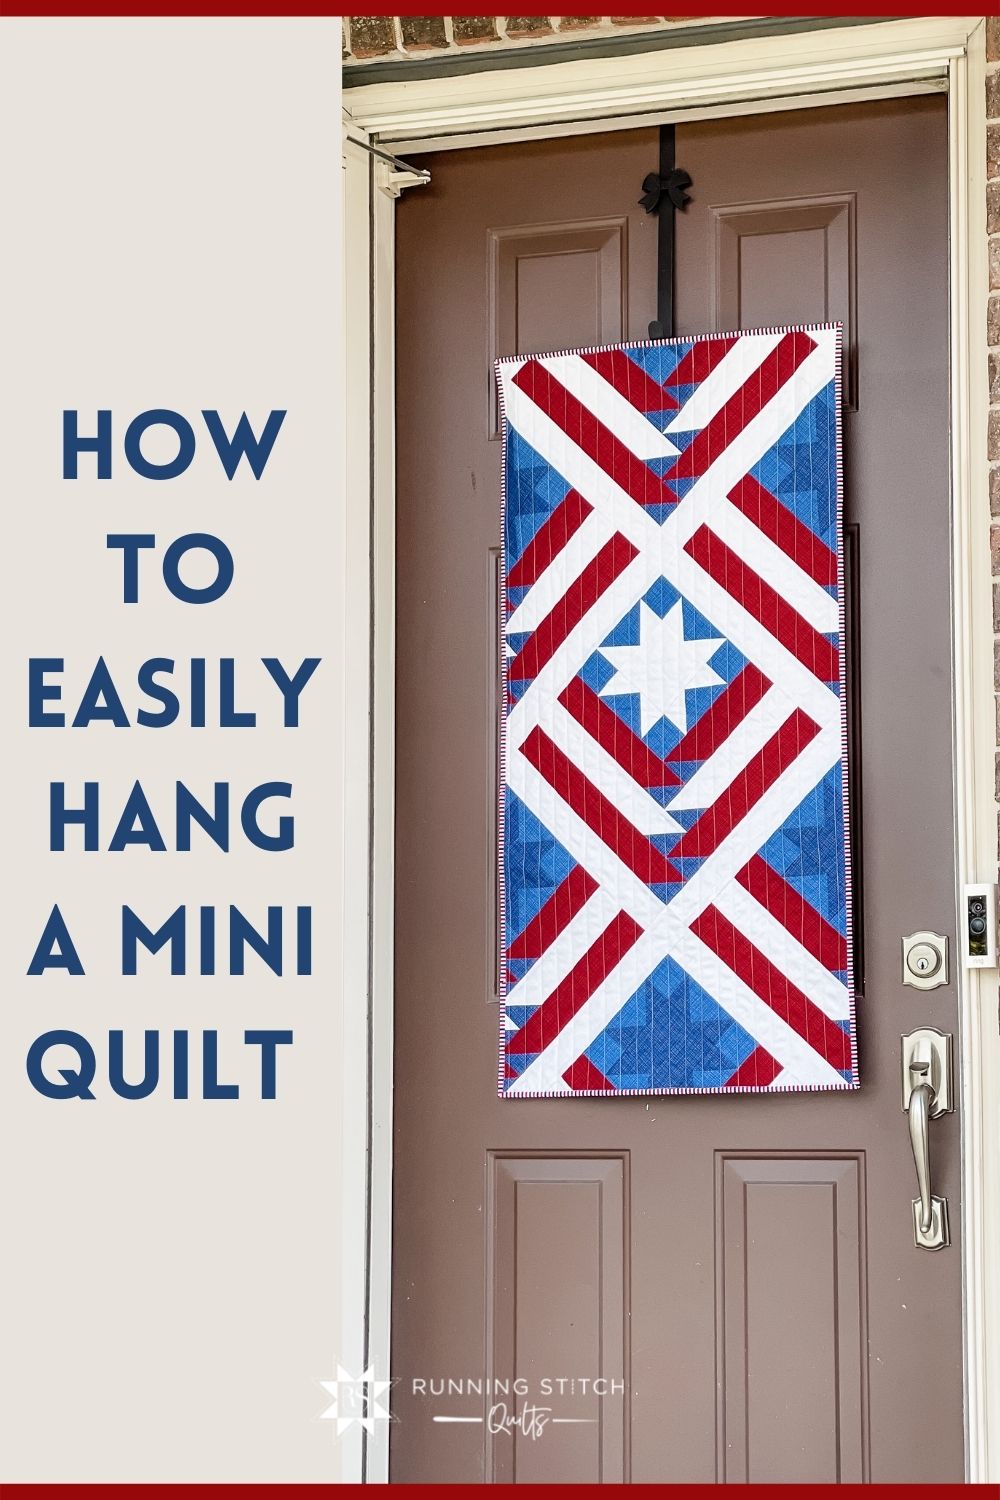
When I got the opportunity to sew something with these gorgeous Riley Blake Designs basics, I knew I had to make a Mountain Valley wall hanging. I modified the pattern slightly to get a flag effect, and I love the end result so much!

The Riley Blake Designs basic, Textured, is one of my favorites. It has subtle depth without being over the top about it. I'm using Navy, Barn Red, Denim, and Cream.


I knew I was going to want to hang this when I was done, so I went to my old mini quilt hanging method standby: corner tabs.
Using corner tabs is my favorite way to easily hang a mini quilt on the wall that will not be seen from the front. The tabs get sewn into the binding making it a permanent solution. Then all you need to do is pop in a small dowel rod and hang the rod on a couple of command strips. See, so easy!

Couple housekeeping things: this method is best for smaller quilts (think less than 24 inches or so). For a quilt wider than 24 inches, I would probably make a hanging sleeve. The quilt also needs to be unfinished. If the binding is already attached, an alternative method (like a hanging sleeve) is more appropriate.
- Quilted Wall Hanging - quilted, but no binding yet!
- (2) 5" squares of coordinating or matching fabric
- Binding
- Dowel Rod (I used a 1/4" dowel rod that I got from Home Depot. I've also seen them at Hobby Lobby)
- Command Hooks

1. Fold 5" square diagonally into a triangle and press.


2. On the back of the quilt, place one triangle in each corner on the top edge. Pin in place.


3. Bind quilt as usual. I attach my binding to the front, fold it over to the back, clip in place, and stitch the ditch from the front to sew it down.


4. The triangles are now corner pockets that will hold a dowel rod.

5. Attach command hooks to the wall.

6. You might need to cut your dowel rod down to size. I did! Hang the dowel rod on the command hooks and admire your new wall hanging!


