All orders placed between 5/3/2026-5/10/2026 will ship on 5/11/2026!
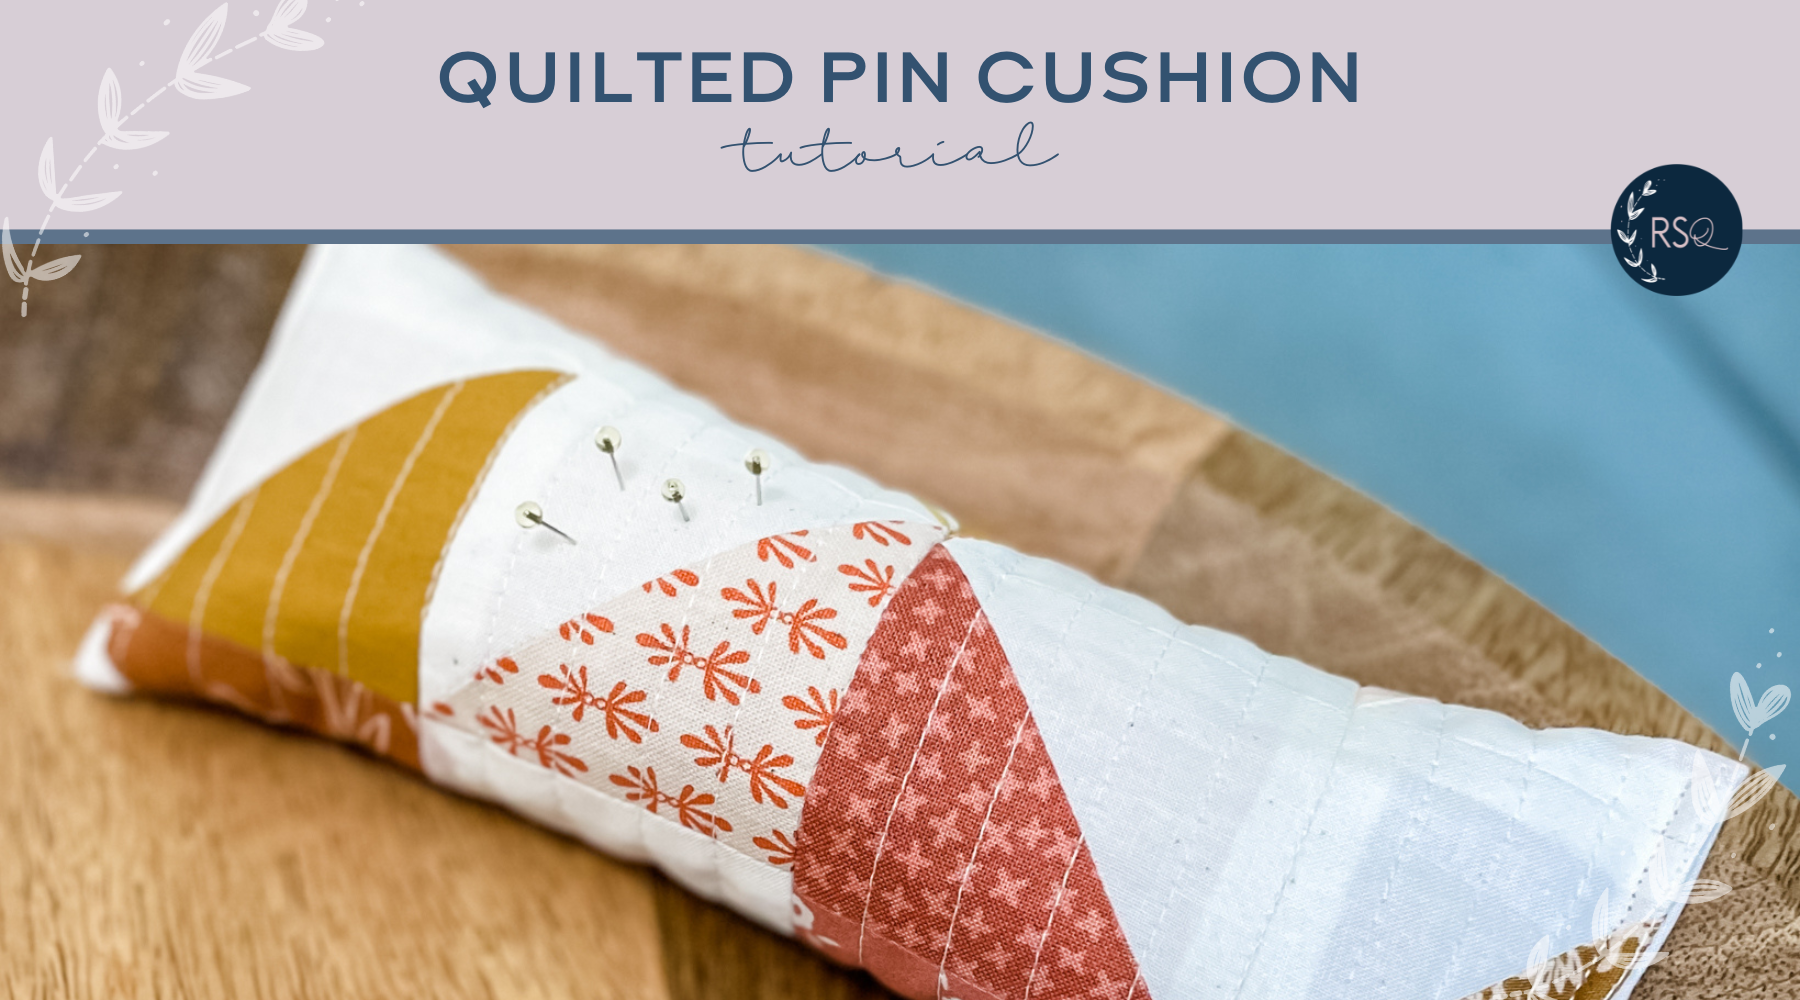
I've been wanting a new (long and skinny) pin cushion to keep next to my sewing machine. I had a few leftover HSTs from my Scrappy Hurrication quilt, so I made one really quick. I took some pictures of my process so you can make one too!
Because pin cushions are so small and can be made so quickly, these are a great way to use up small scraps!

1. Sew scraps together to make at a panel that is 7" x 9". Place the panel right side up on top of lining fabric. The lining fabric will be inside the pin cushion and wont get seen. So it doesn't have to be anything fancy.

2. Quilt as desired. I did straight lines approximately 5/8" apart.
3. Trim panel down to 6.5" x 8.5".

5. Fold in half wrong sides together and sew a 1/4" seam.

6. Now it will look like a tube. Press seam open, centering the seam in the middle of the tube.

7. Sew a 1/4" seam on ONE end of the pin cushion tube.

8. Turn pin cushion right side out. Use a stiletto or butter knife to help push out the corners.

9. On the open end, fold the edges under approximately 1/4", press, and clip in place. I like to do this before I add the filler because it is a little easier to work with at this stage.

10. Using the small funnel, add the filler. I massaged the bottom of the bag in between pours to help distribute the filler down evenly, and to make sure it got into the corners at the bottom.

11. When full, use clips to hold the edges together. Carefully sew edge closed backstitching at the beginning and end.

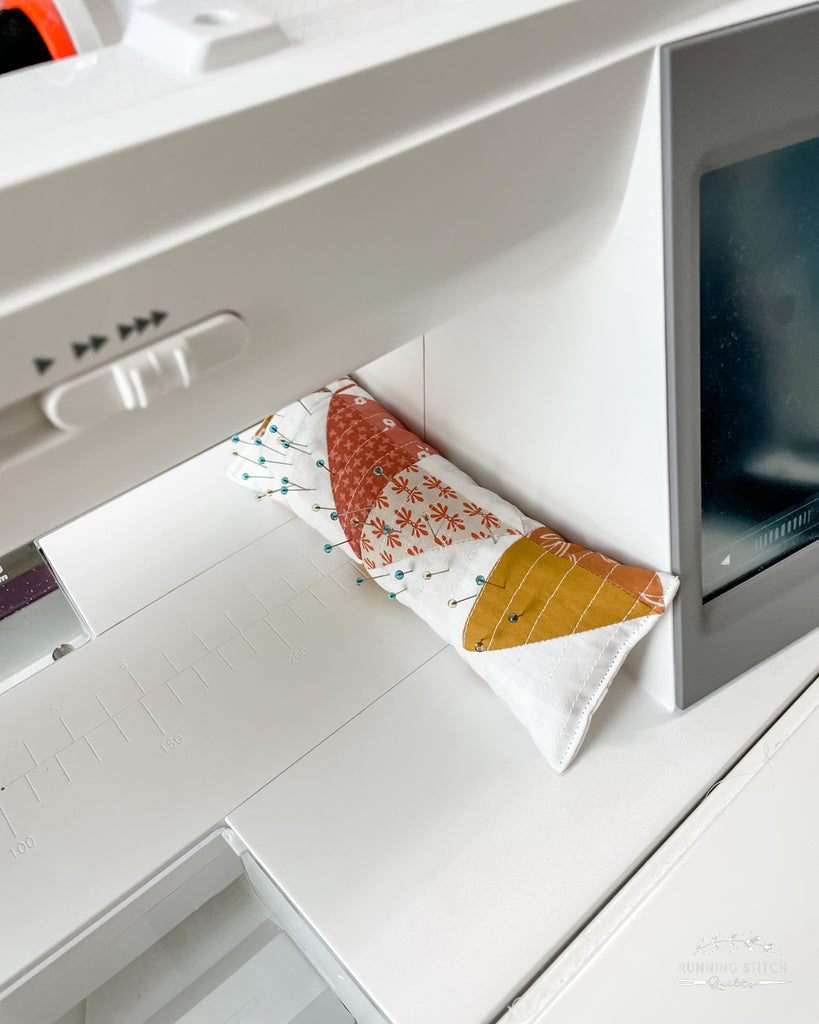
12. Fill with pins!!