All orders placed between 5/3/2026-5/10/2026 will ship on 5/11/2026!
Log in
Cart (
0
)
Checkout
HOME
IMPROV
SHOP
PDF Patterns
Printed Patterns
Book
Fabric
Quilt Kits
Fabric Bundles
Backing Fabric
Fabric Destash
Notions & Gifts
Handmade Quilts
BLOG
Scrap Management
Tutorials
Color Inspo
ABOUT
WHOLESALE
CONTACT
LOGIN
HOME
IMPROV
SHOP
PDF Patterns
Printed Patterns
Book
Fabric
Quilt Kits
Fabric Bundles
Backing Fabric
Fabric Destash
Notions & Gifts
Handmade Quilts
BLOG
Scrap Management
Tutorials
Color Inspo
ABOUT
WHOLESALE
CONTACT
LOGIN
advice
Home
Blog
June 2024 Color Inspiration
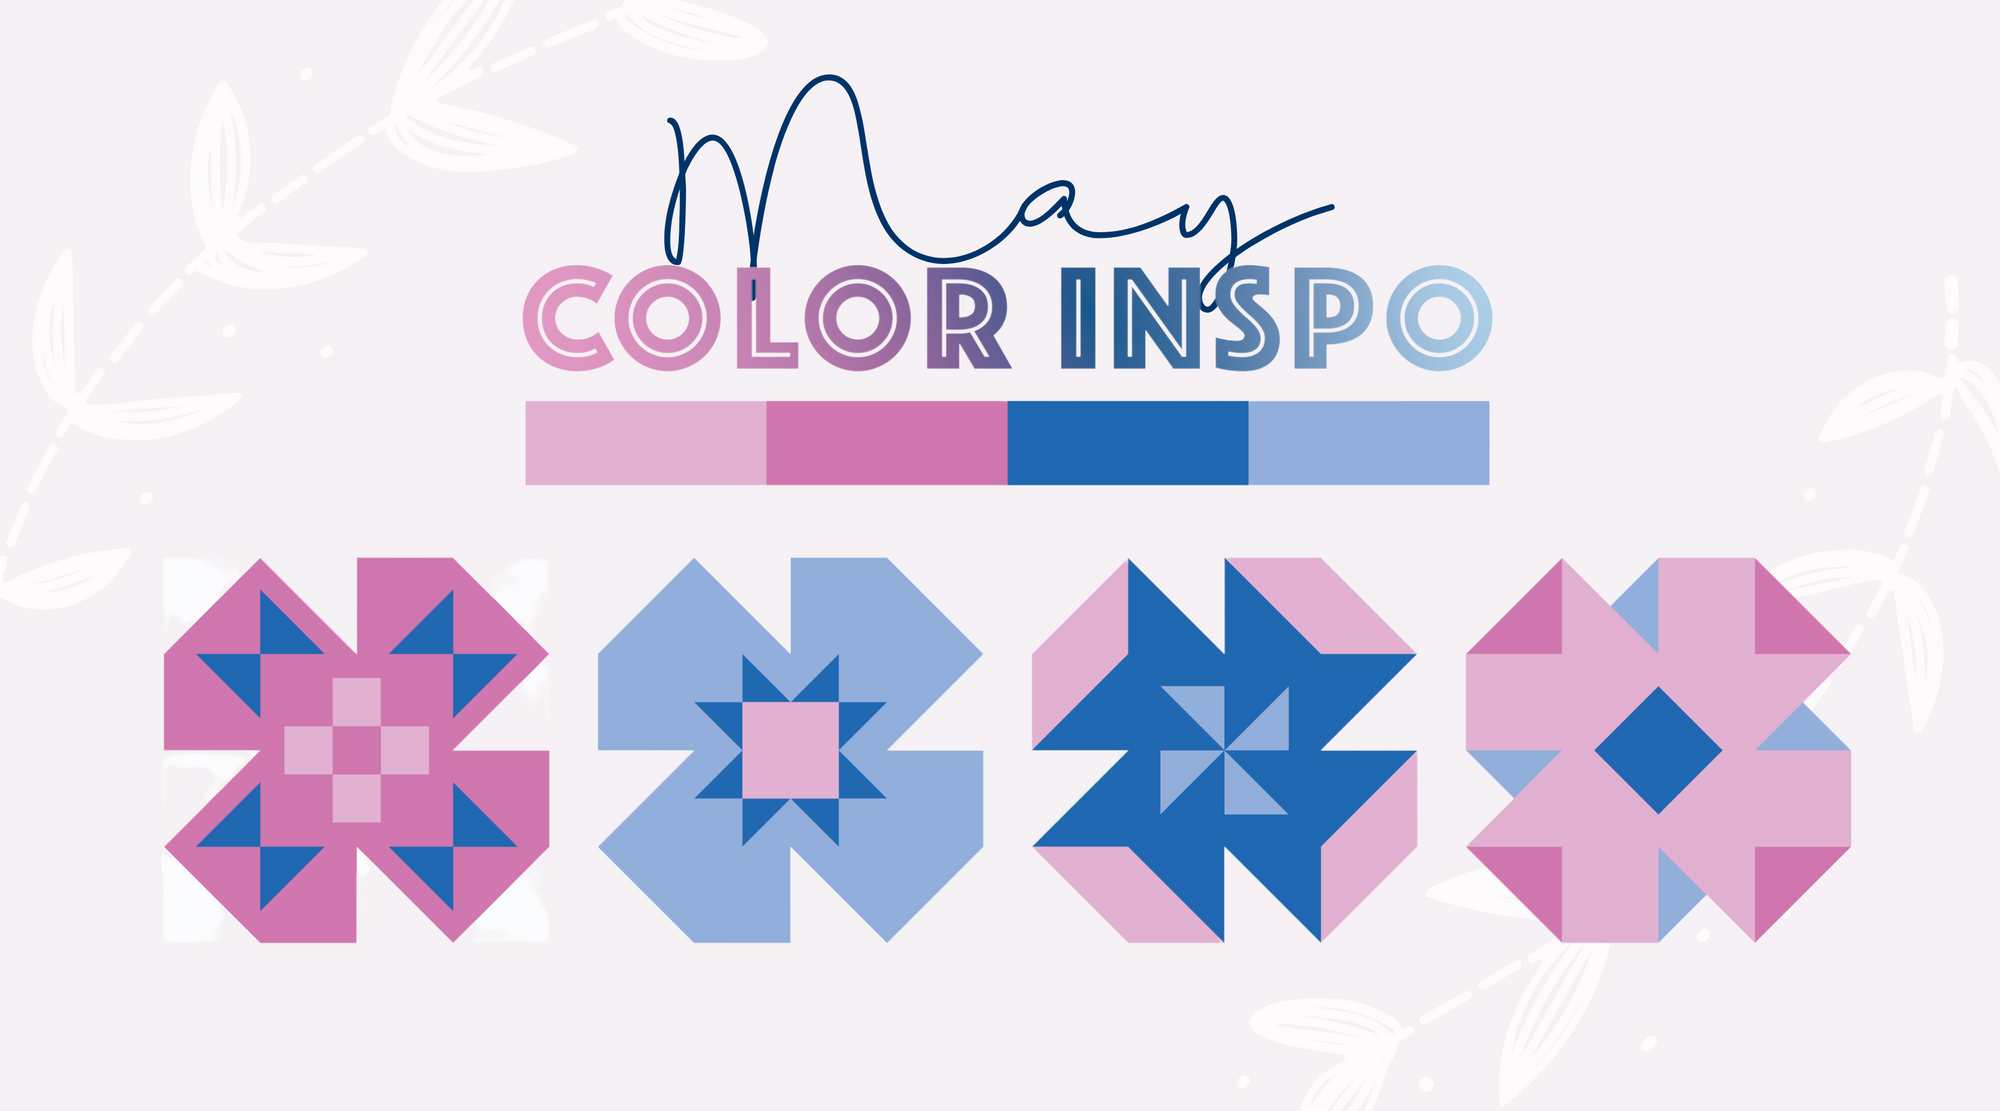
May 2024 Color Inspiration
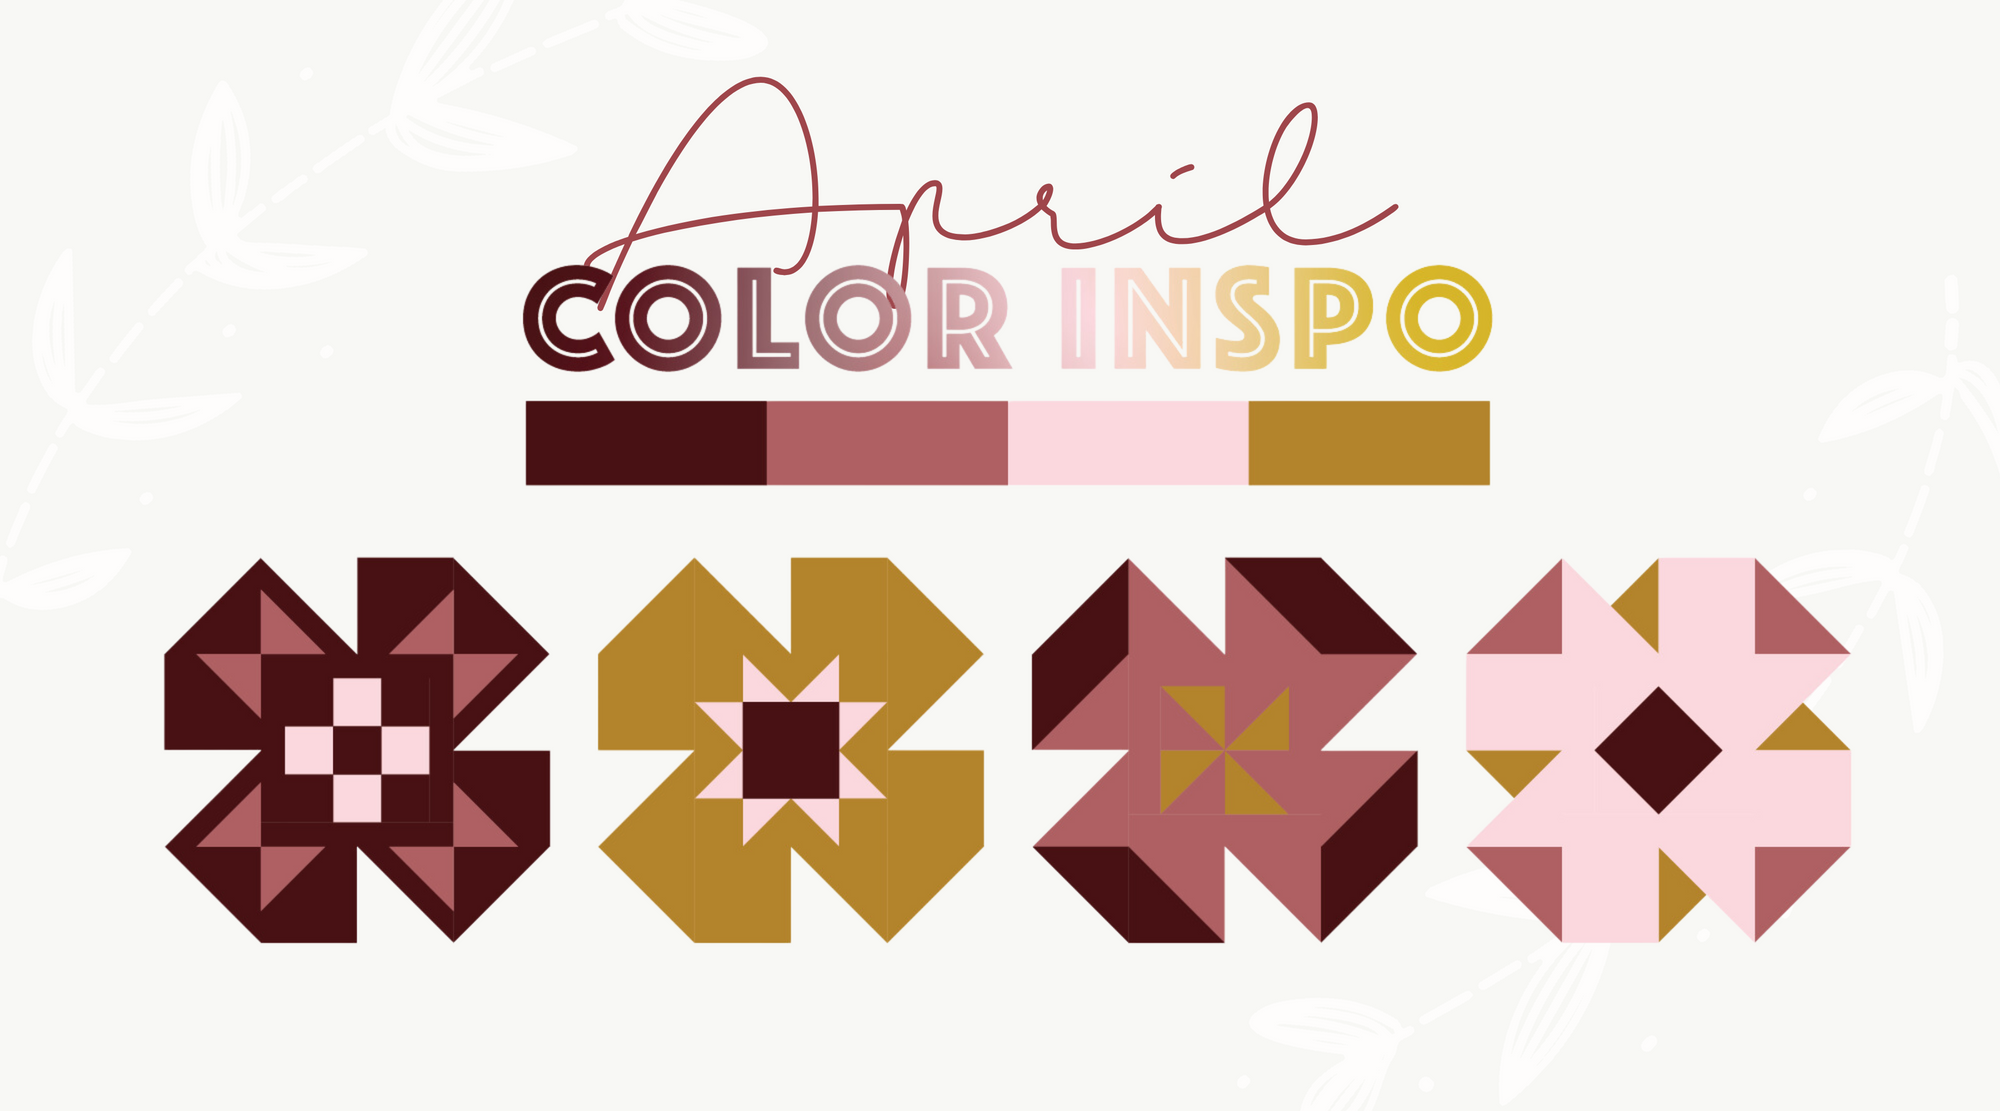
April 2024 Color Inspiration
March 2024 Color Inspiration
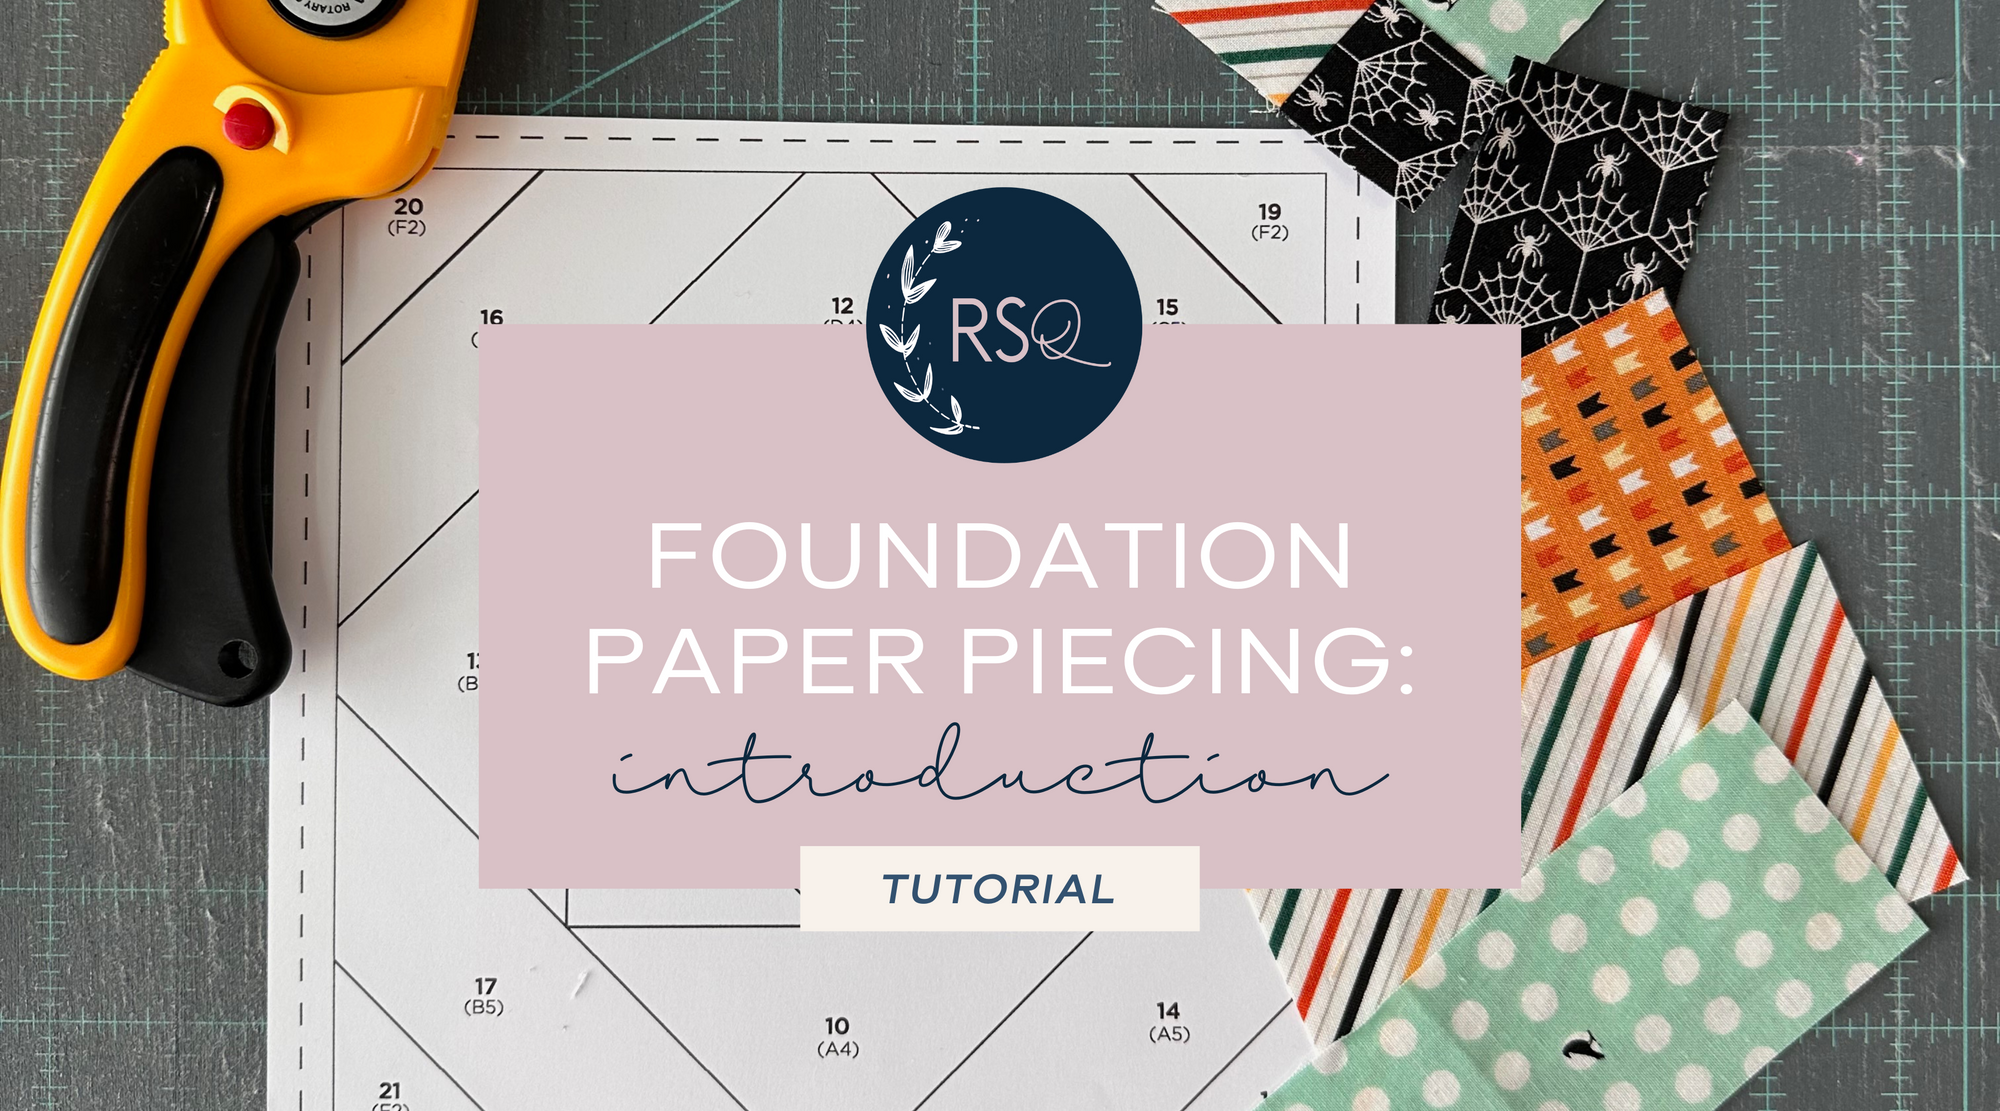
Foundation Paper Piecing: A Quick Intro
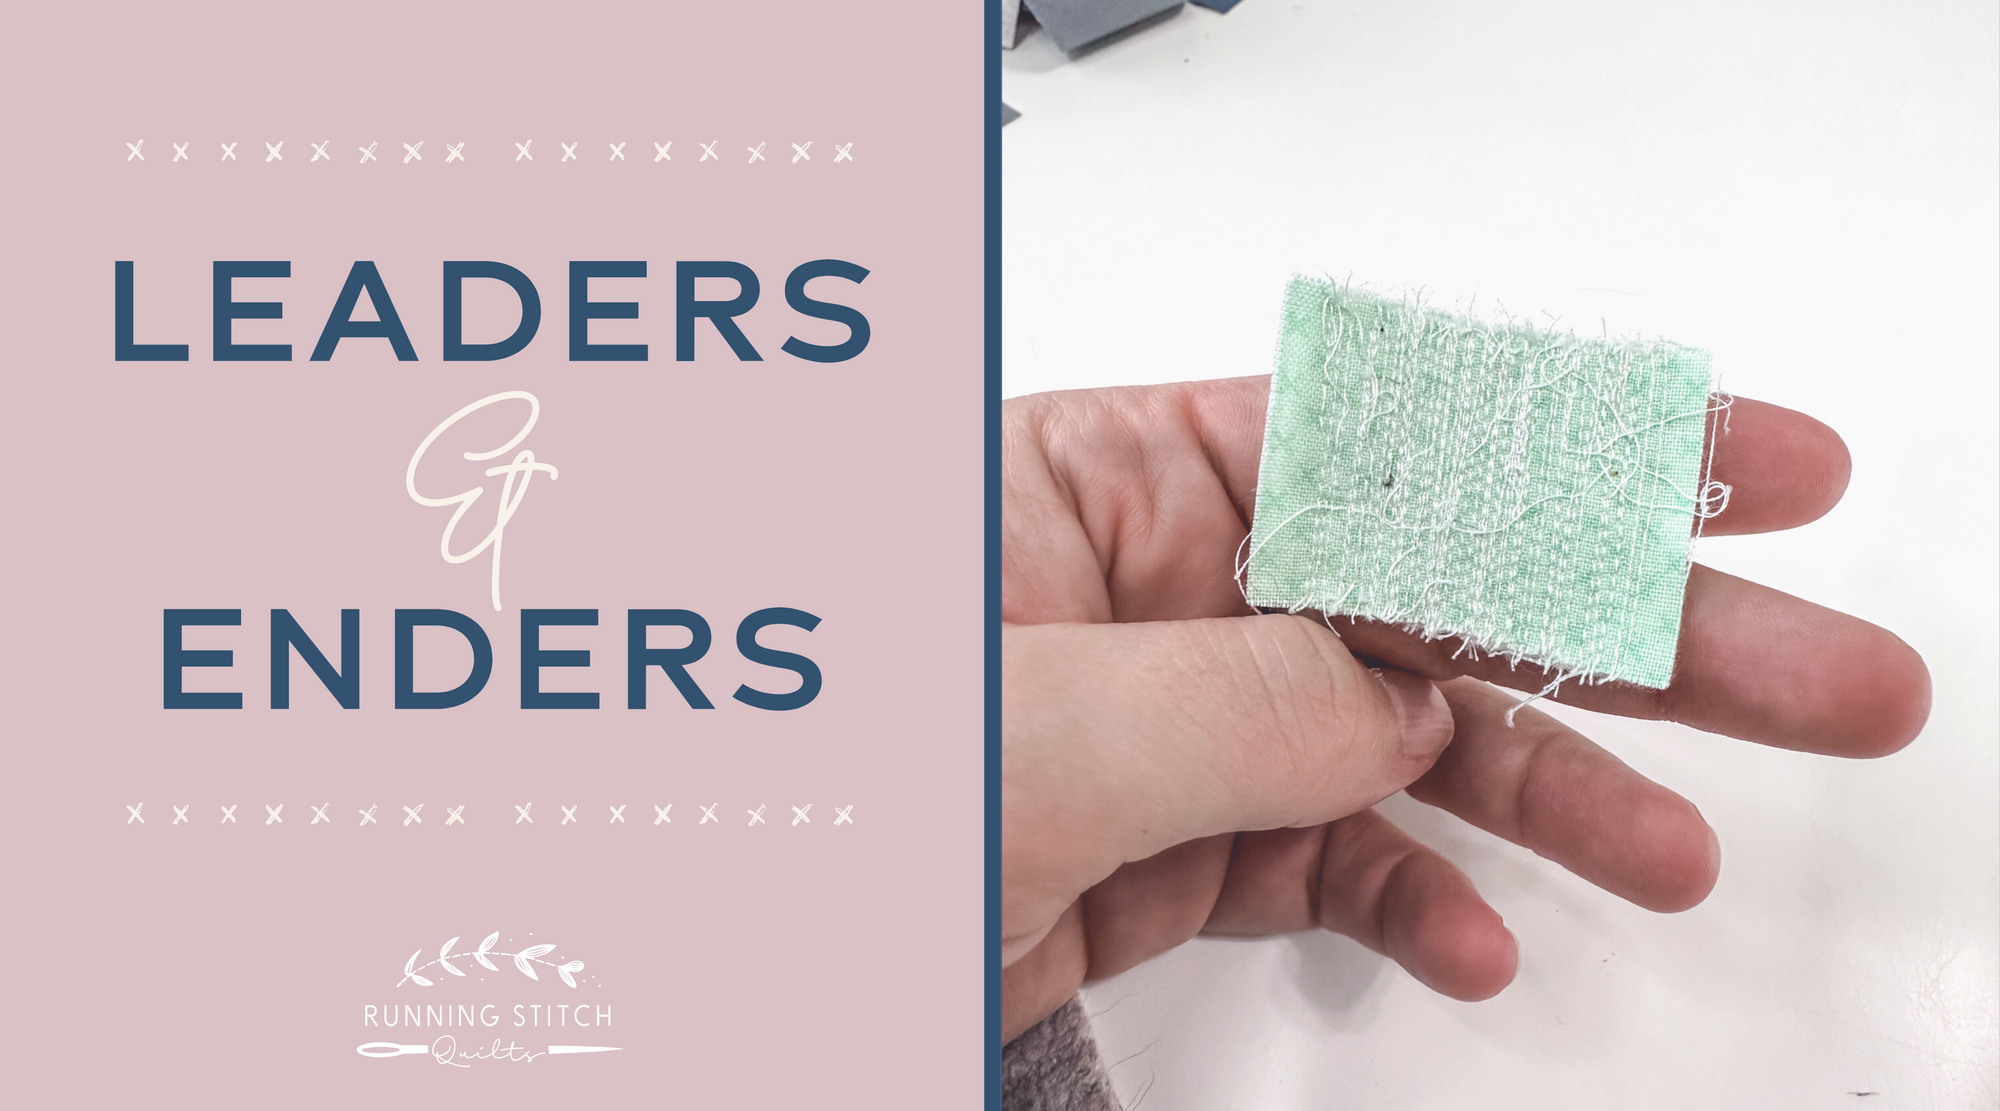
Leaders and Enders
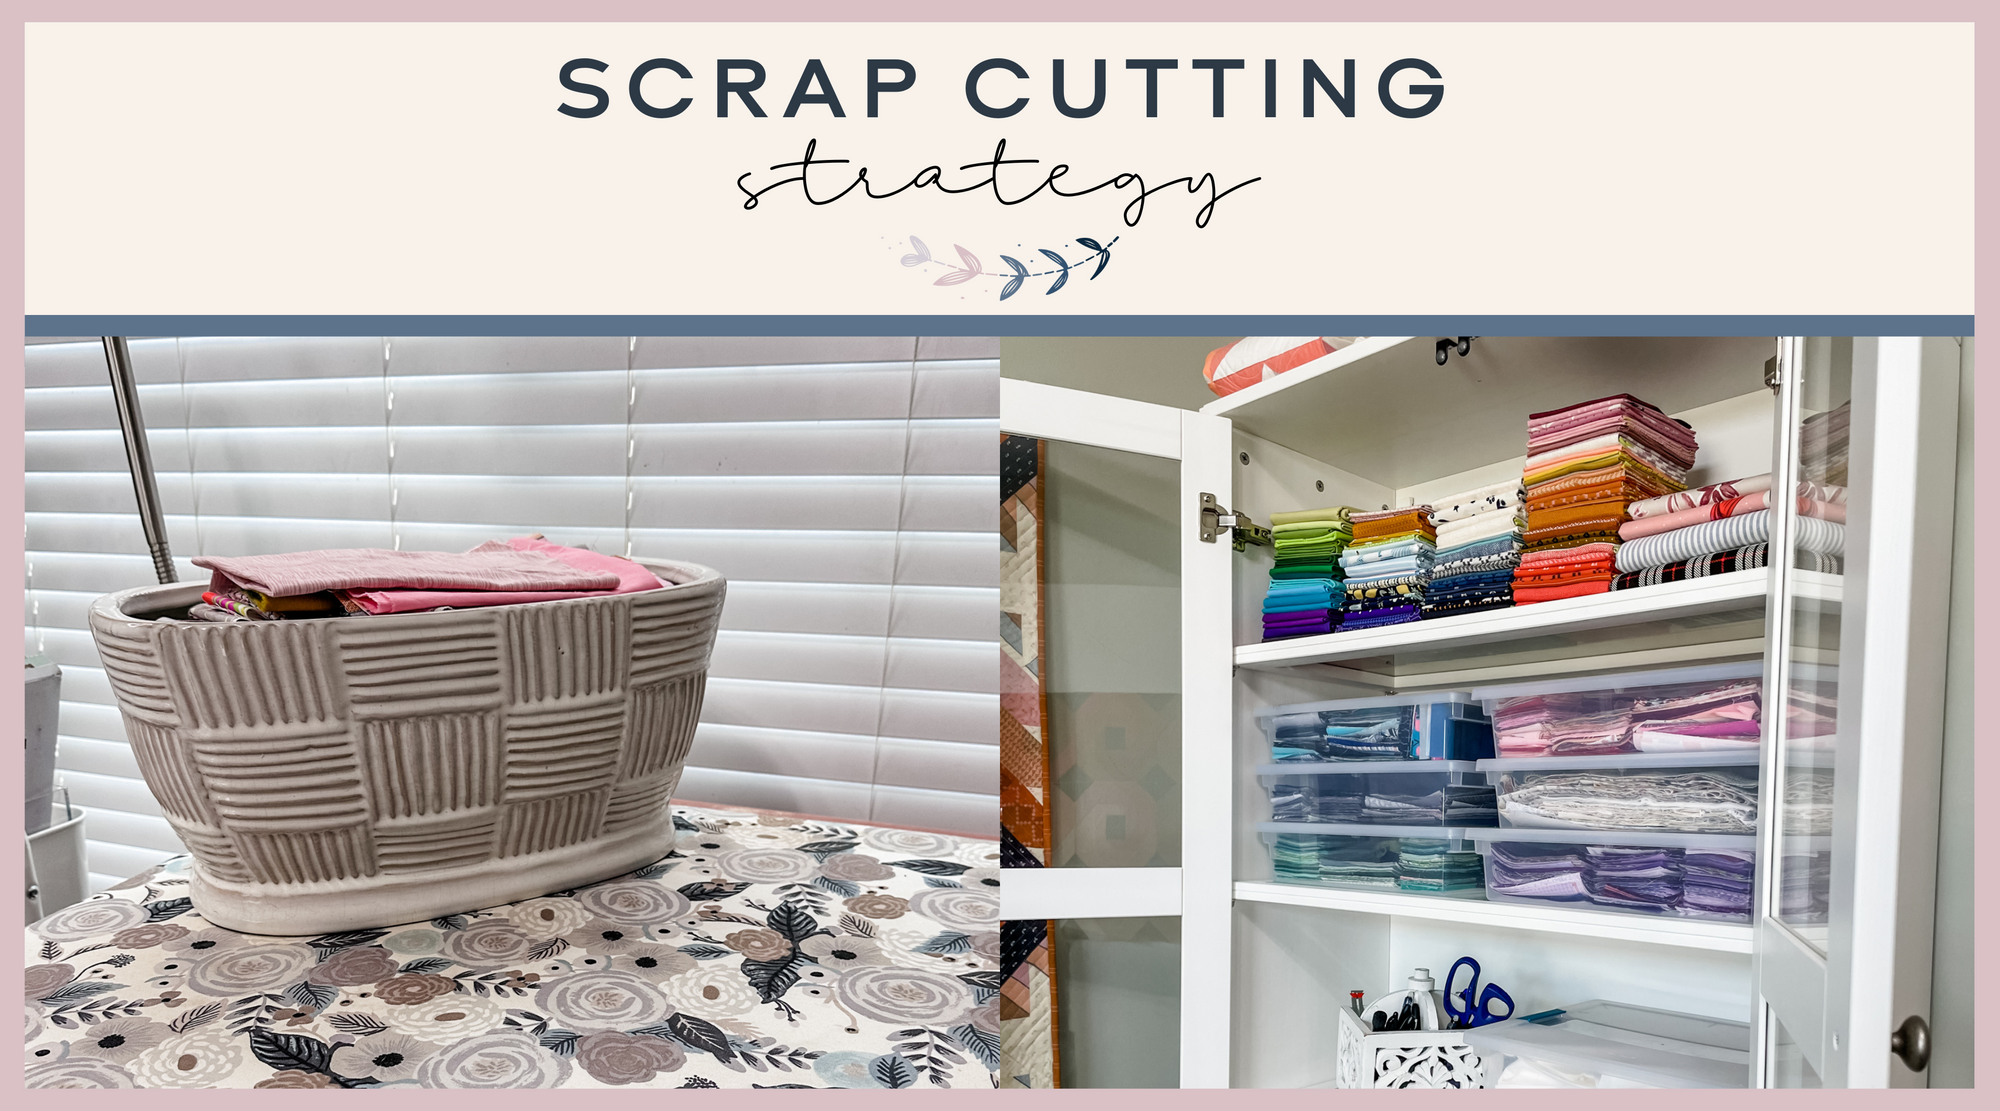
Scrap Cutting Strategy
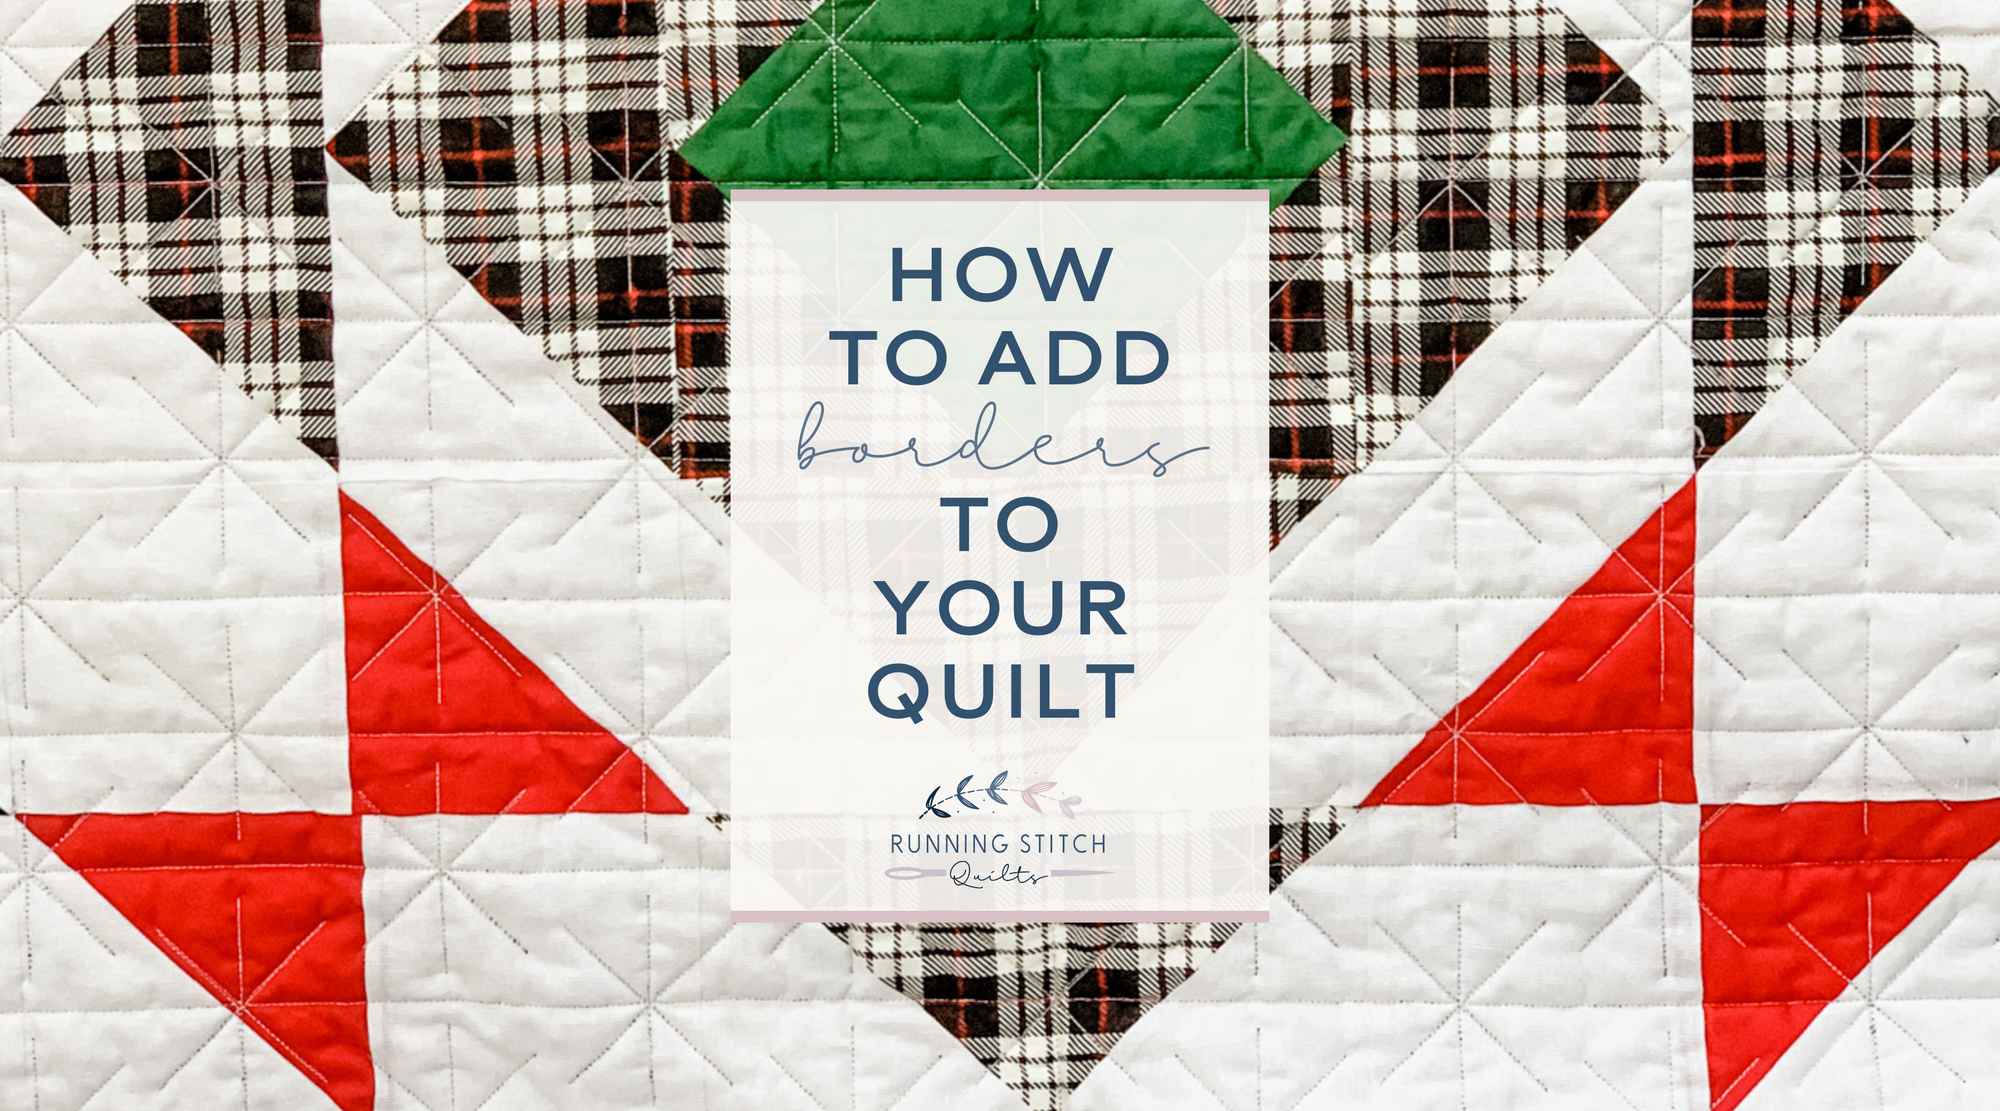
How to Add Borders to your Quilt
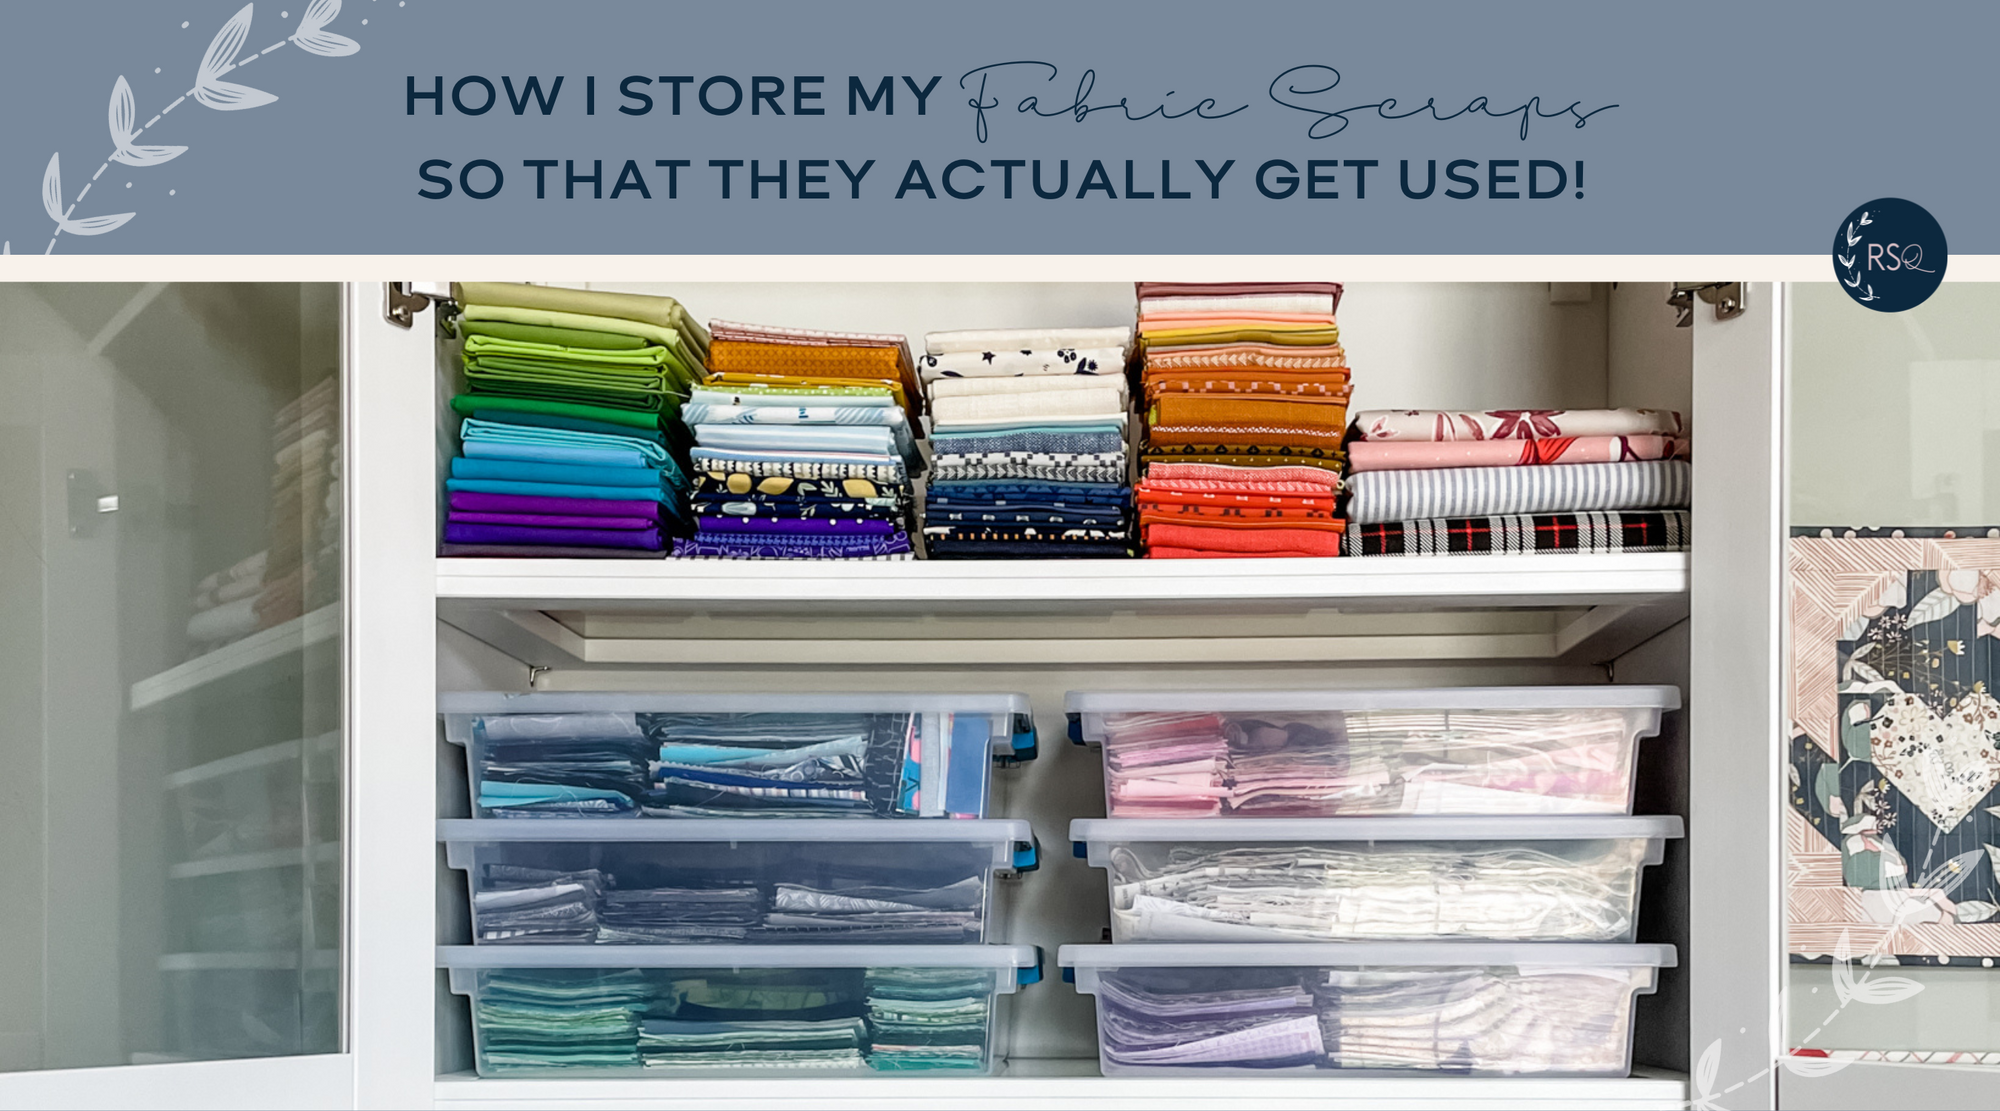
How I Store and Manage My Fabric Scraps
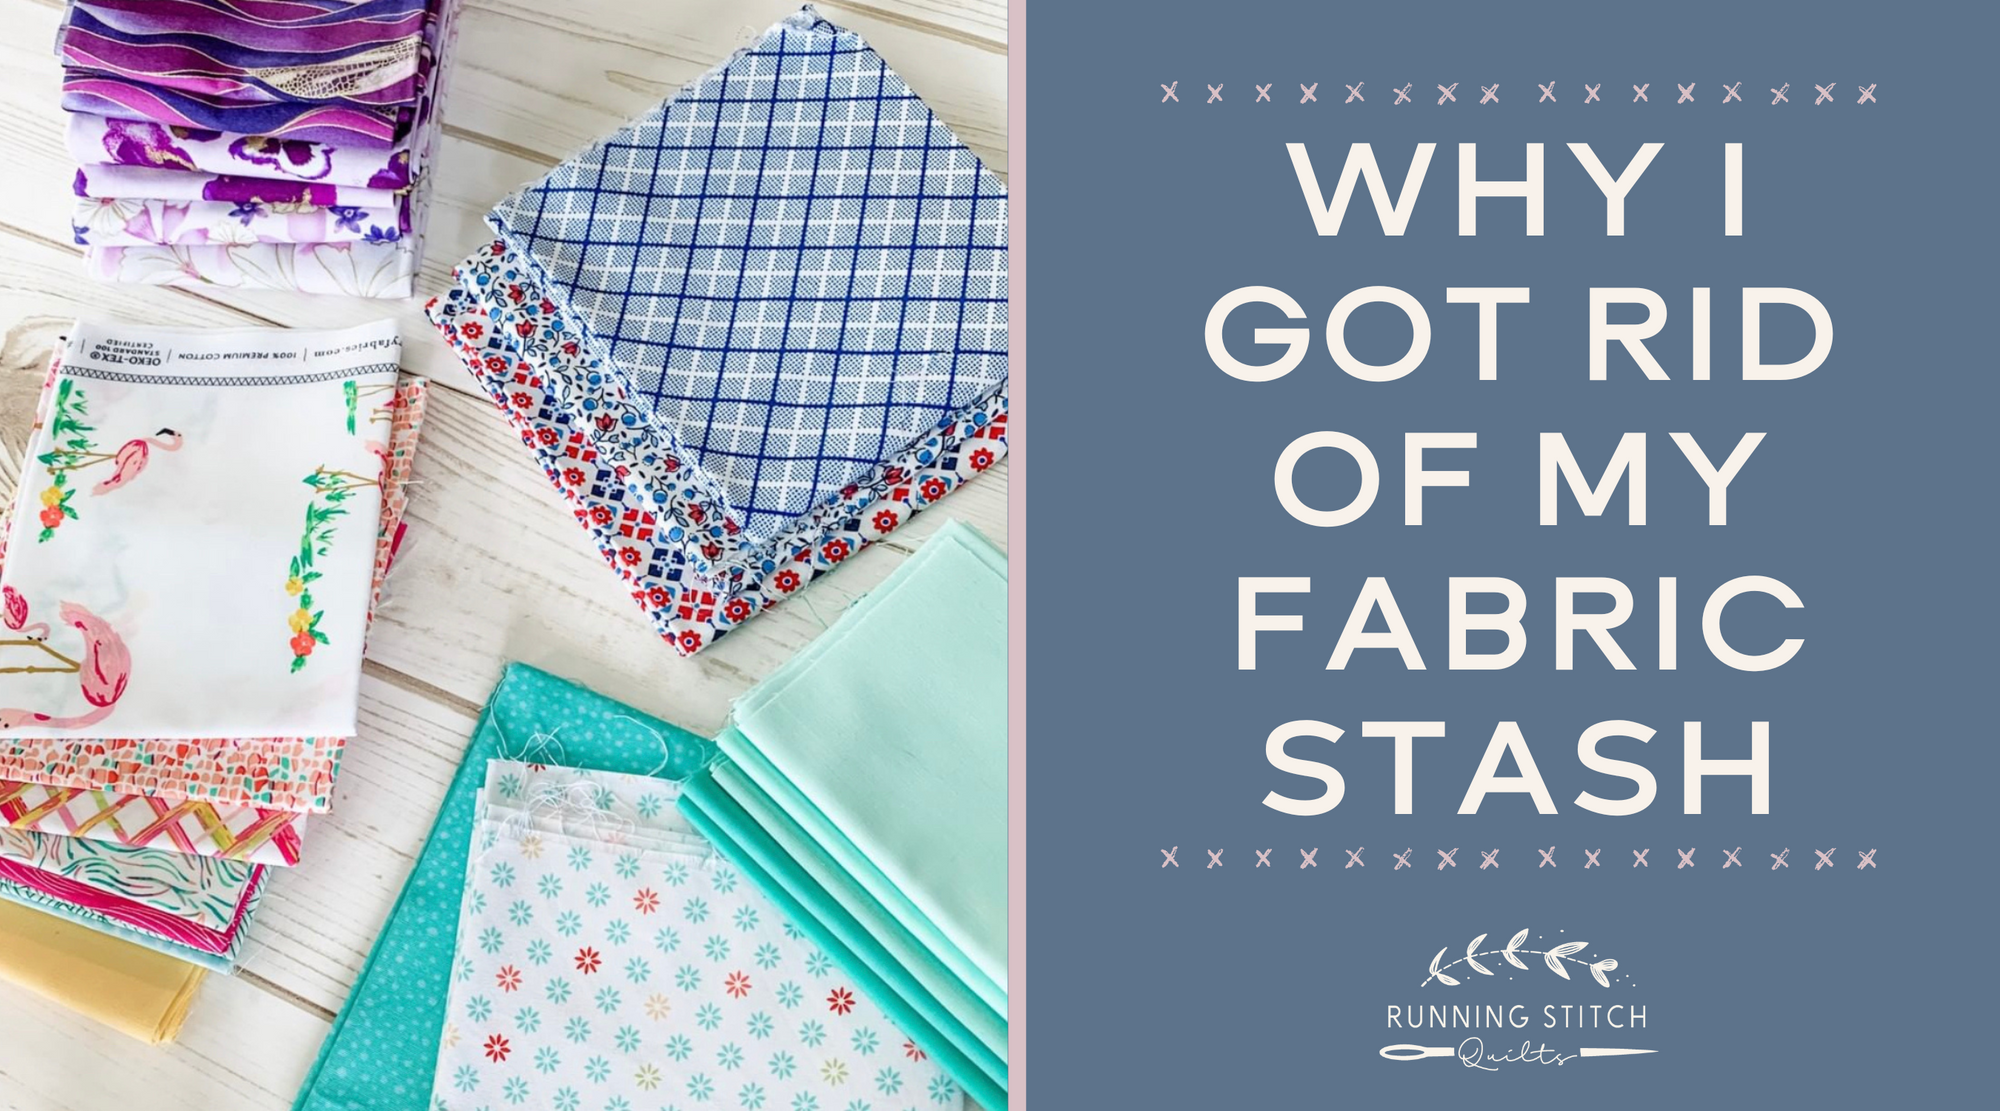
Why I Got Rid of My Fabric Stash
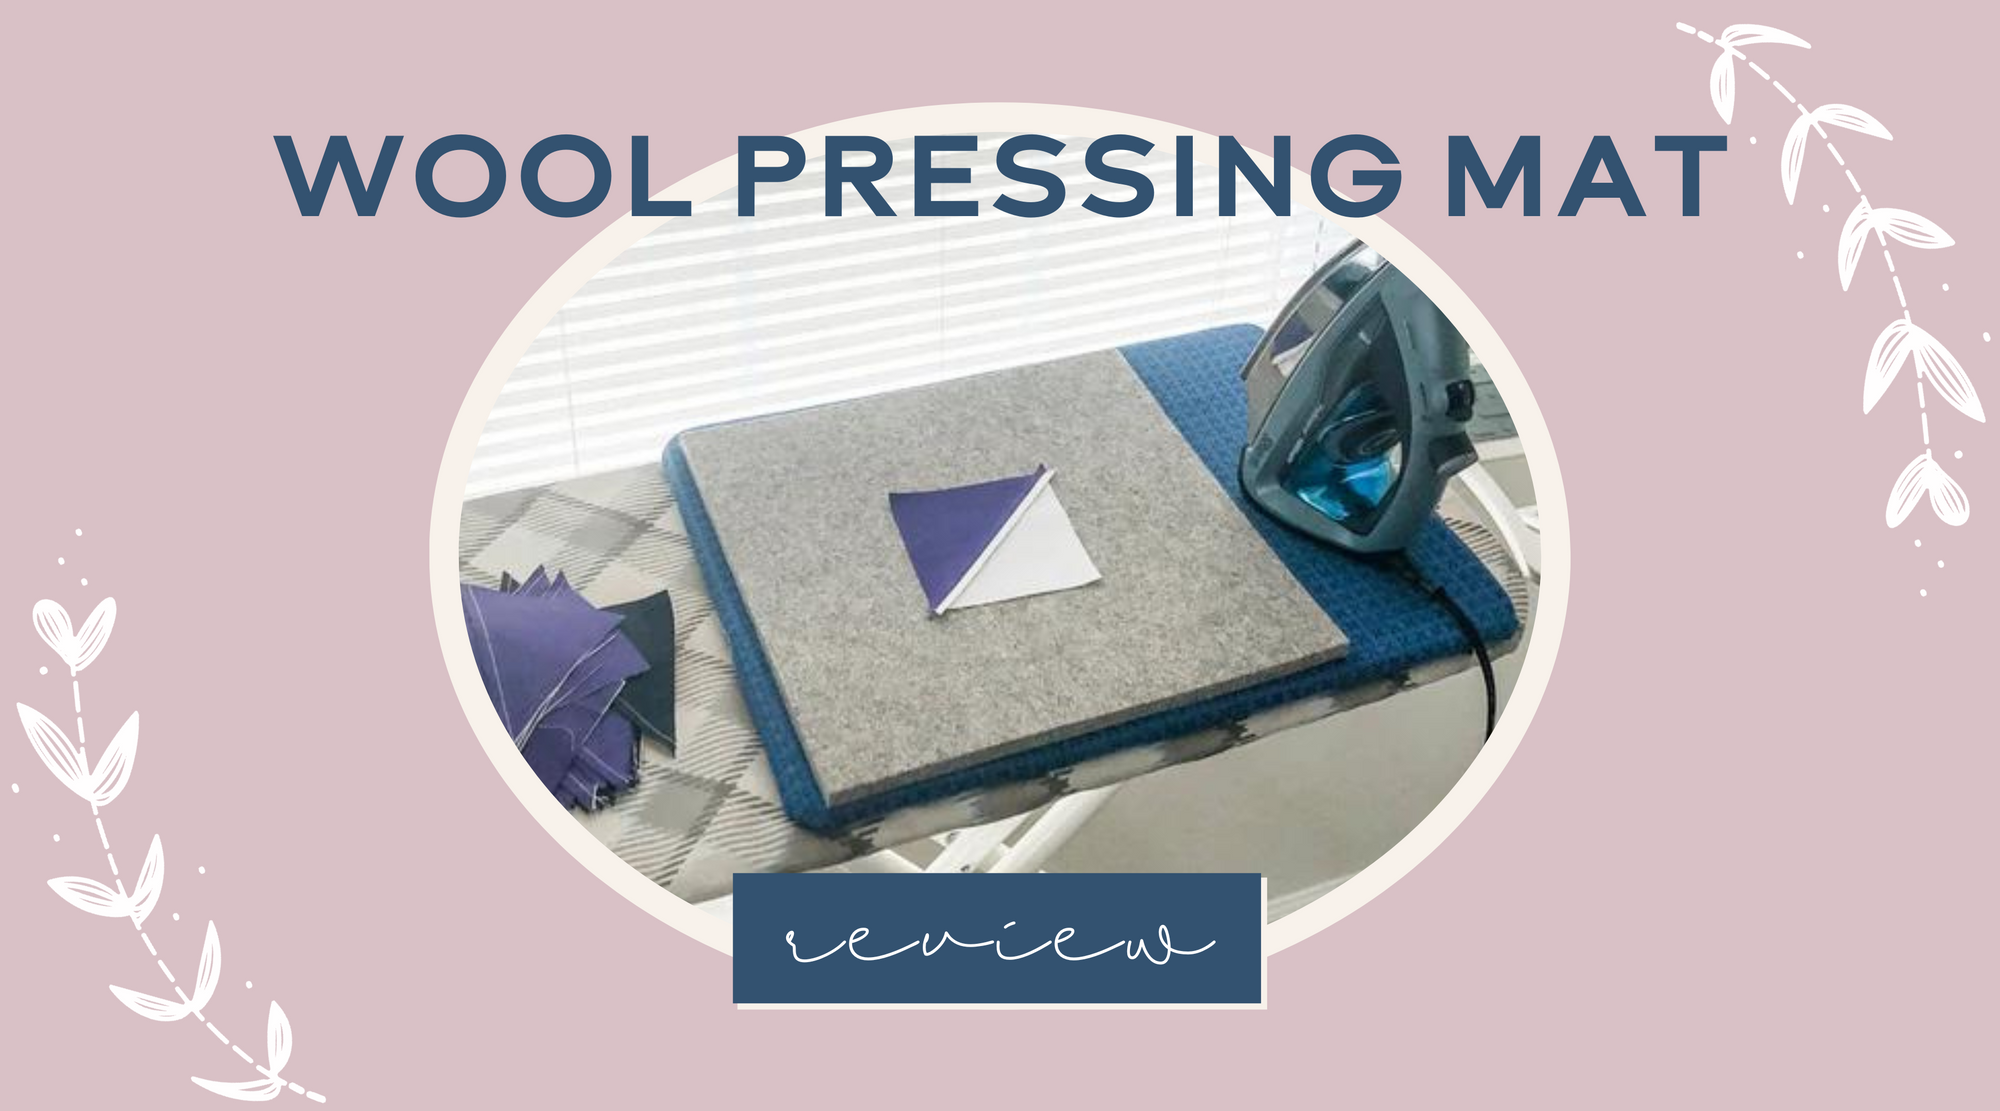
What I Really Think About My Wool Pressing Mat
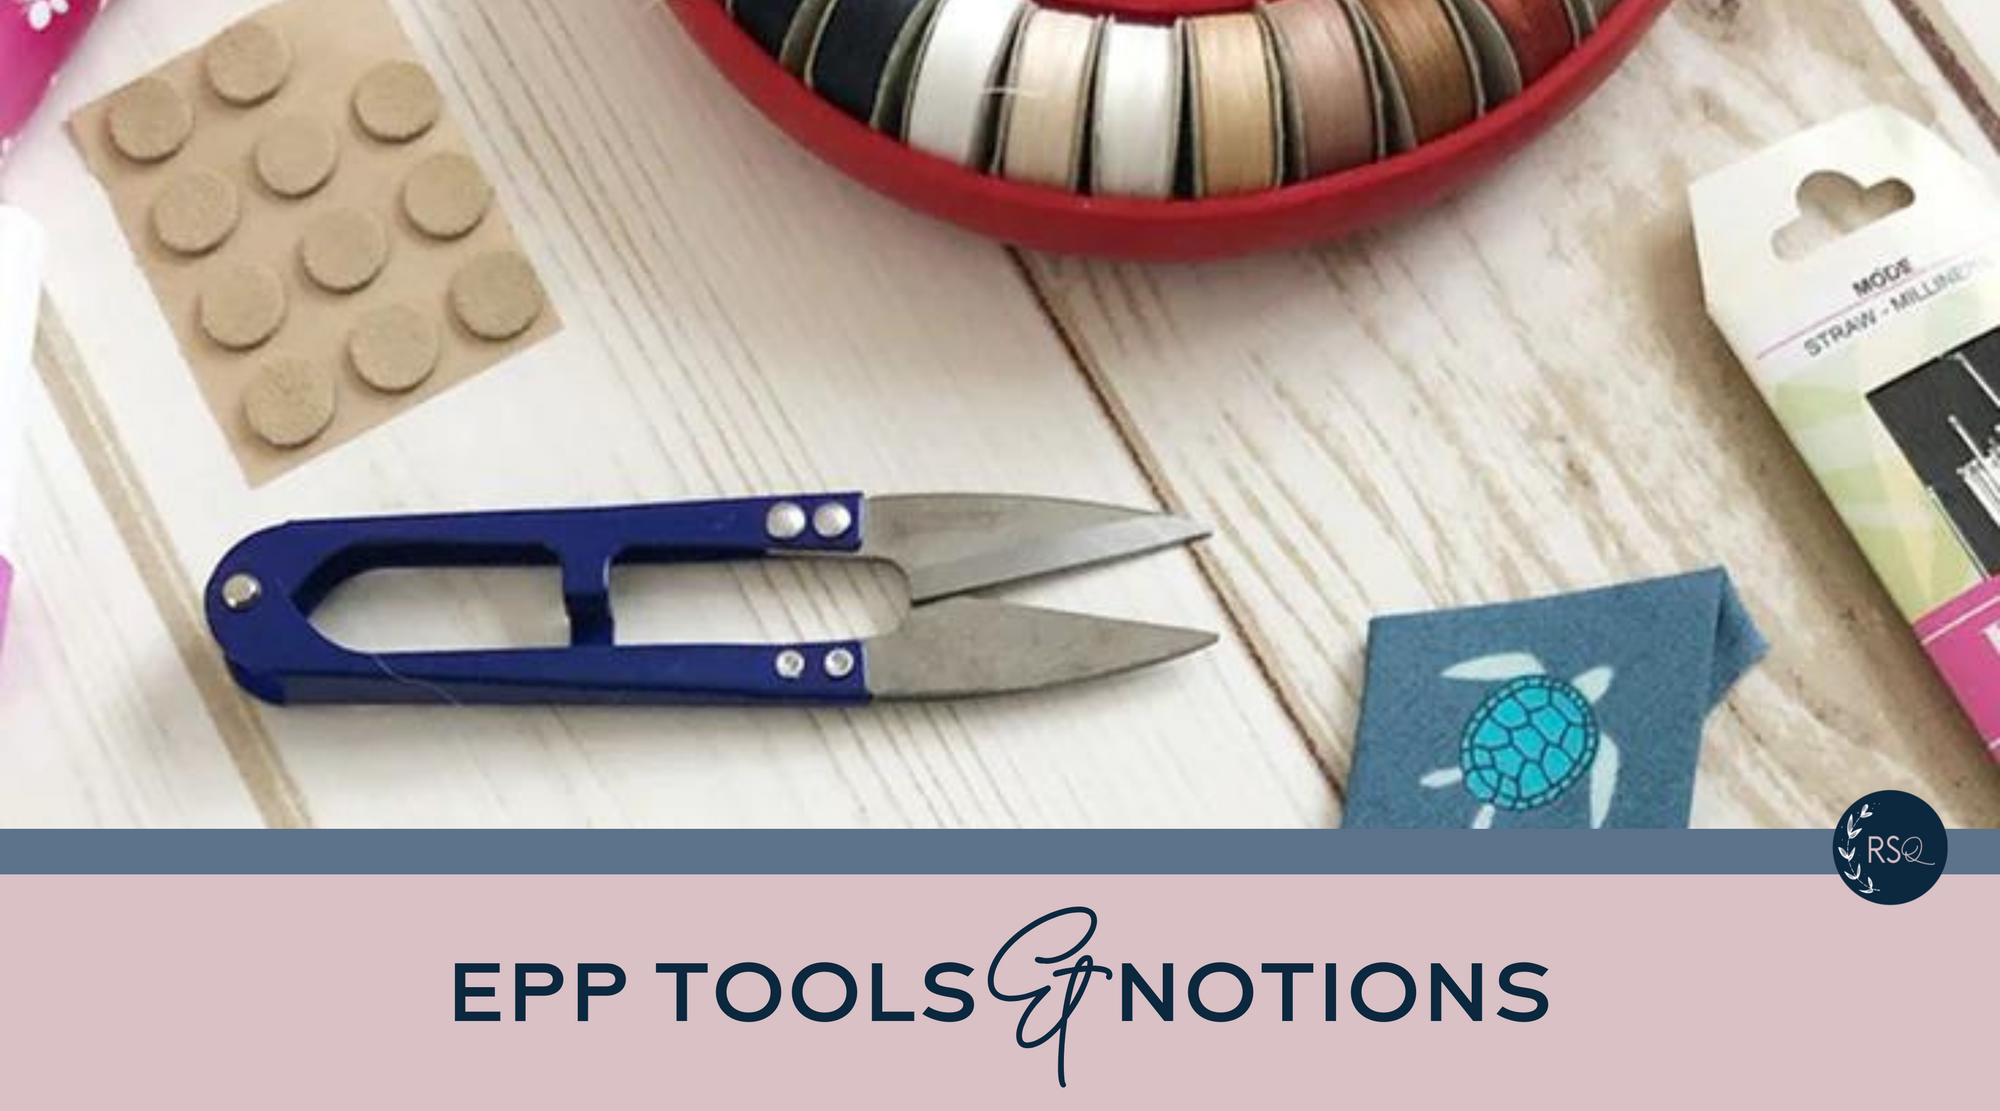
Adventures in EPP: Tools and Notions
1
2
Next
Search