All Printed Patterns Are Now BACK IN STOCK!
Log in
Cart (
0
)
Checkout
Home
About
My Book
Shop
PDF Patterns
Printed Patterns
Book
Kits & Bundles
Quilt Kits
Fabric Bundles
Notions & Gifts
Handmade Quilts
Fabric Destash
Blog
Scrap Management
Tutorials
Color Inspo
Wholesale
Contact
ruby star society
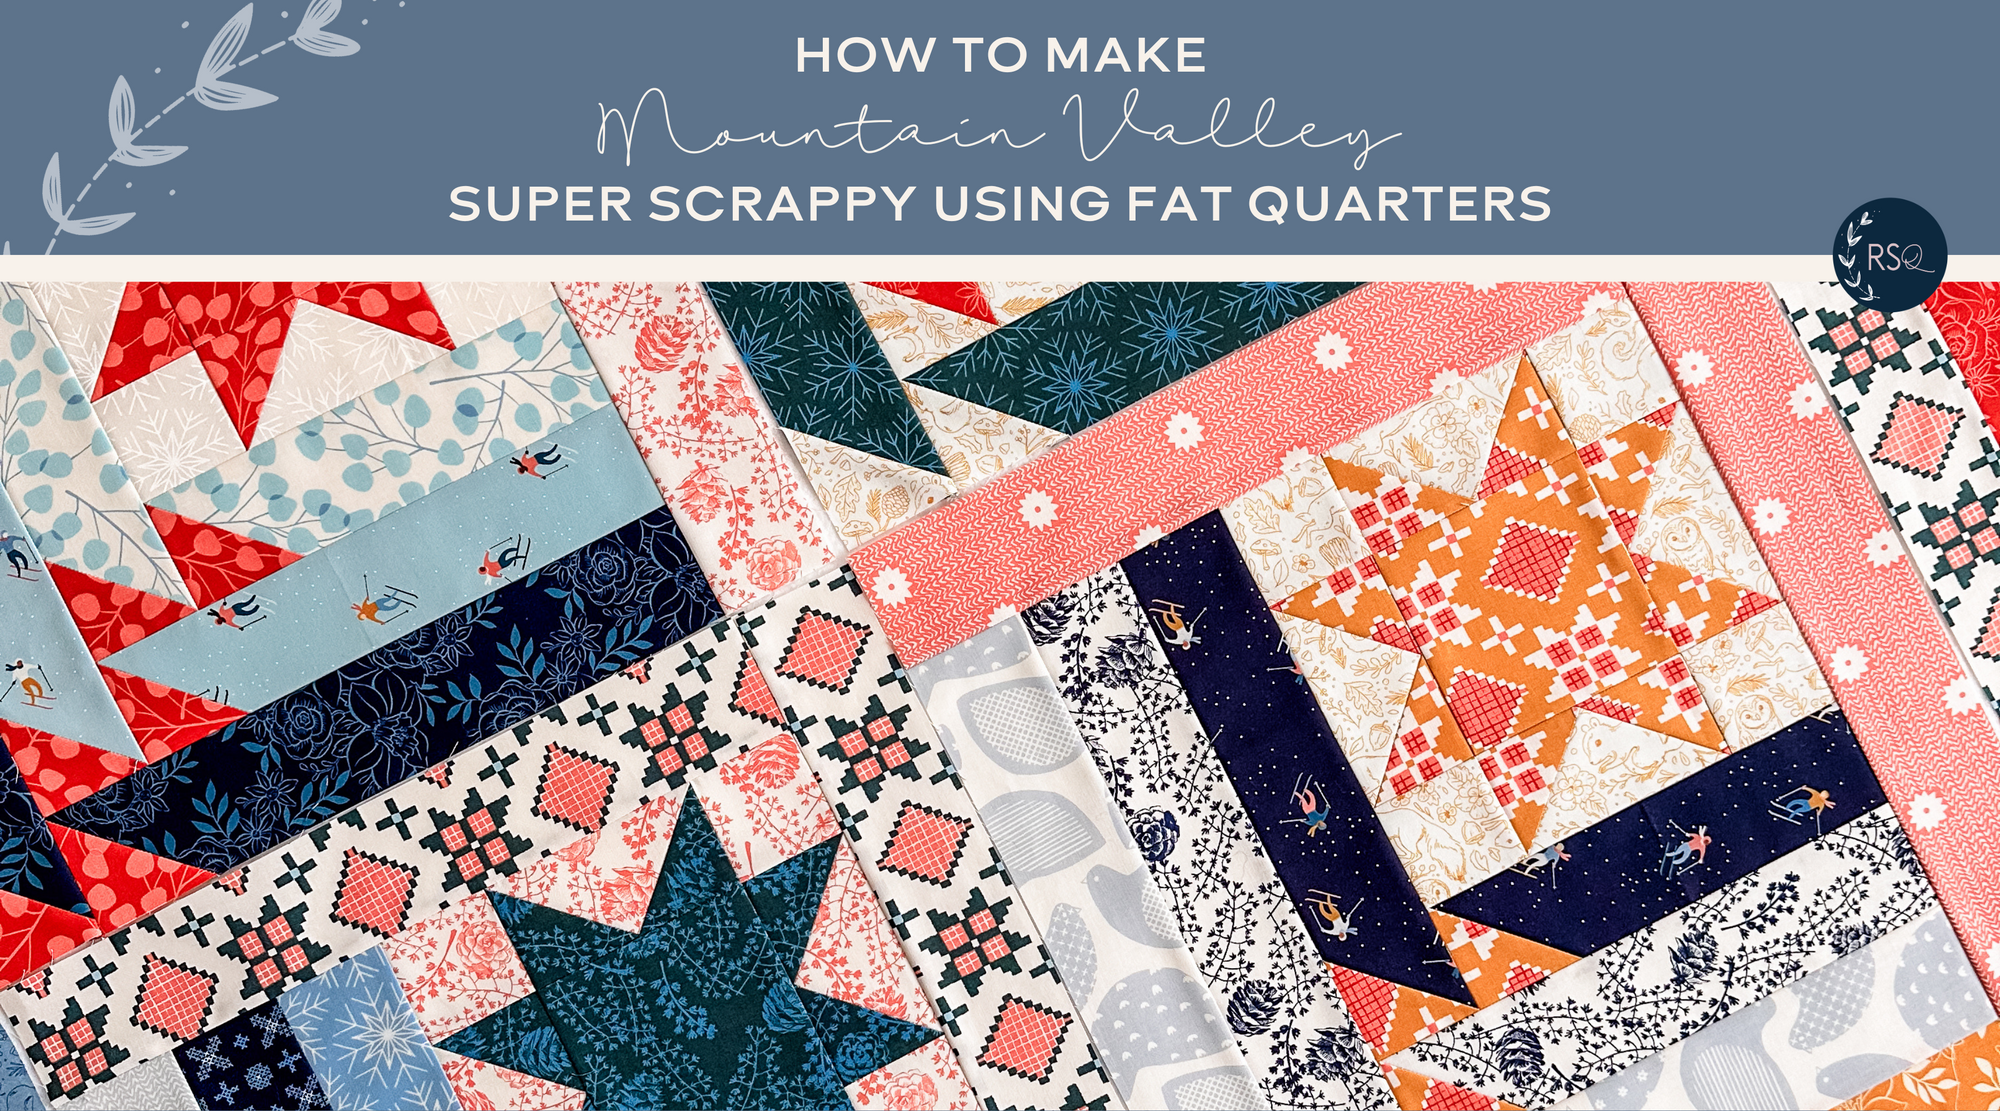
Mountain Valley
quilt pattern
ruby star society
scrappy
Scrappy Mountain Valley Quilt
Alexia Abegg
Chevron Stars
quilt pattern
ruby star society
Chevron Stars - the Moonglow One
Chevron Points
quilt pattern
ruby star society
Chevron Points - The Warp and Weft Honey One
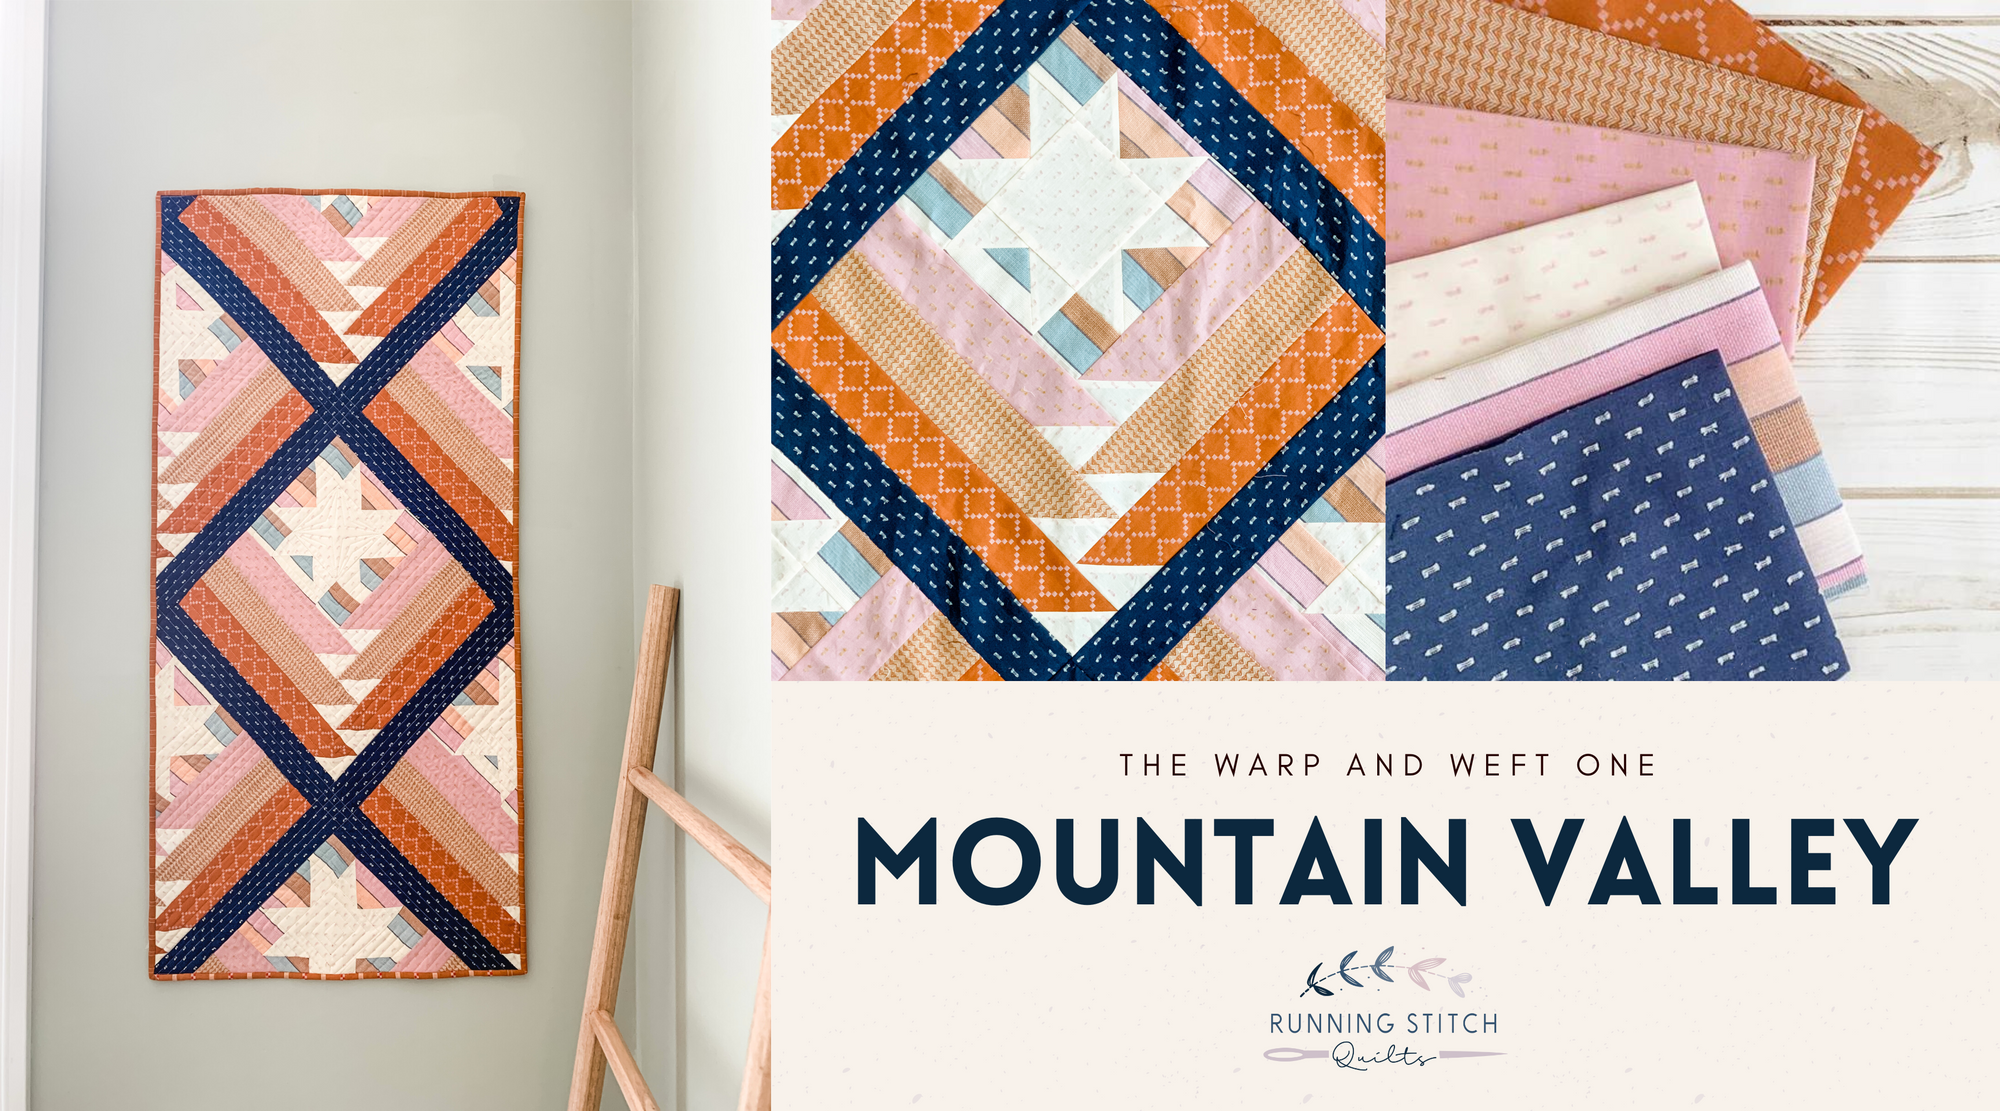
Mountain Valley
quilt pattern
ruby star society
wall hanging
Mountain Valley Quilt - Warp and Weft Version