All Printed Patterns Are Now BACK IN STOCK!
Log in
Cart (
0
)
Checkout
Home
About
My Book
Shop
PDF Patterns
Printed Patterns
Book
Kits & Bundles
Quilt Kits
Fabric Bundles
Notions & Gifts
Handmade Quilts
Fabric Destash
Blog
Scrap Management
Tutorials
Color Inspo
Wholesale
Contact
scrappy
baby
quilt pattern
scrappy
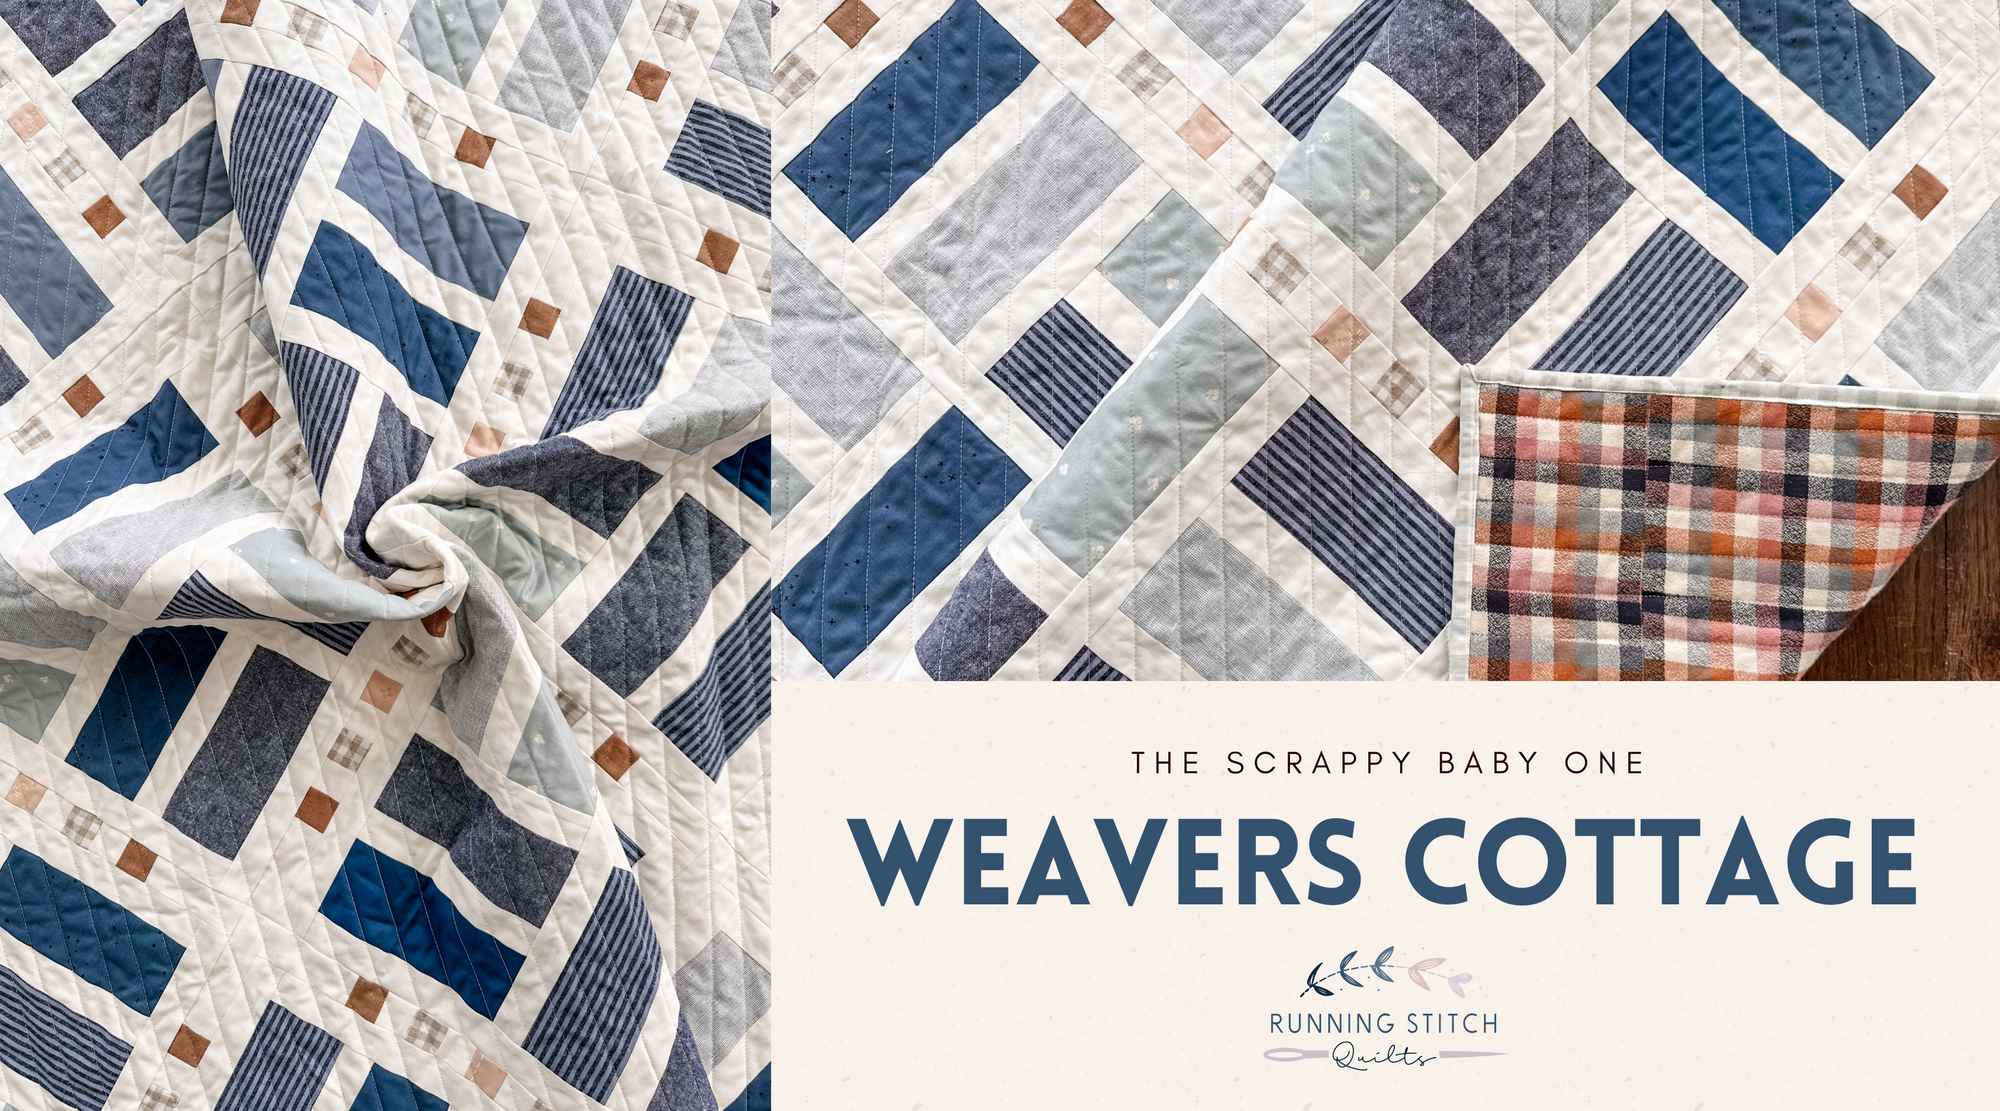
Weavers Cottage
Weavers Cottage - The Scrappy Baby One
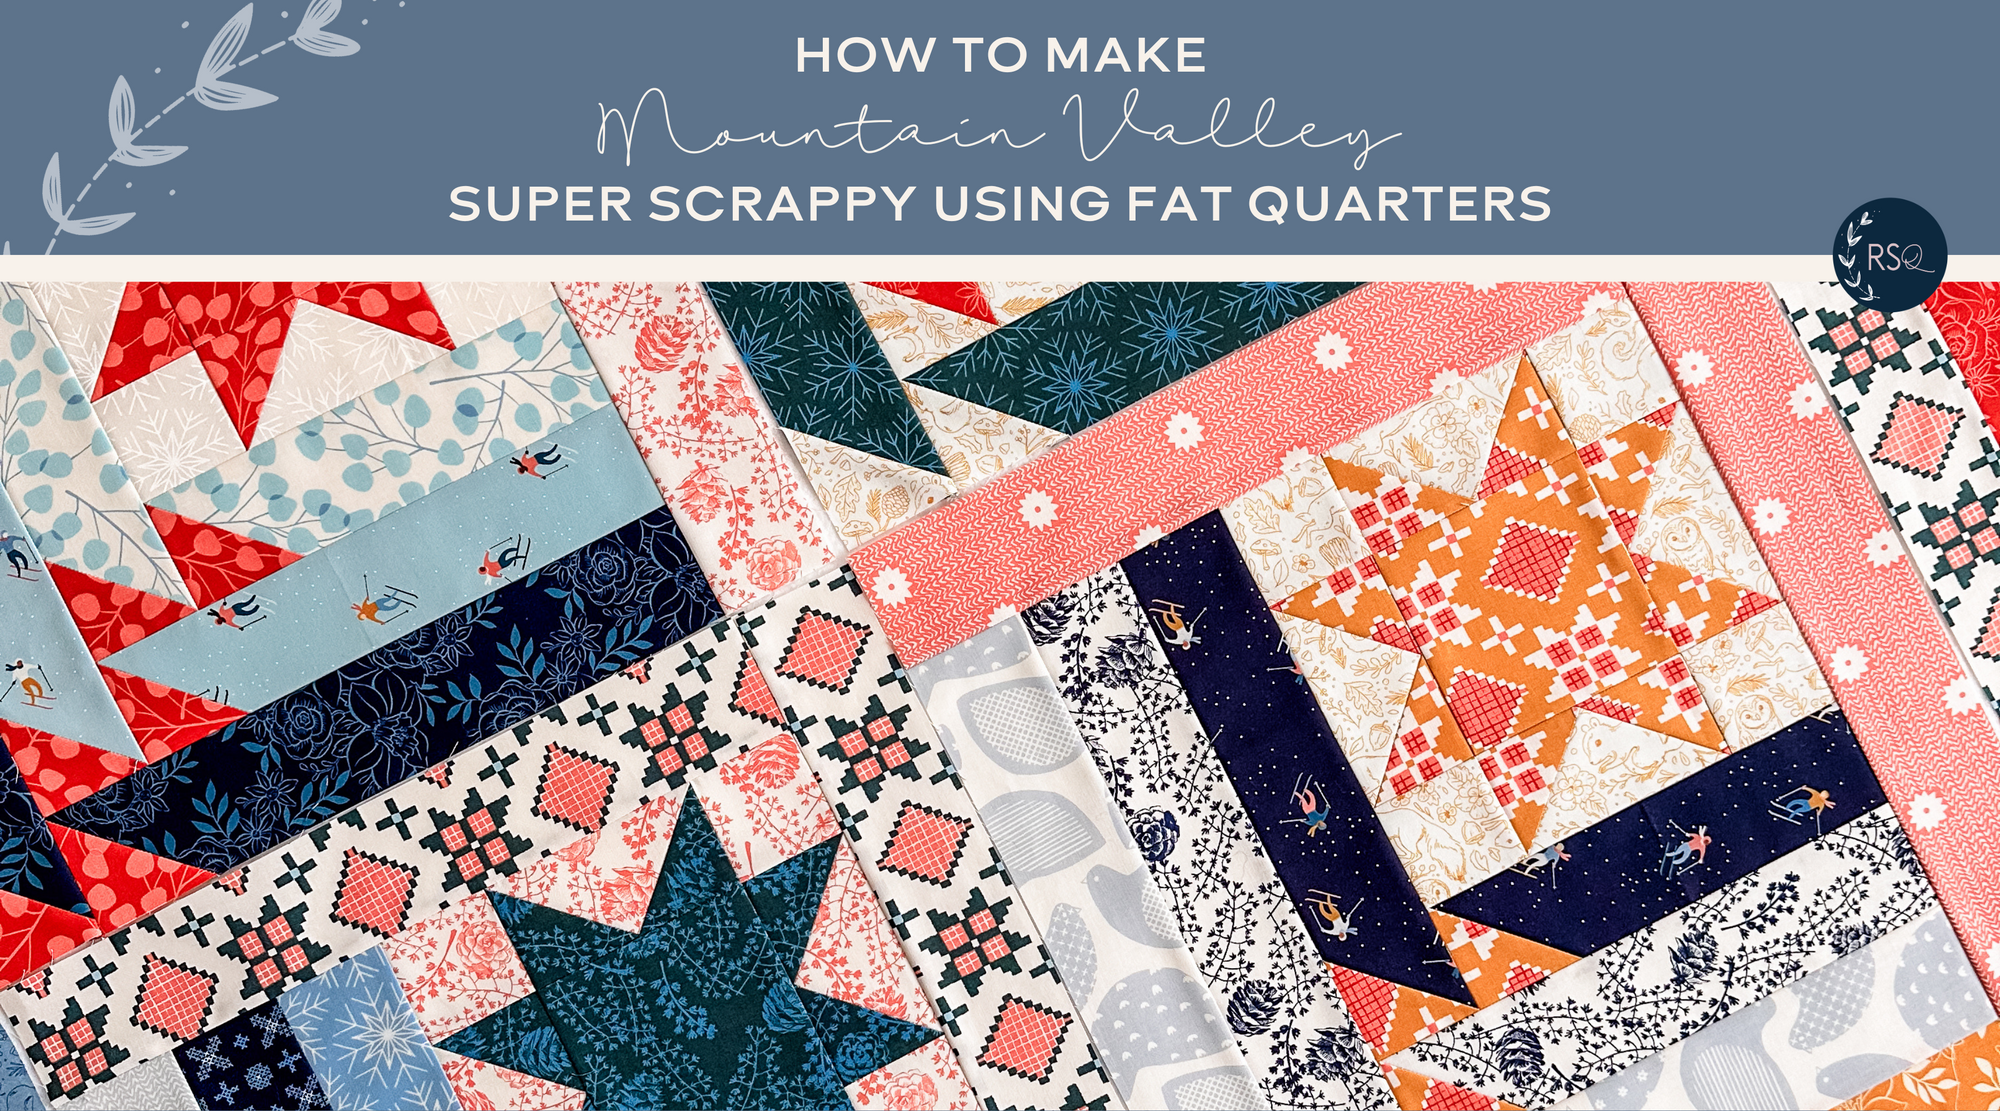
Mountain Valley
quilt pattern
ruby star society
scrappy
Scrappy Mountain Valley Quilt
art gallery fabrics
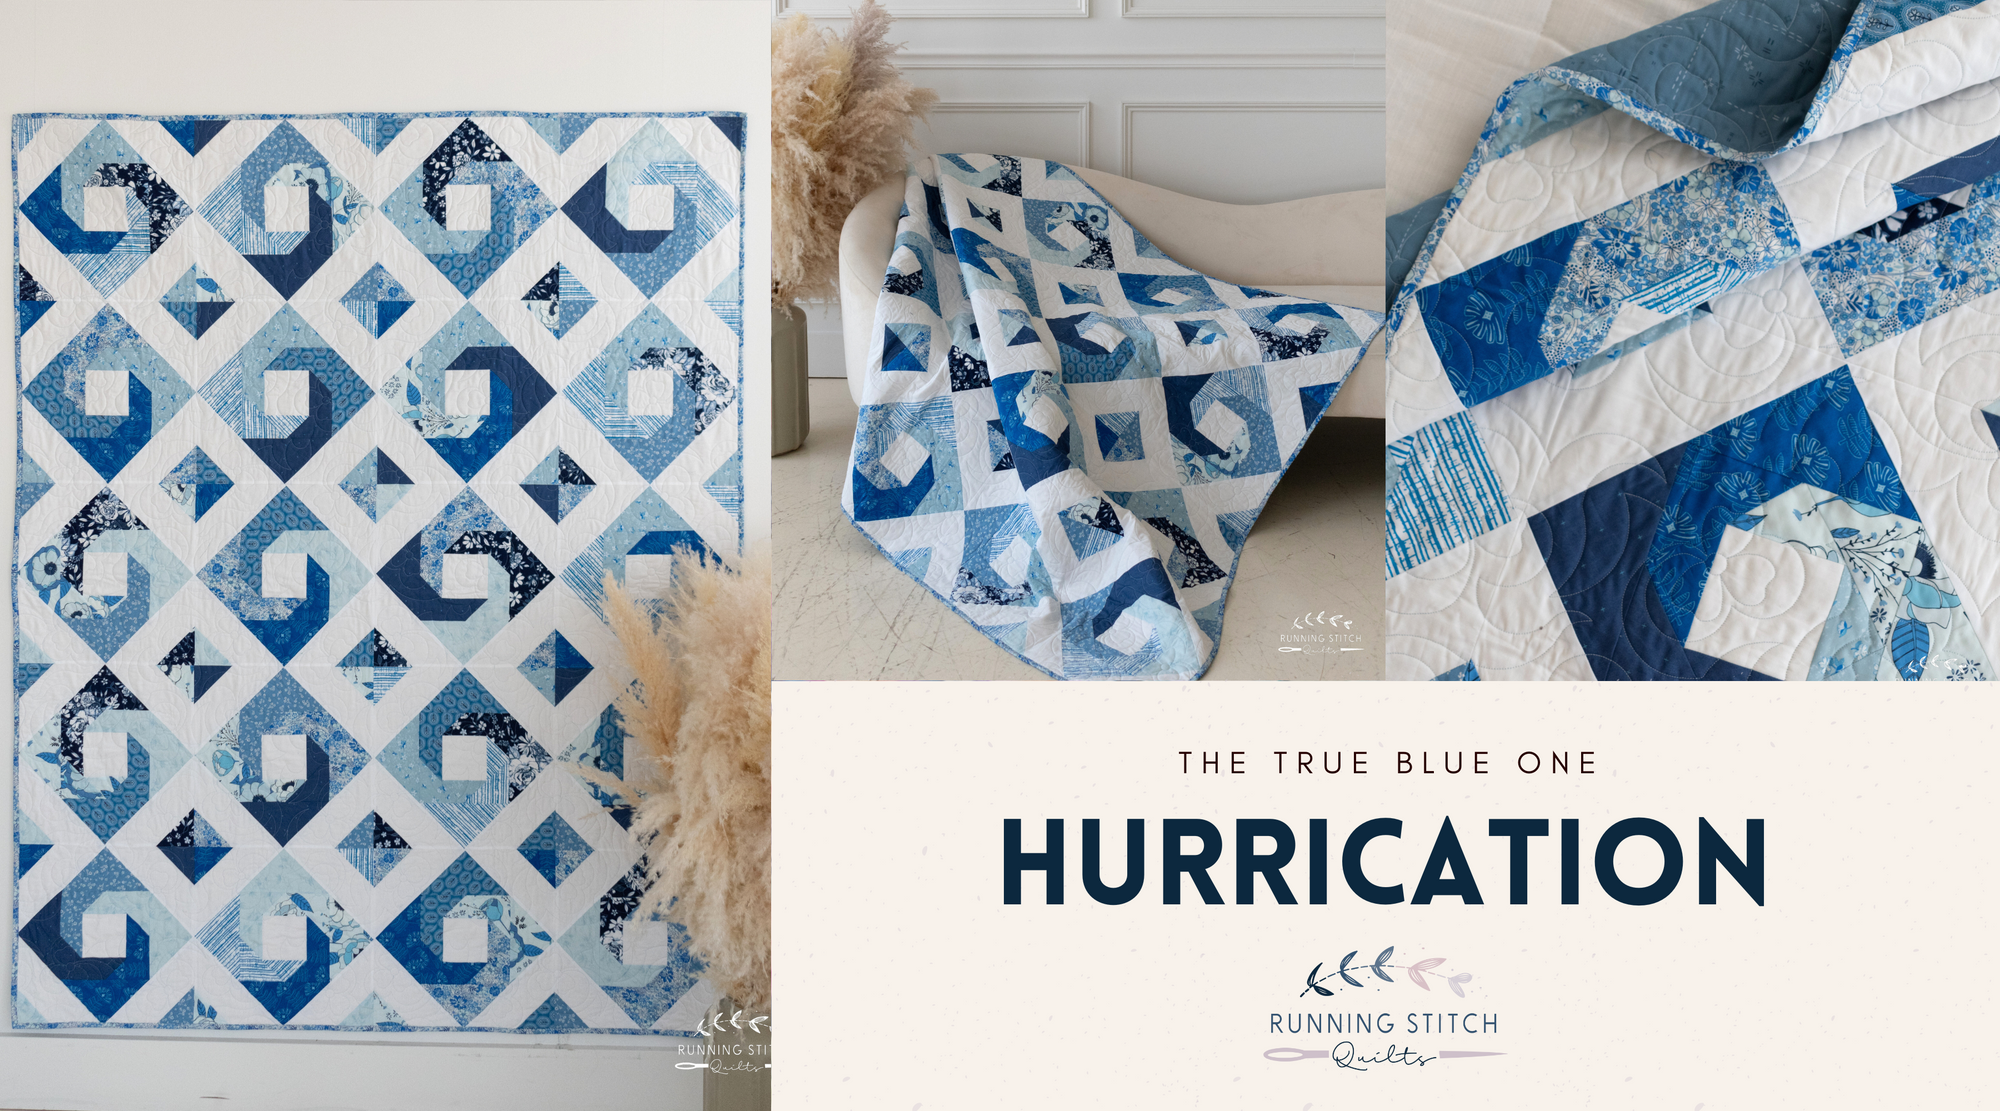
Hurrication
quilt pattern
scrappy
Hurrication - The True Blue One
scrappy
scraps
tutorial
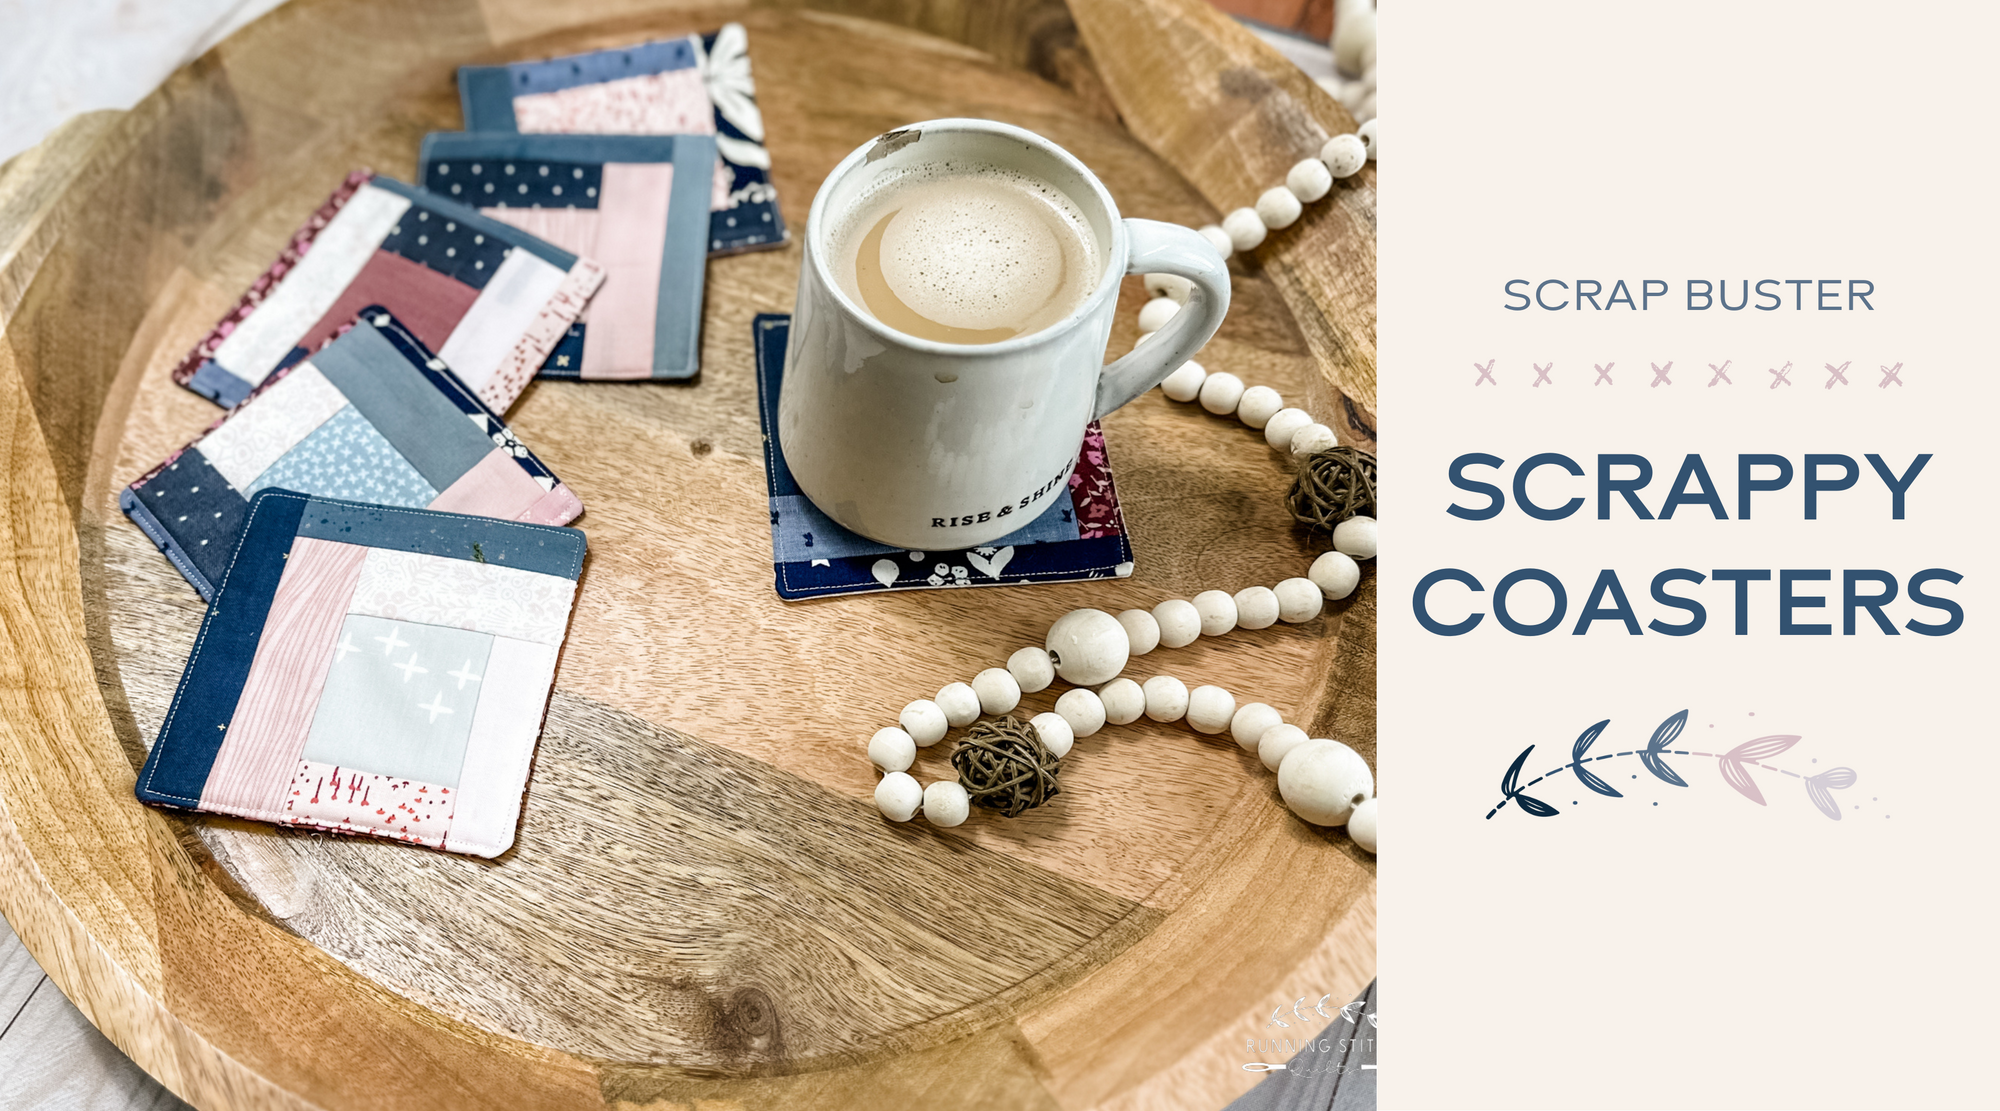
Scrap Buster Project - Scrappy Coasters
Hurrication
scrappy
Hurrication - the Scrappy One
quilt pattern
scrappy
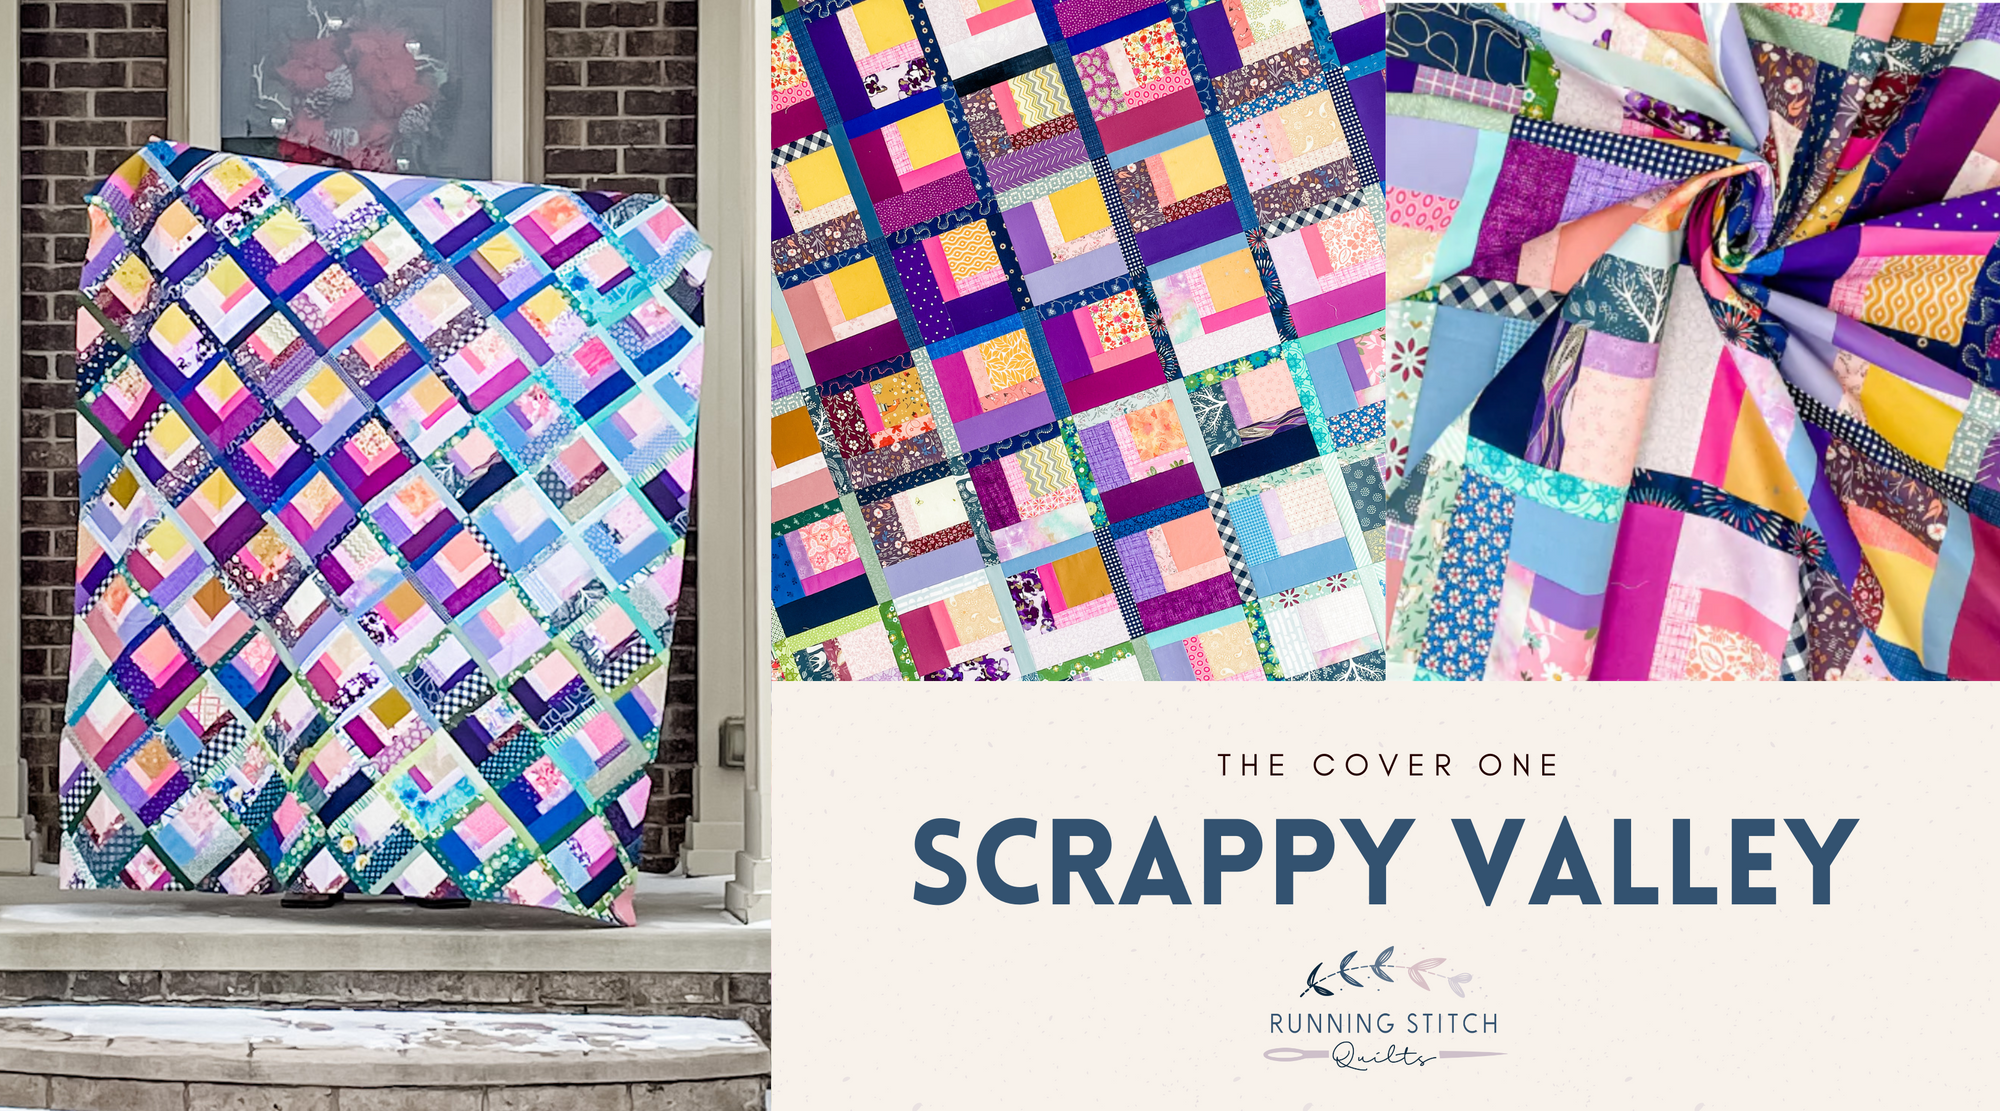
Scrappy Valley
Scrappy Valley Quilt
quilt pattern
robert kaufman
scrappy
solids
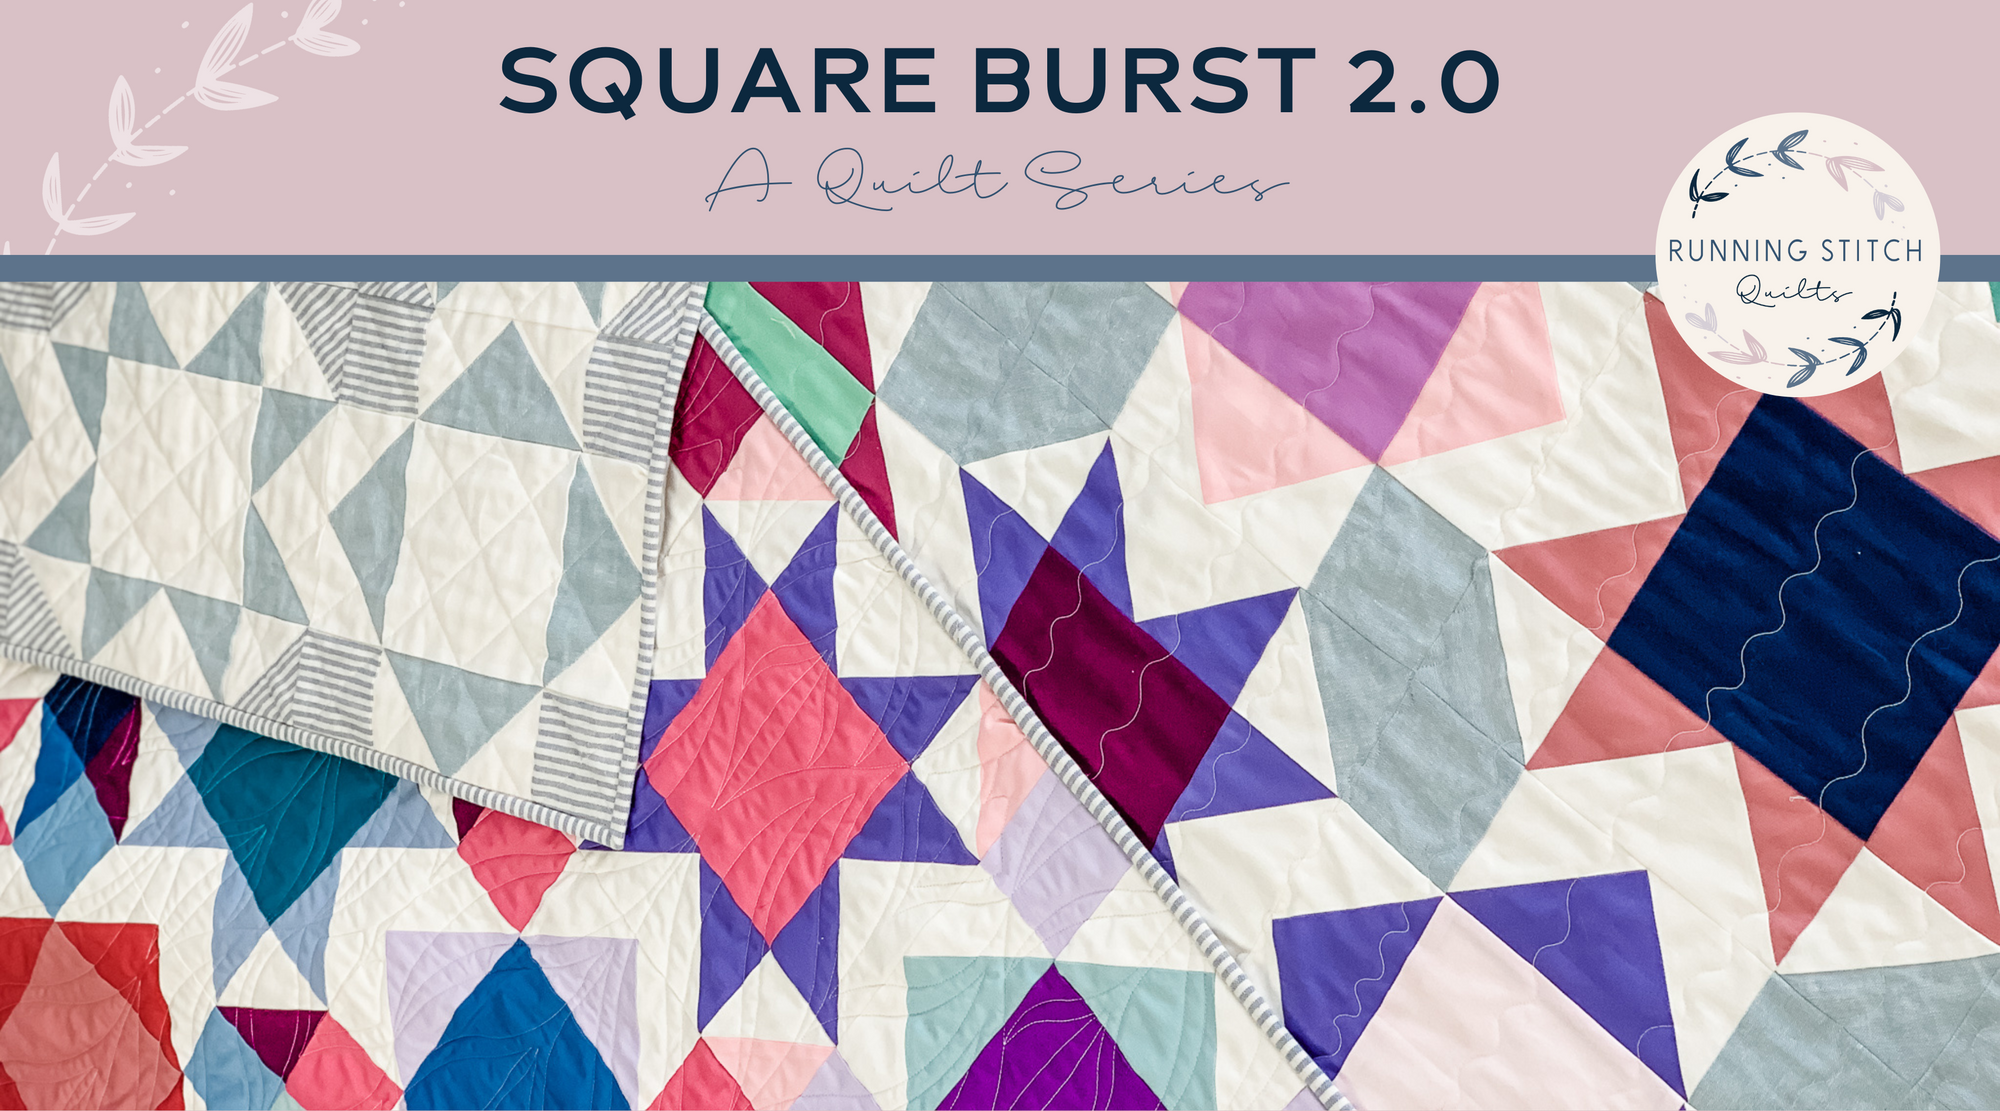
Square Burst
Square Burst 2.0 - The Cover Quilt
Cornerstones
cotton and steel
quilt pattern
robert kaufman
scrappy
solids
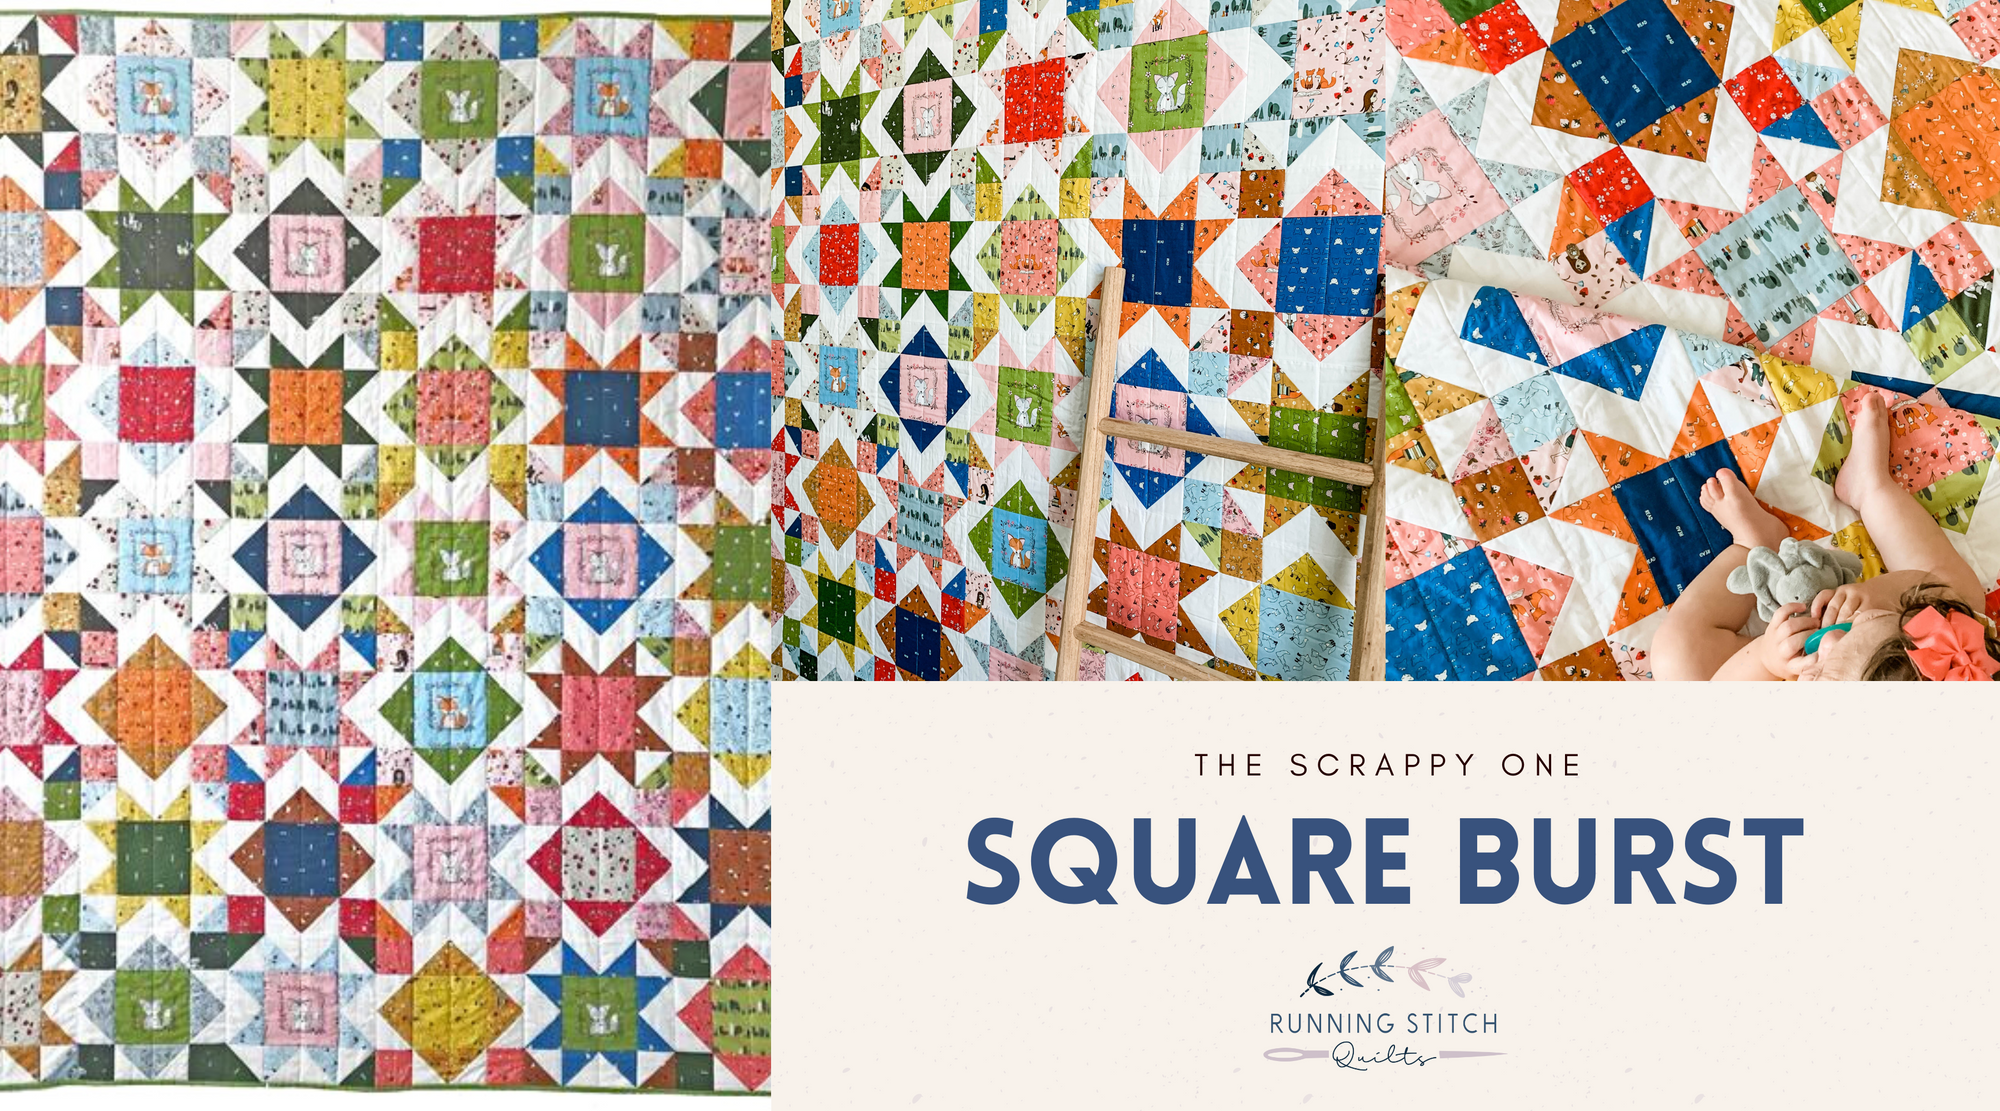
Square Burst
Square Burst 2.0 - Cornerstones
cover quilt
quilt pattern
scrappy
solids
Square Burst
The Square Burst 2.0 Series
quilt pattern
scrappy
Snowflakes in July
Snowflakes in July - The Scrappy One
mock-up
quilt pattern
scrappy
Square Burst
Square Burst Quilt Pattern
quilt pattern
scrappy
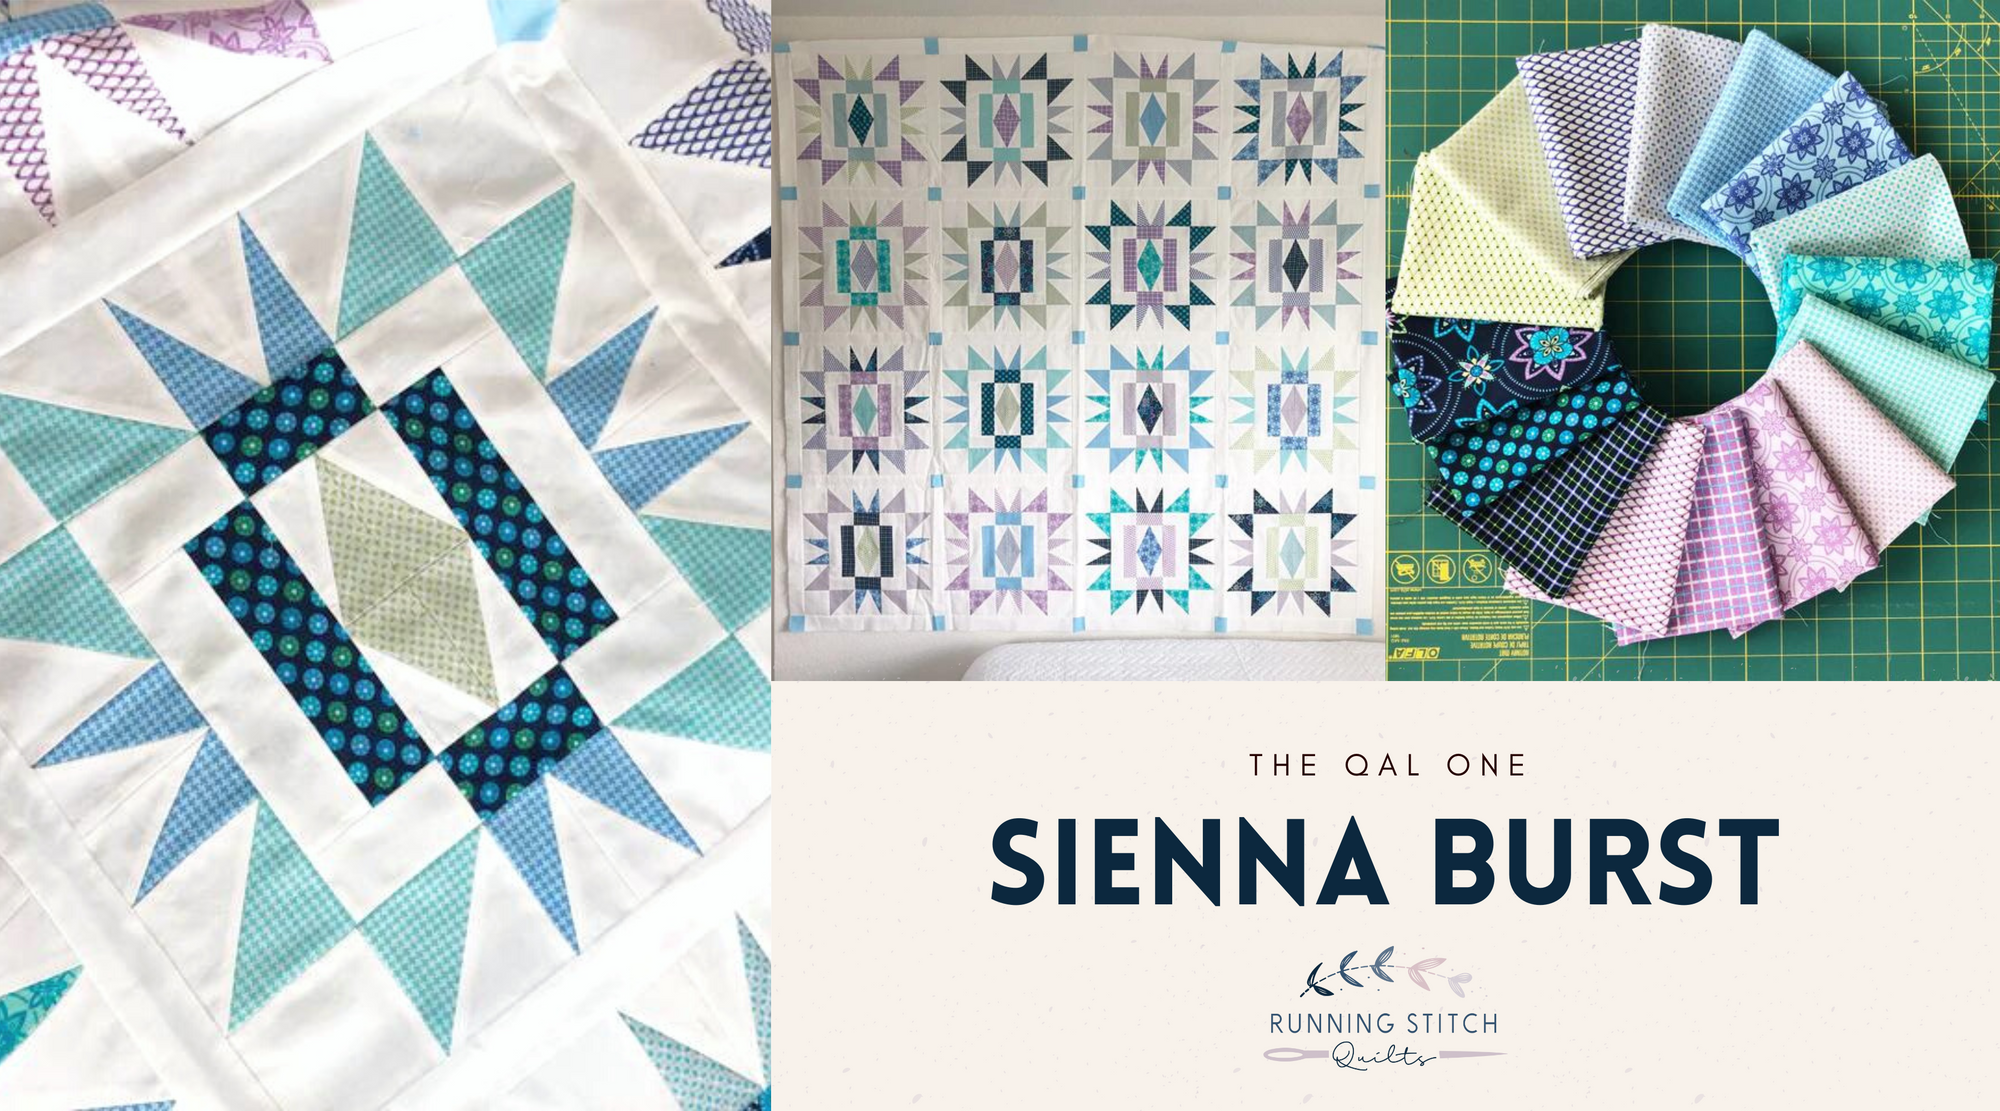
WIP: Sienna Burst Quilt Top
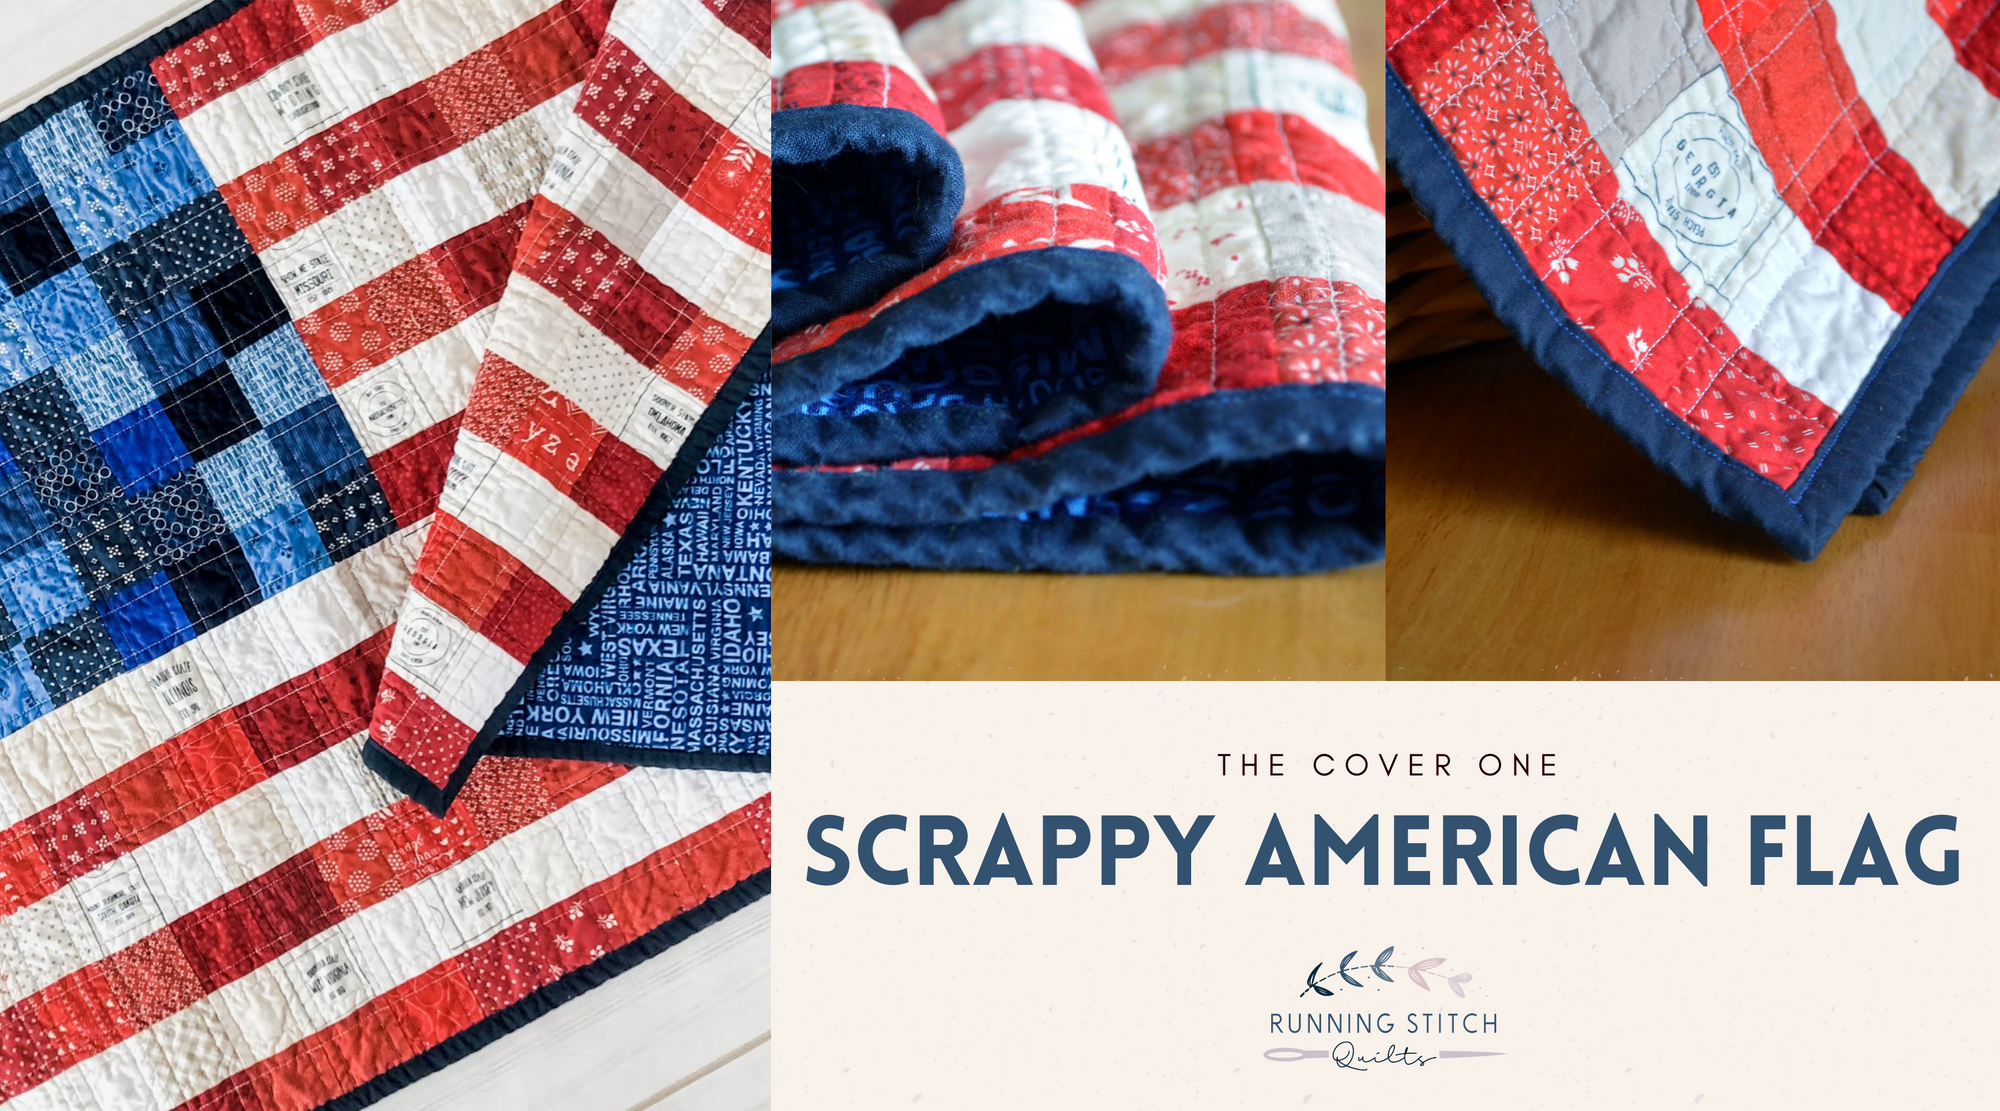
American Flag
Moda
quilt pattern
robert kaufman
scrappy
Scrappy American Flag Quilted Wall Hanging