All Printed Patterns Are Now BACK IN STOCK!
Log in
Cart (
0
)
Checkout
Home
About
My Book
Shop
PDF Patterns
Printed Patterns
Book
Kits & Bundles
Quilt Kits
Fabric Bundles
Notions & Gifts
Handmade Quilts
Fabric Destash
Blog
Scrap Management
Tutorials
Color Inspo
Wholesale
Contact
scraps
advice
scraps
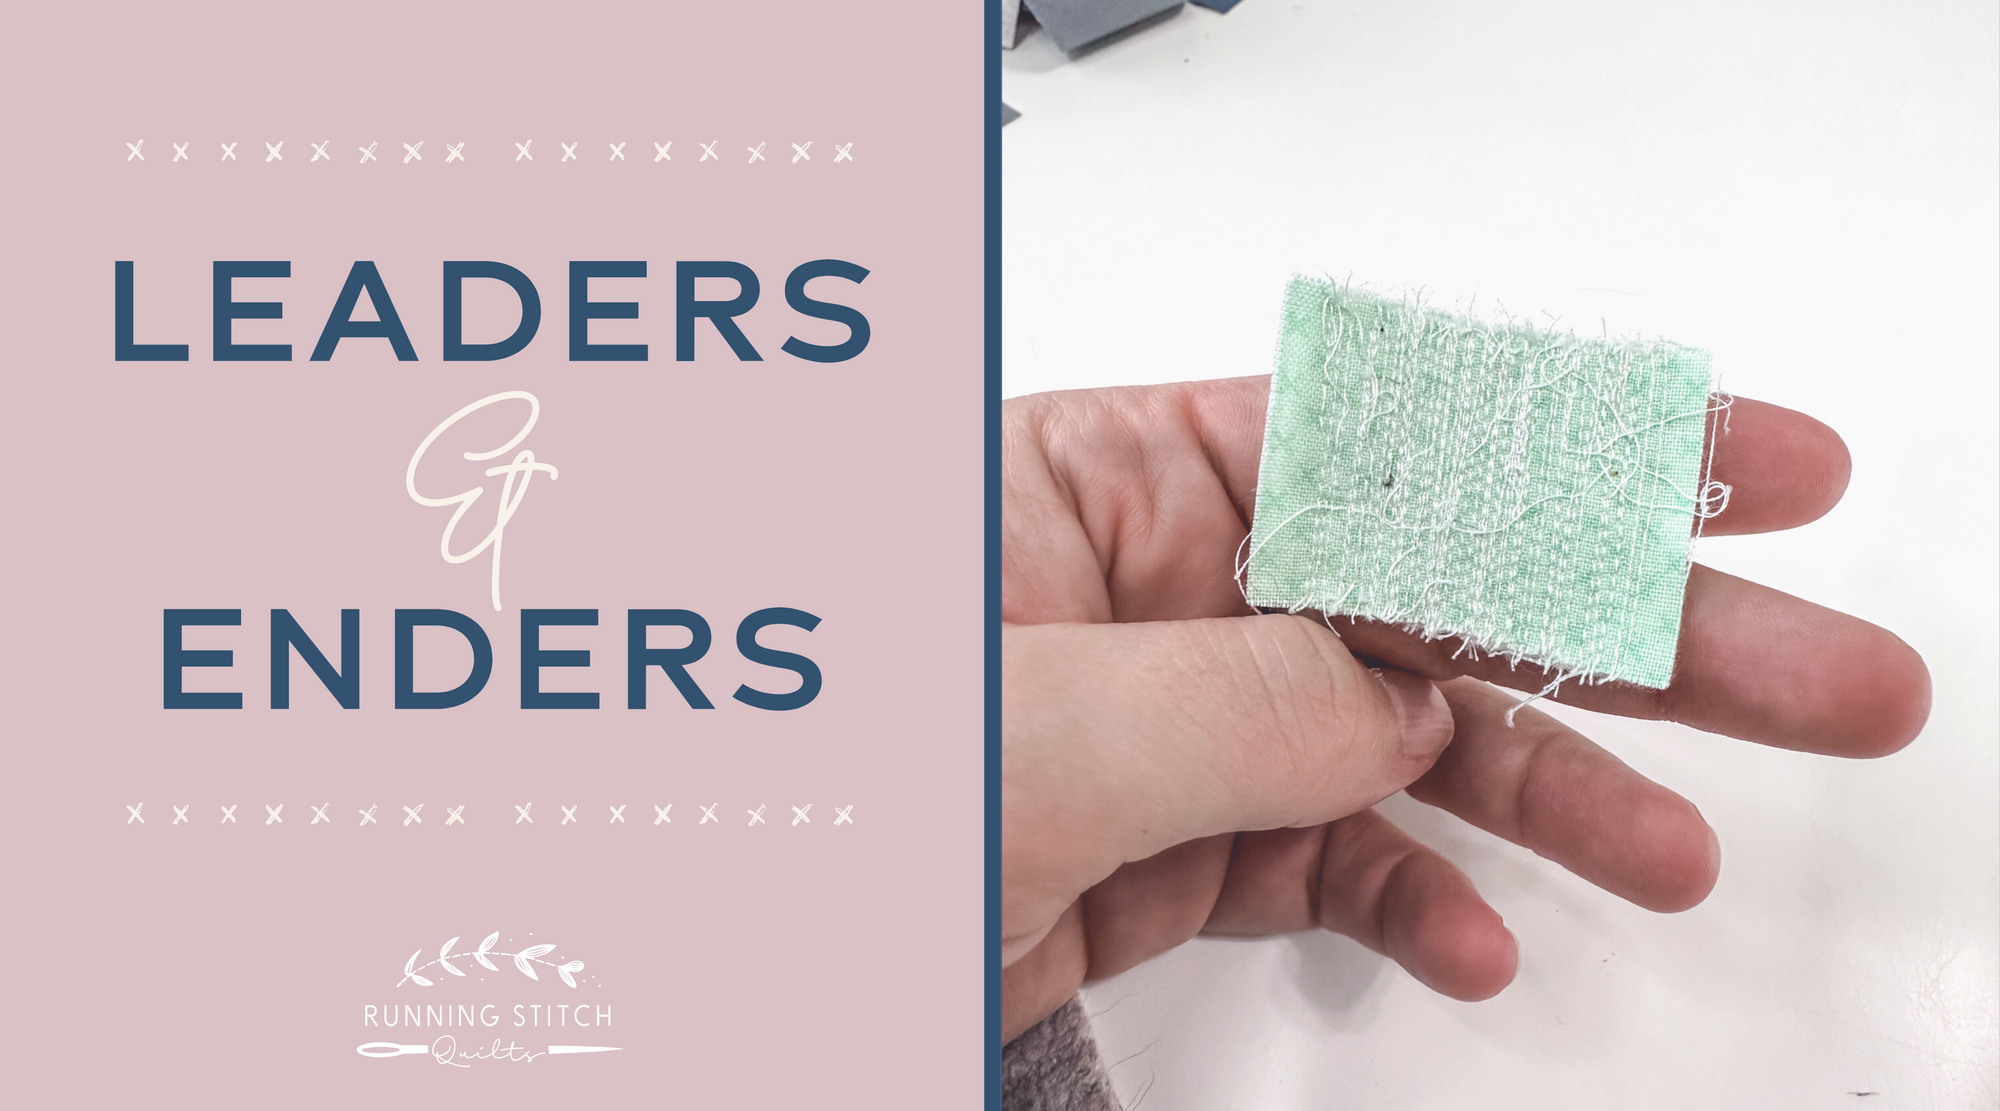
Leaders and Enders
scrappy
scraps
tutorial
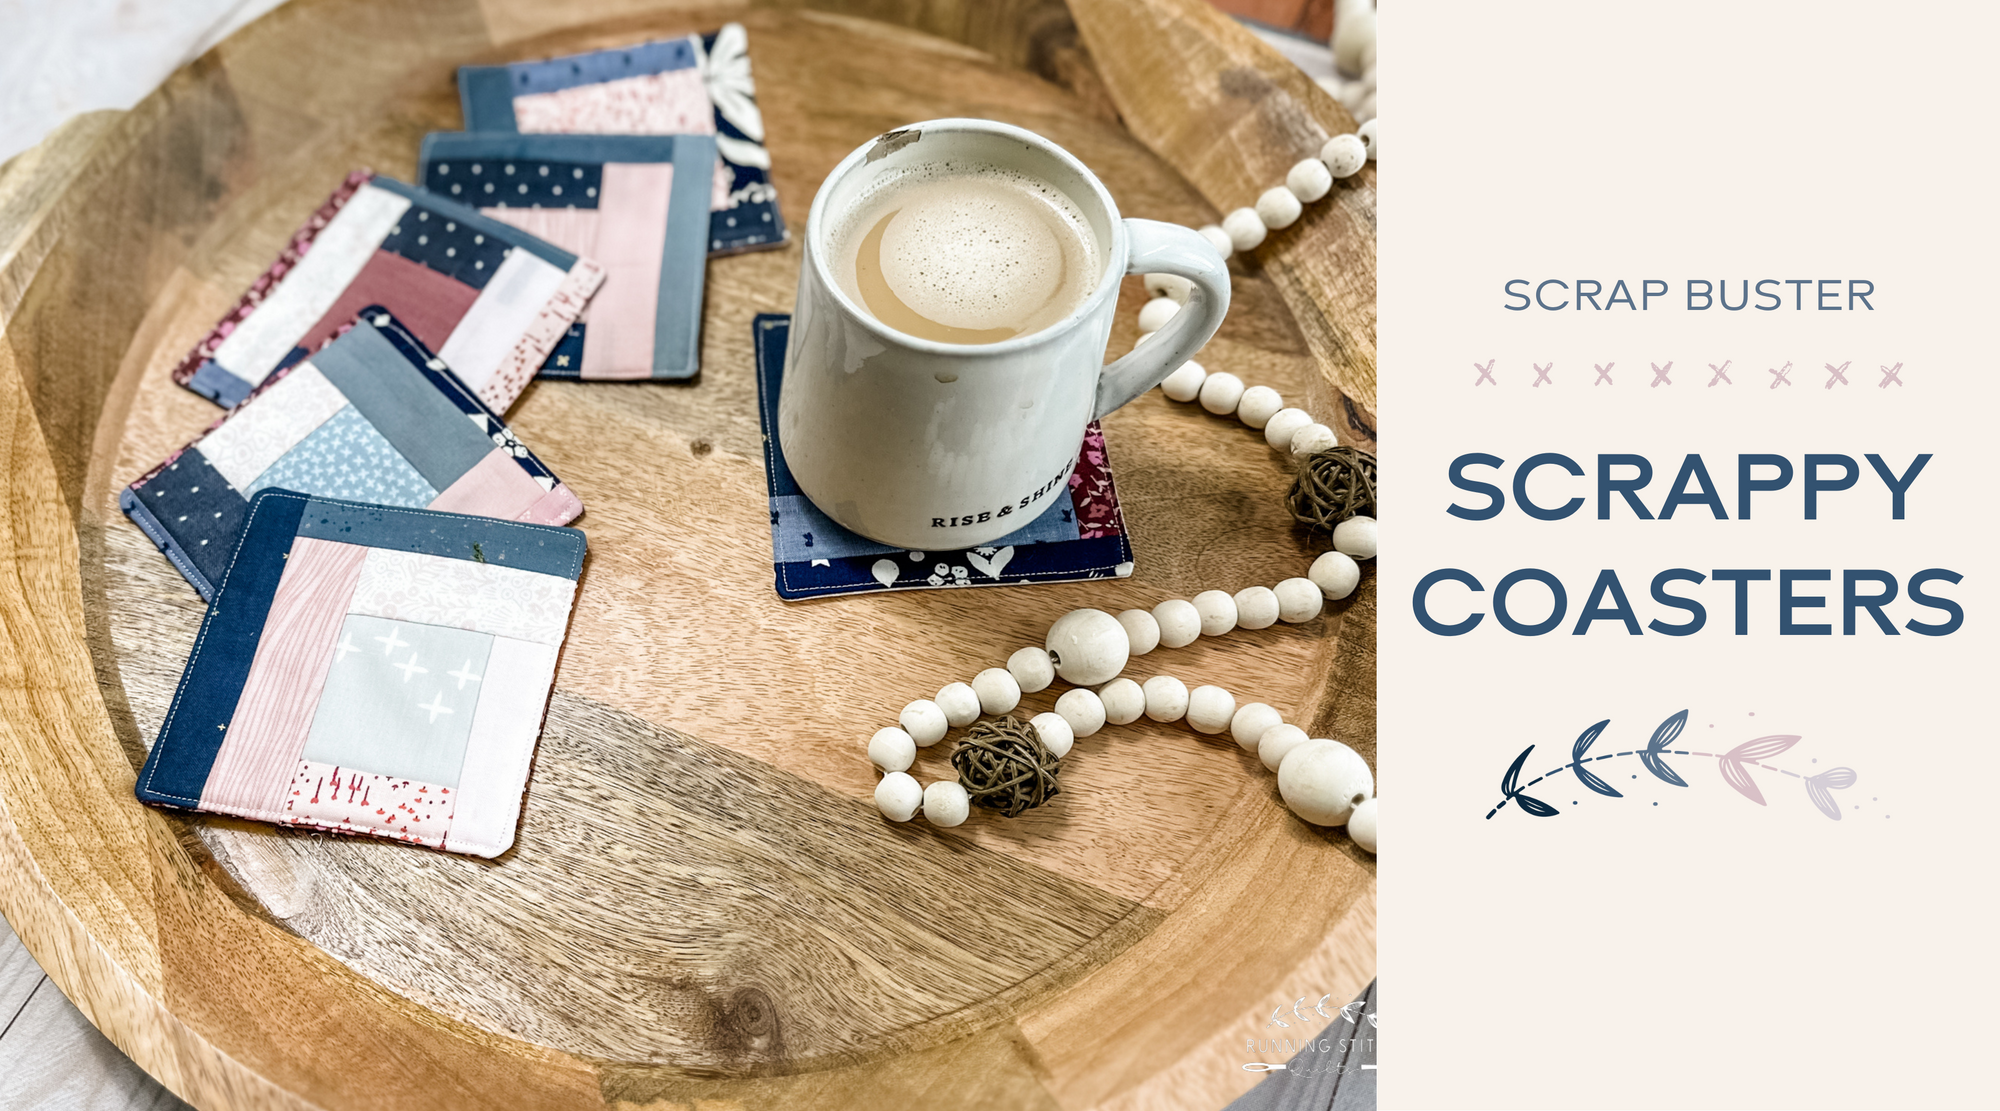
Scrap Buster Project - Scrappy Coasters
advice
Scrappy Valley
scraps
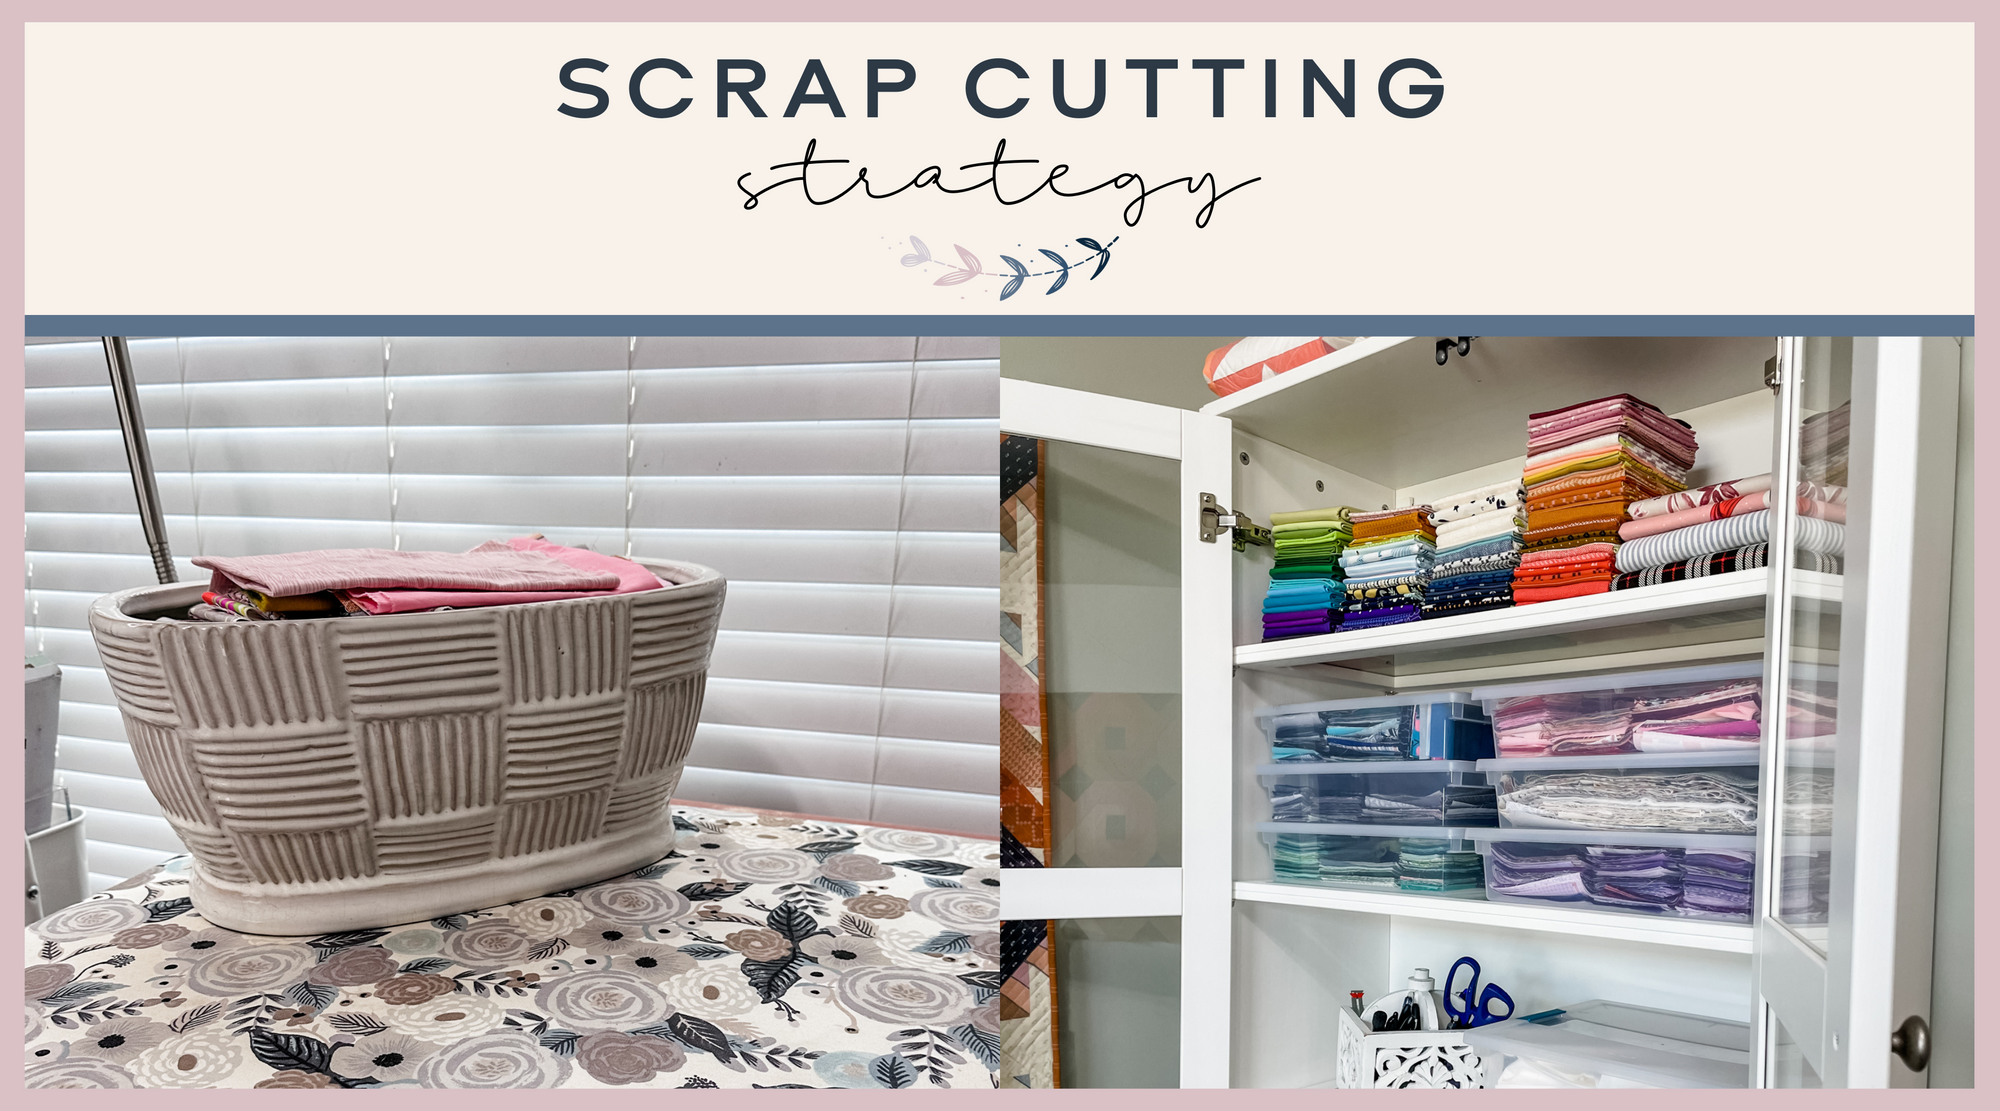
Scrap Cutting Strategy
scraps
tutorial
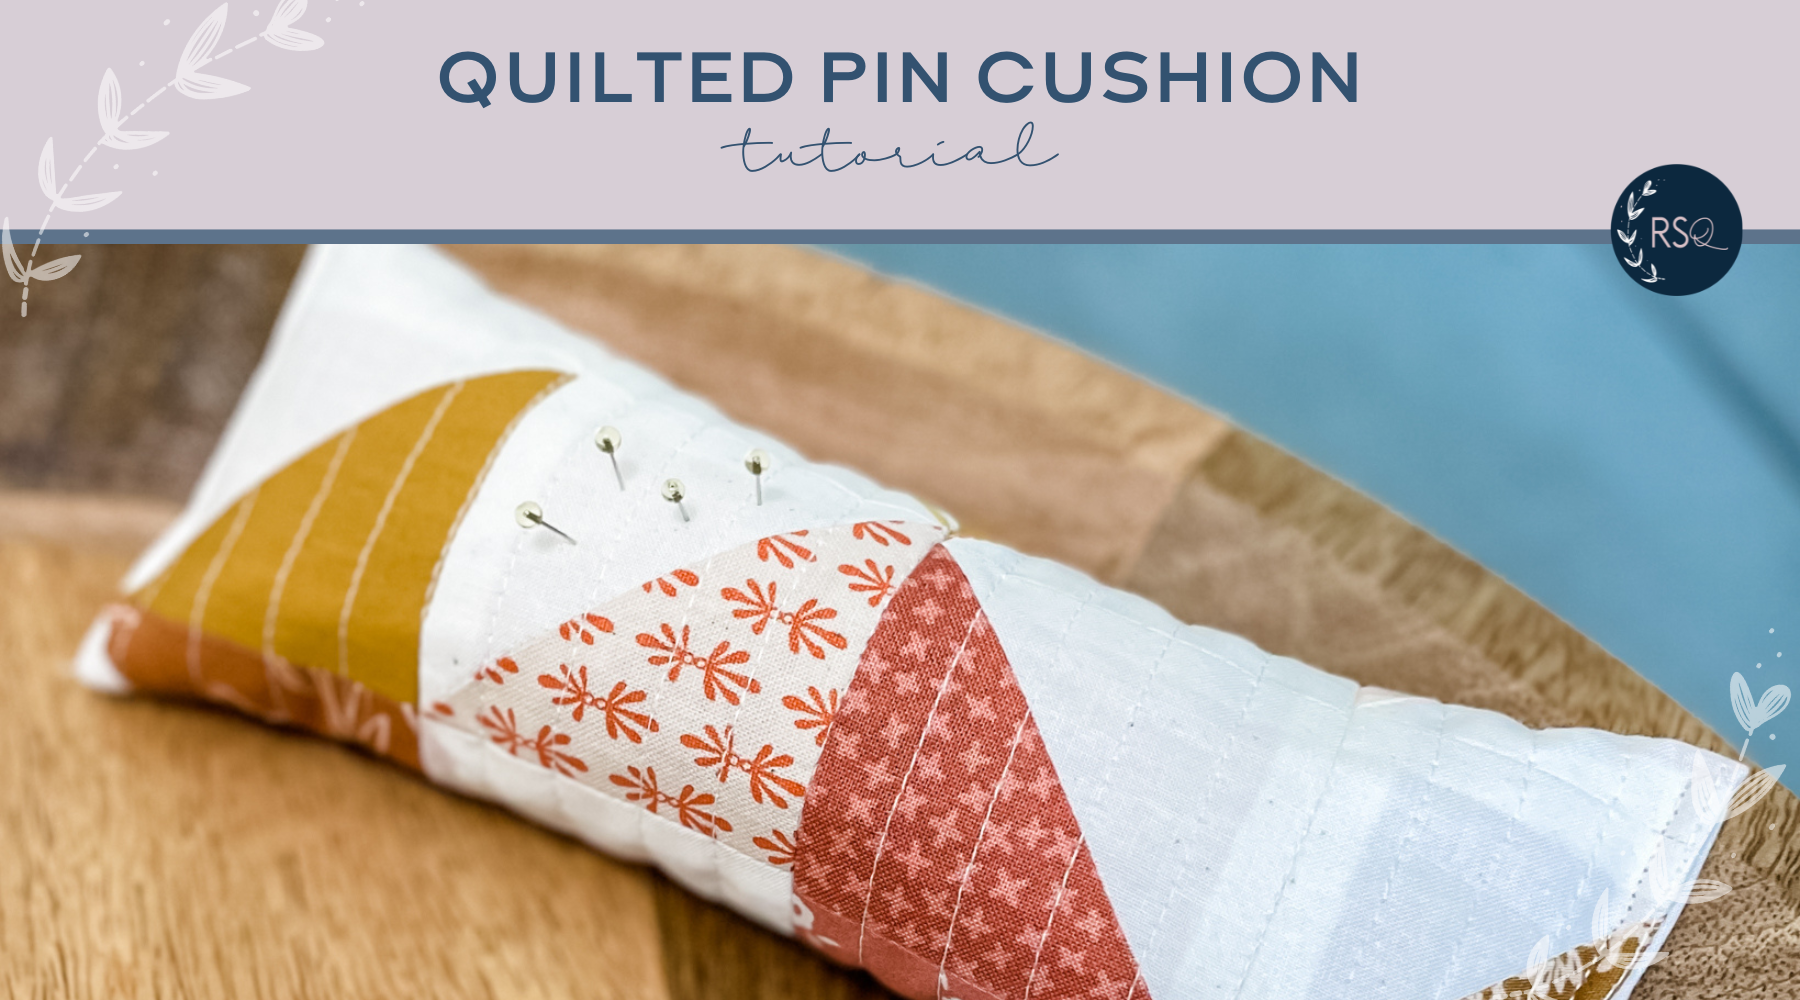
Quilted Pin Cushion Tutorial
advice
scraps
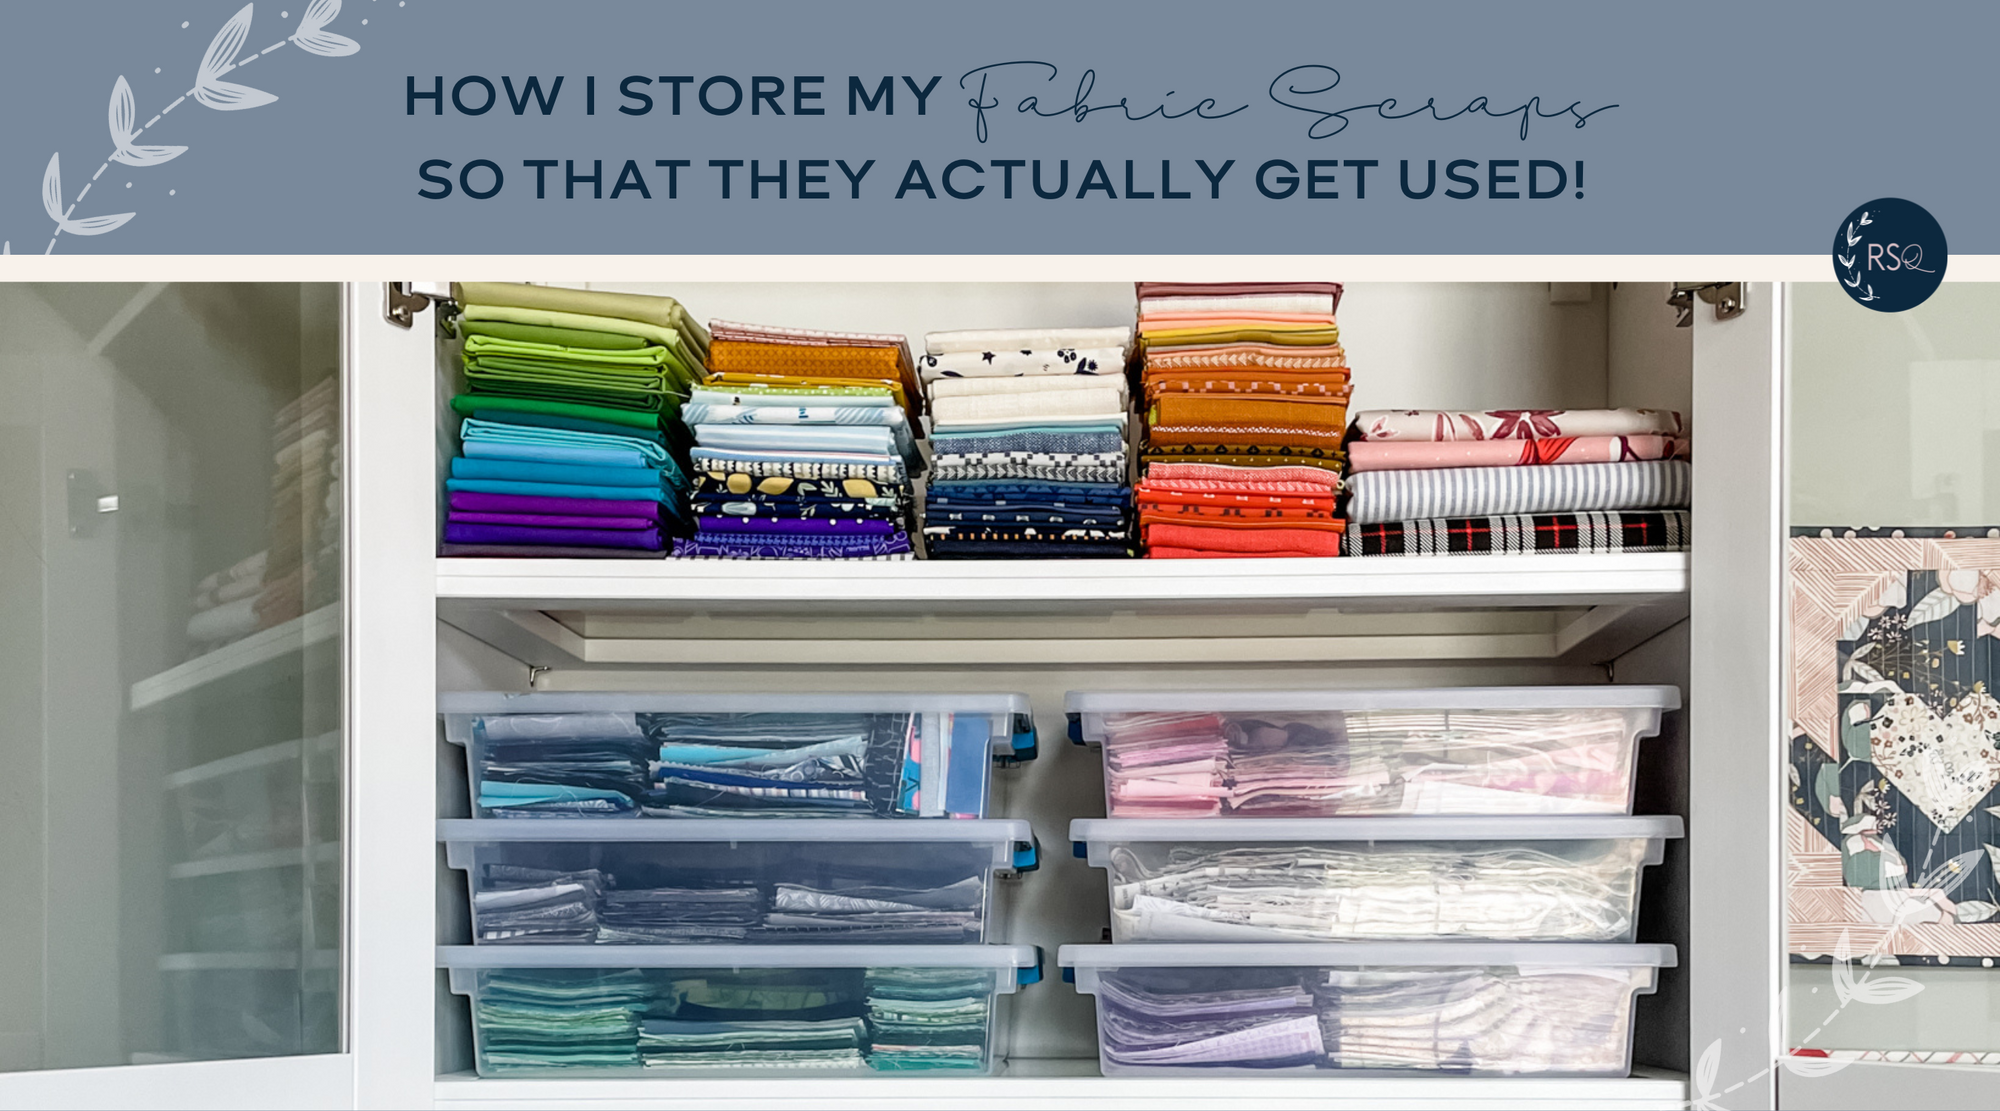
How I Store and Manage My Fabric Scraps
advice
scraps
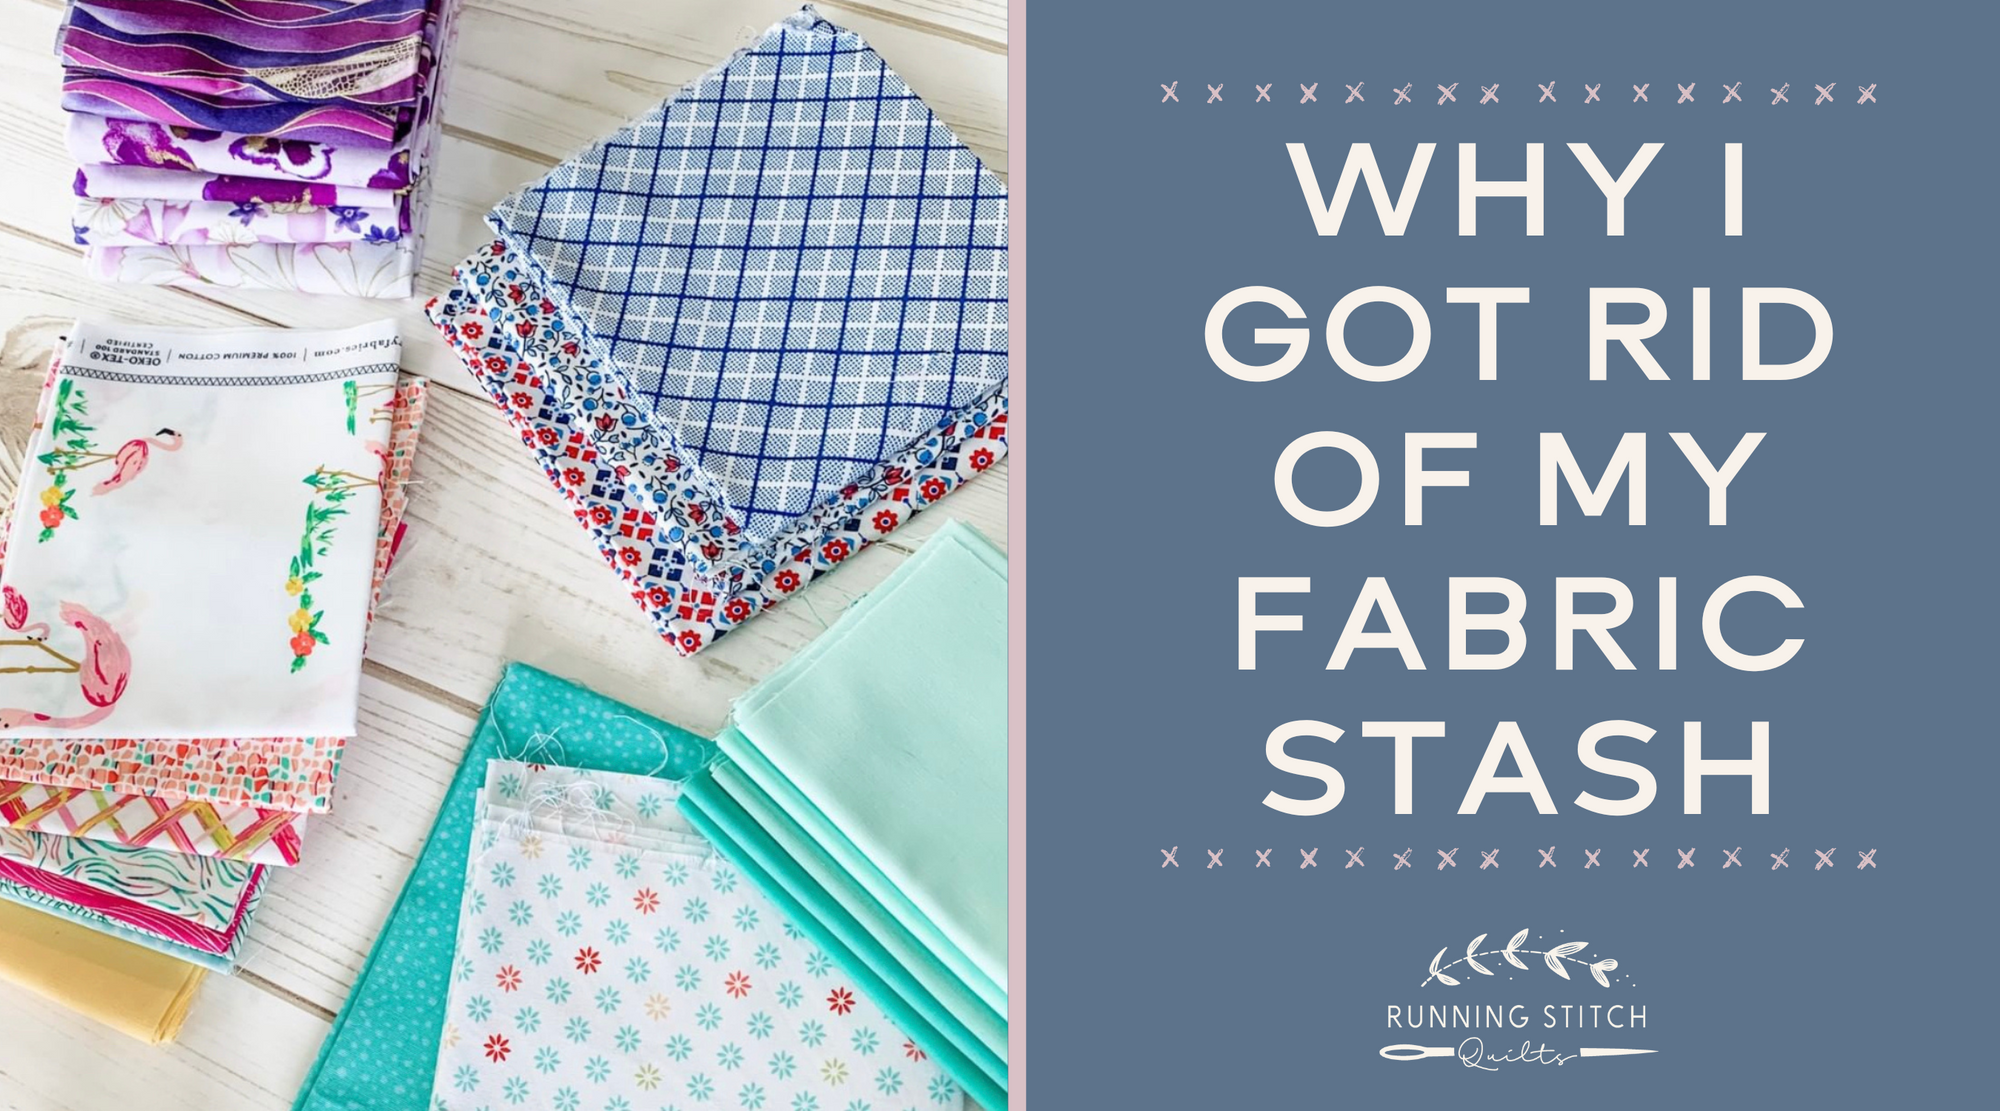
Why I Got Rid of My Fabric Stash