All orders placed between 5/3/2026-5/10/2026 will ship on 5/11/2026!
Log in
Cart (
0
)
Checkout
HOME
IMPROV
SHOP
PDF Patterns
Printed Patterns
Book
Fabric
Quilt Kits
Fabric Bundles
Backing Fabric
Fabric Destash
Notions & Gifts
Handmade Quilts
BLOG
Scrap Management
Tutorials
Color Inspo
ABOUT
WHOLESALE
CONTACT
LOGIN
HOME
IMPROV
SHOP
PDF Patterns
Printed Patterns
Book
Fabric
Quilt Kits
Fabric Bundles
Backing Fabric
Fabric Destash
Notions & Gifts
Handmade Quilts
BLOG
Scrap Management
Tutorials
Color Inspo
ABOUT
WHOLESALE
CONTACT
LOGIN
Blog
Home
Blog
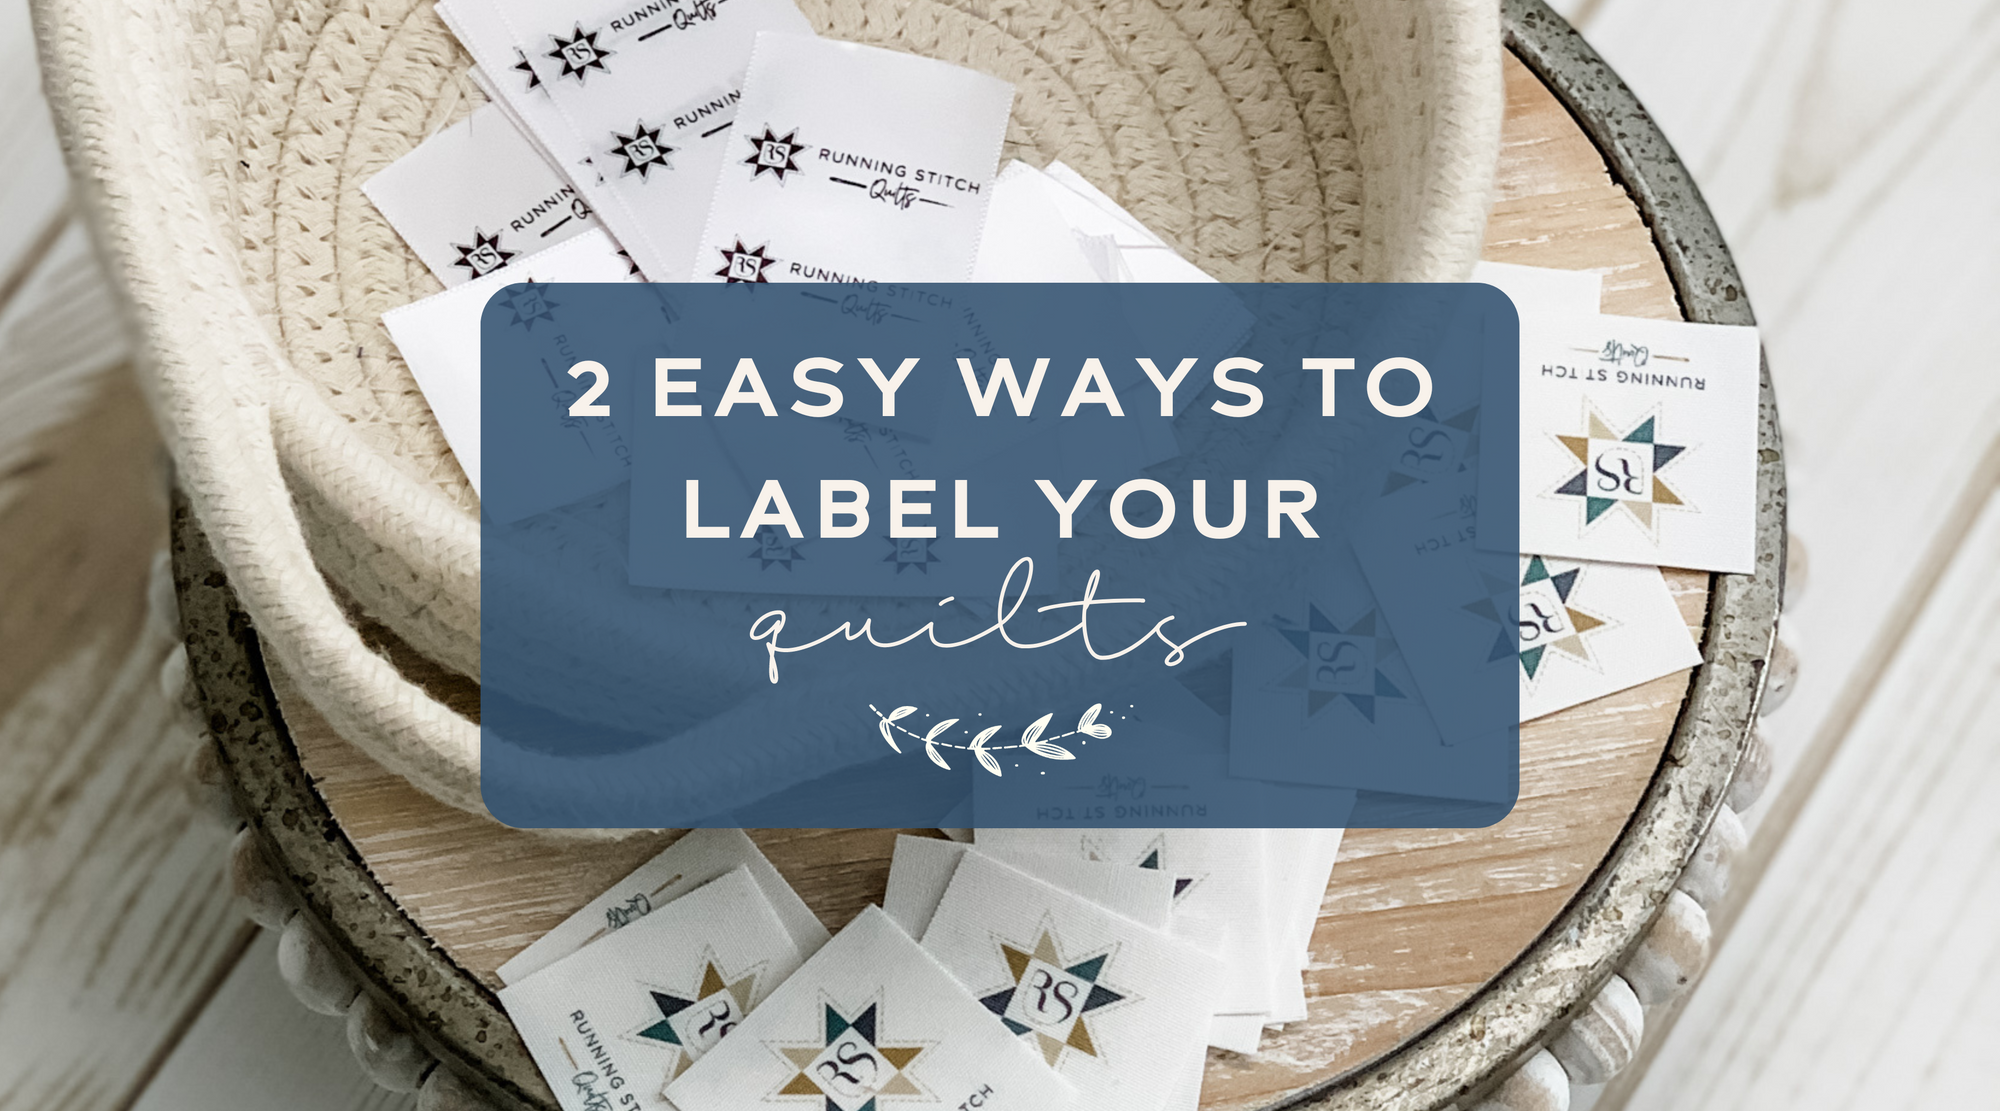
Two Easy Ways to Label Your Quilts
Baby Cowboy Quilt
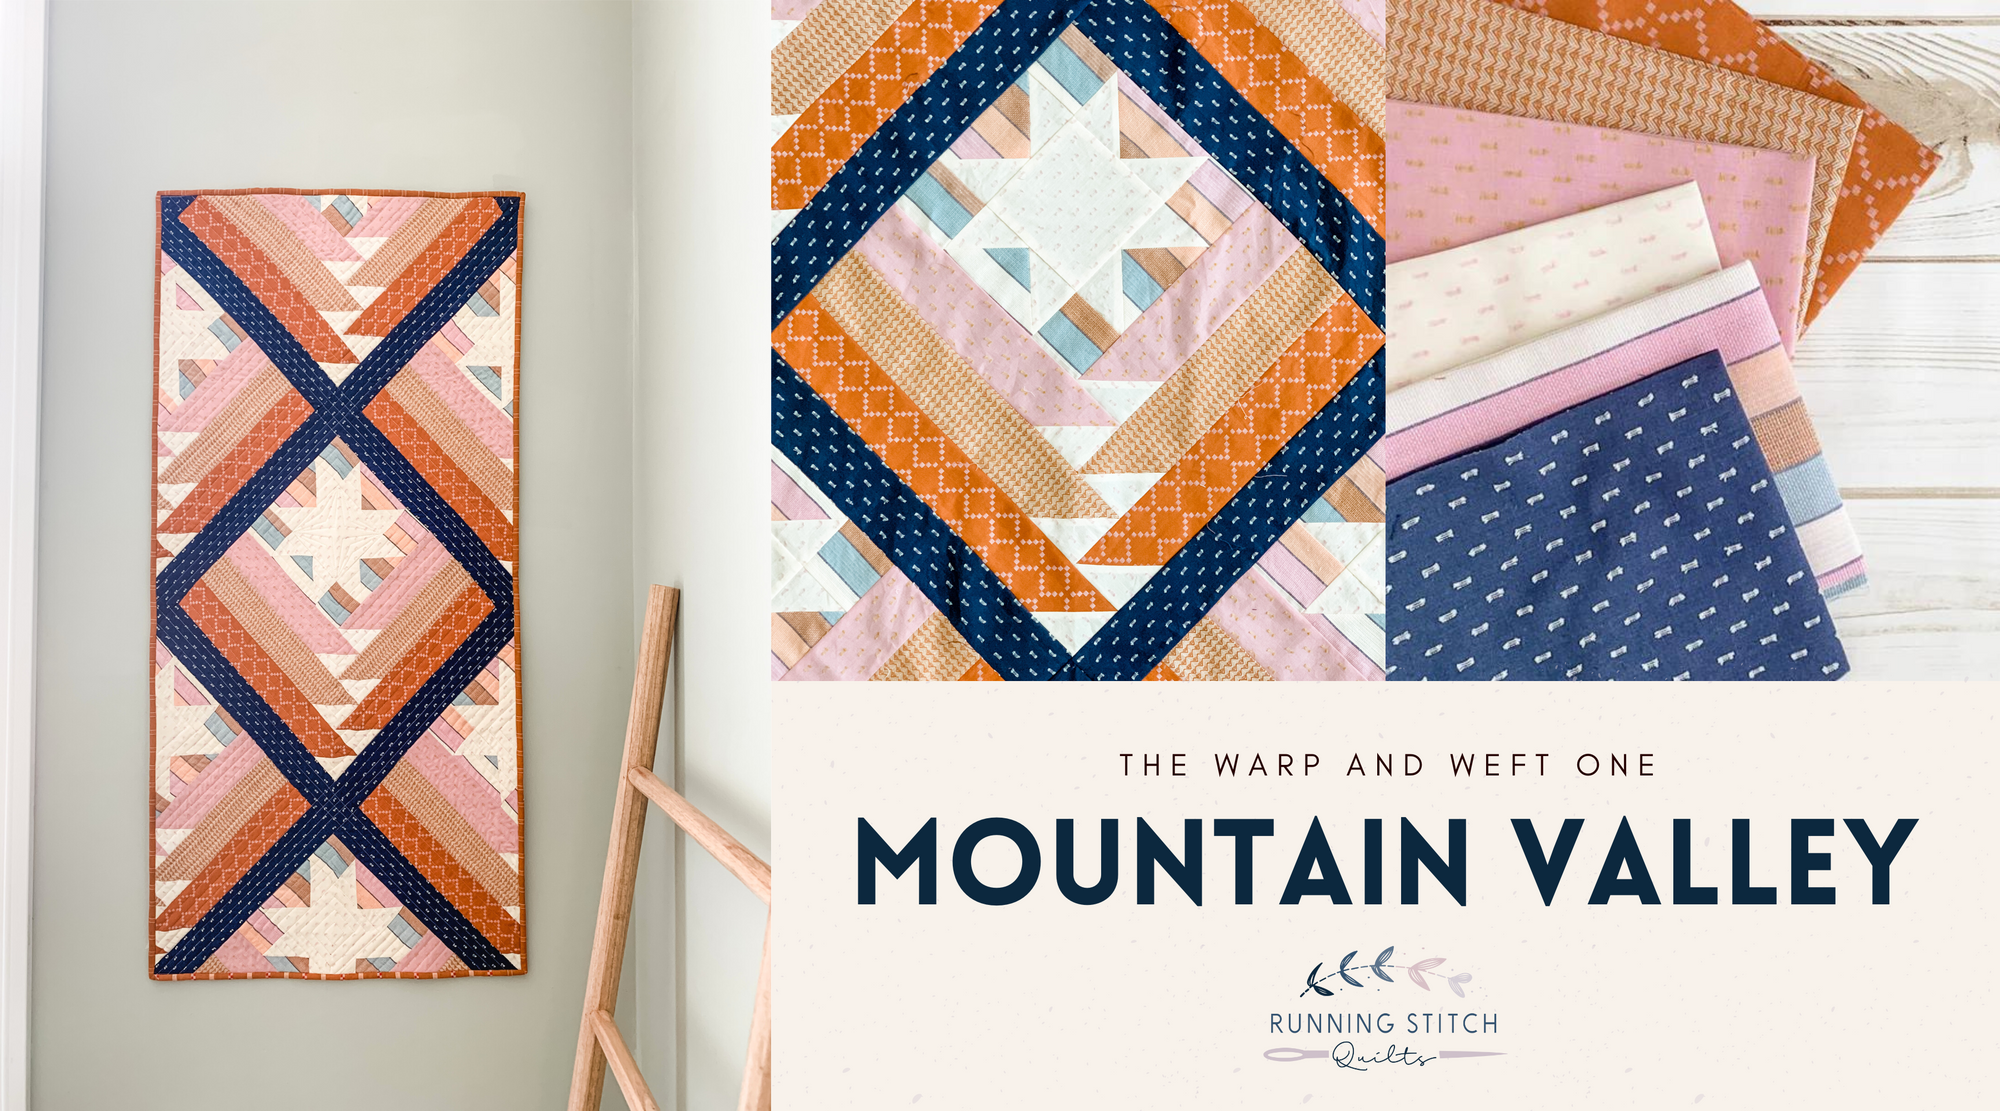
Mountain Valley Quilt - Warp and Weft Version
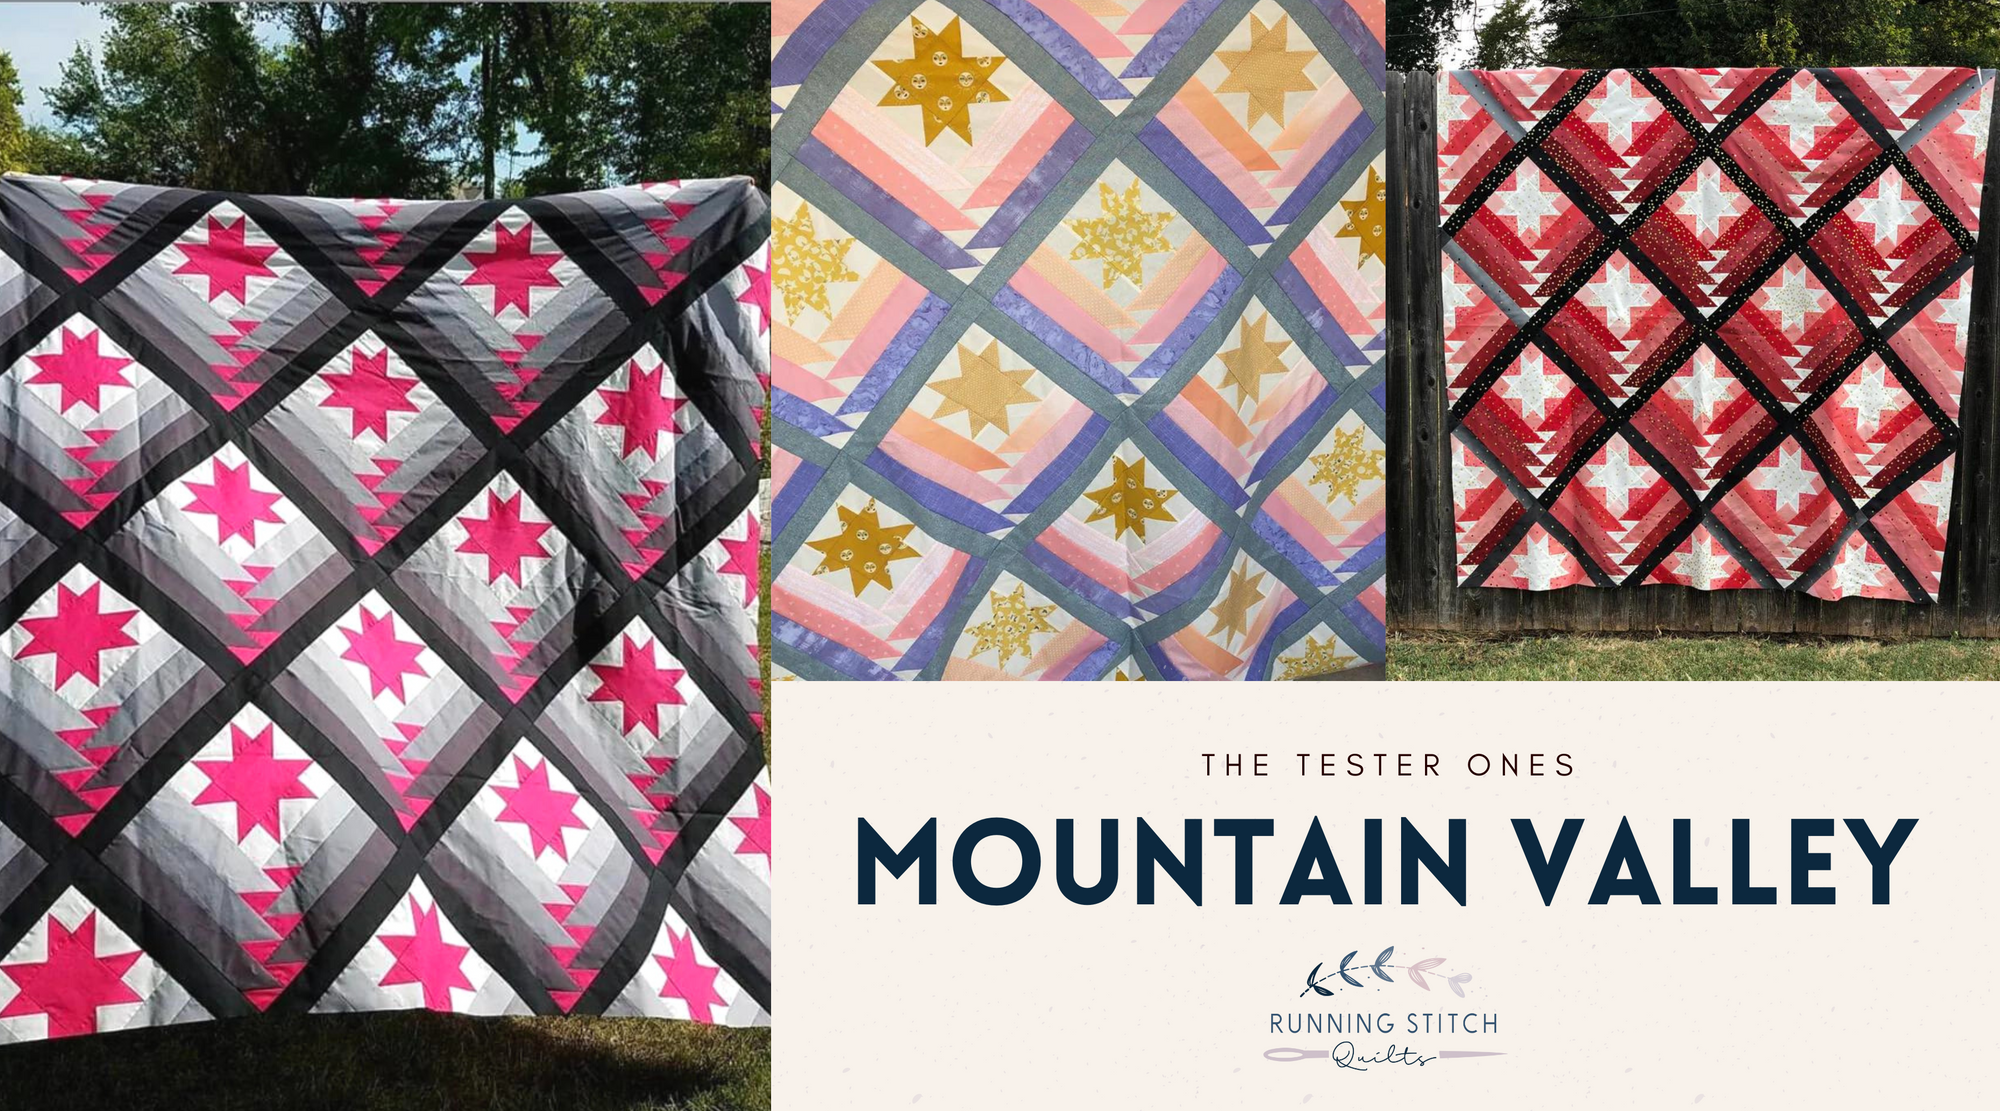
Mountain Valley Quilt - Tester Versions
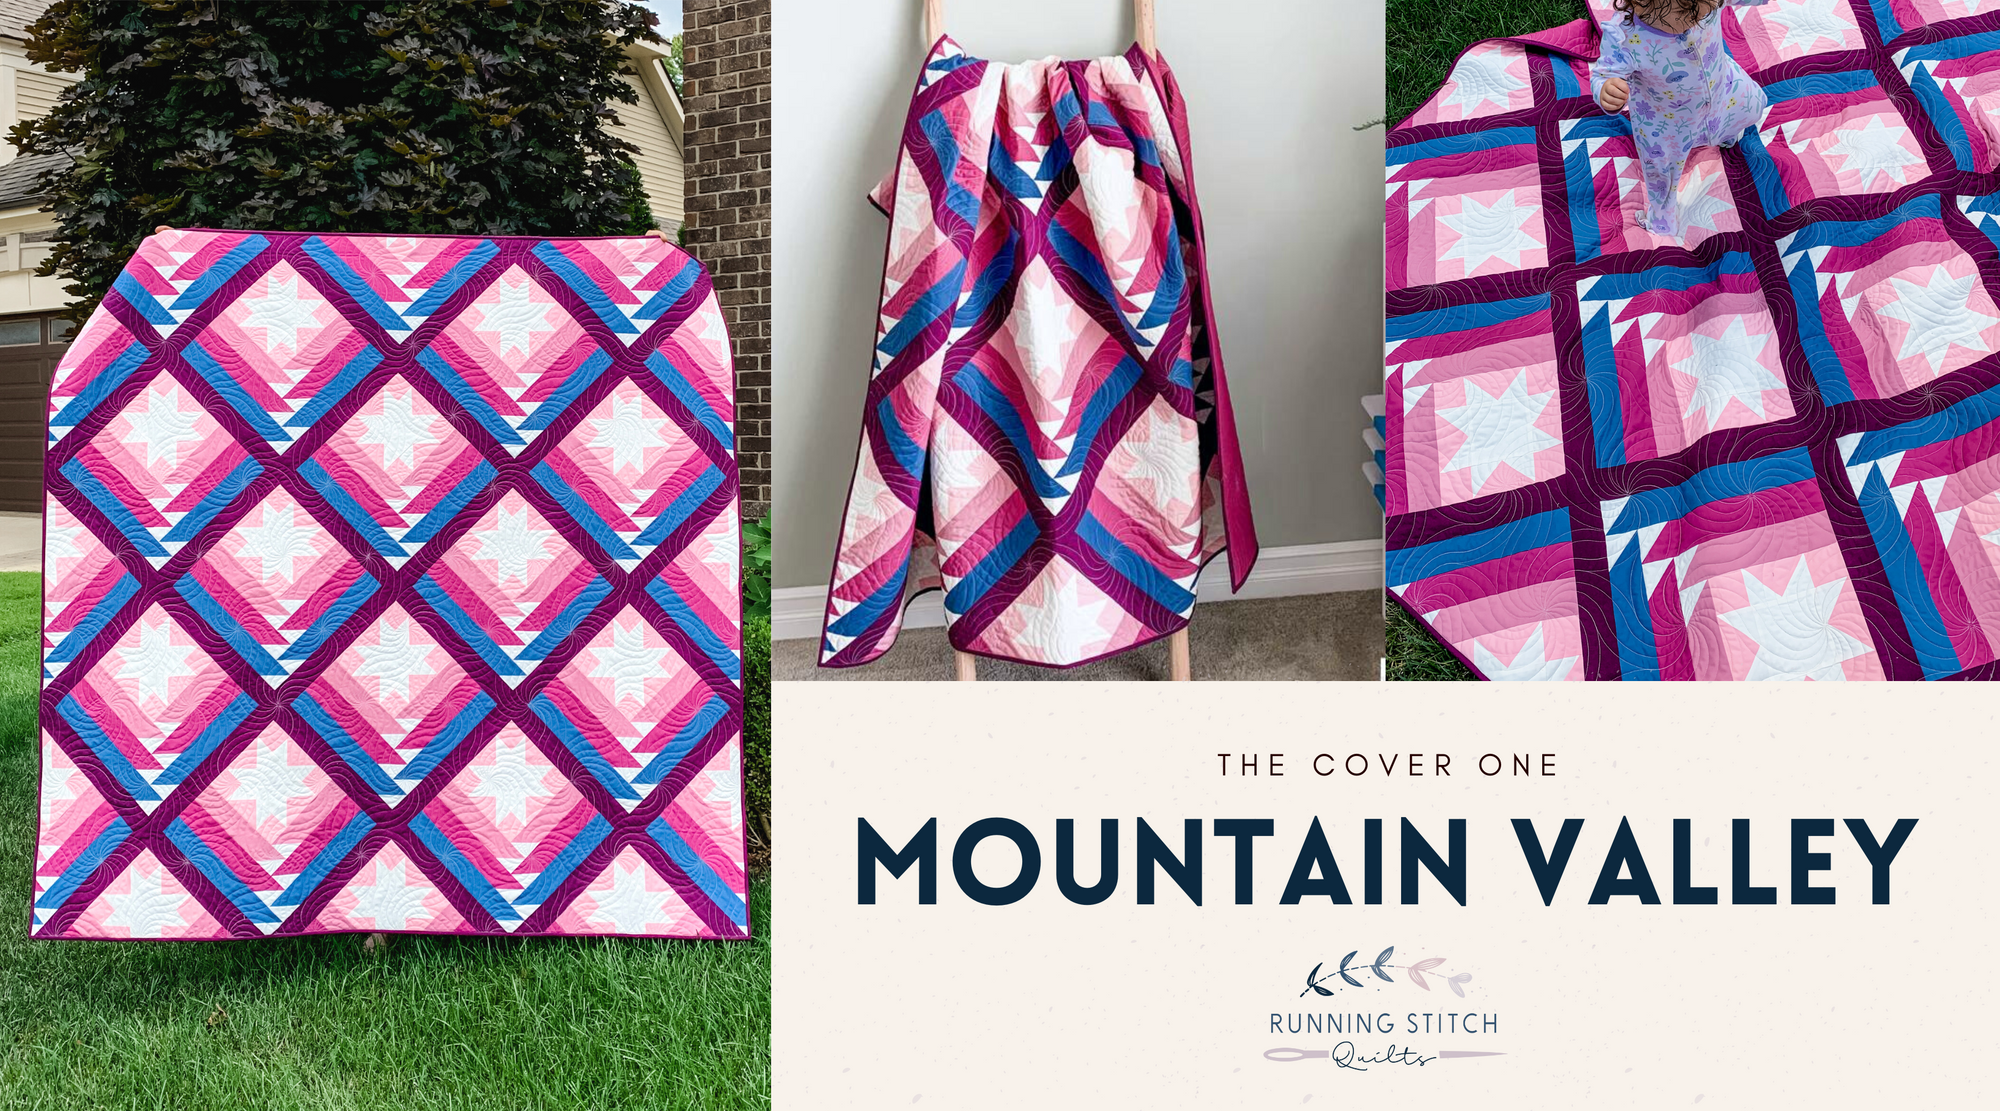
Mountain Valley Quilt Pattern
Snowflakes in July - The Scrappy One
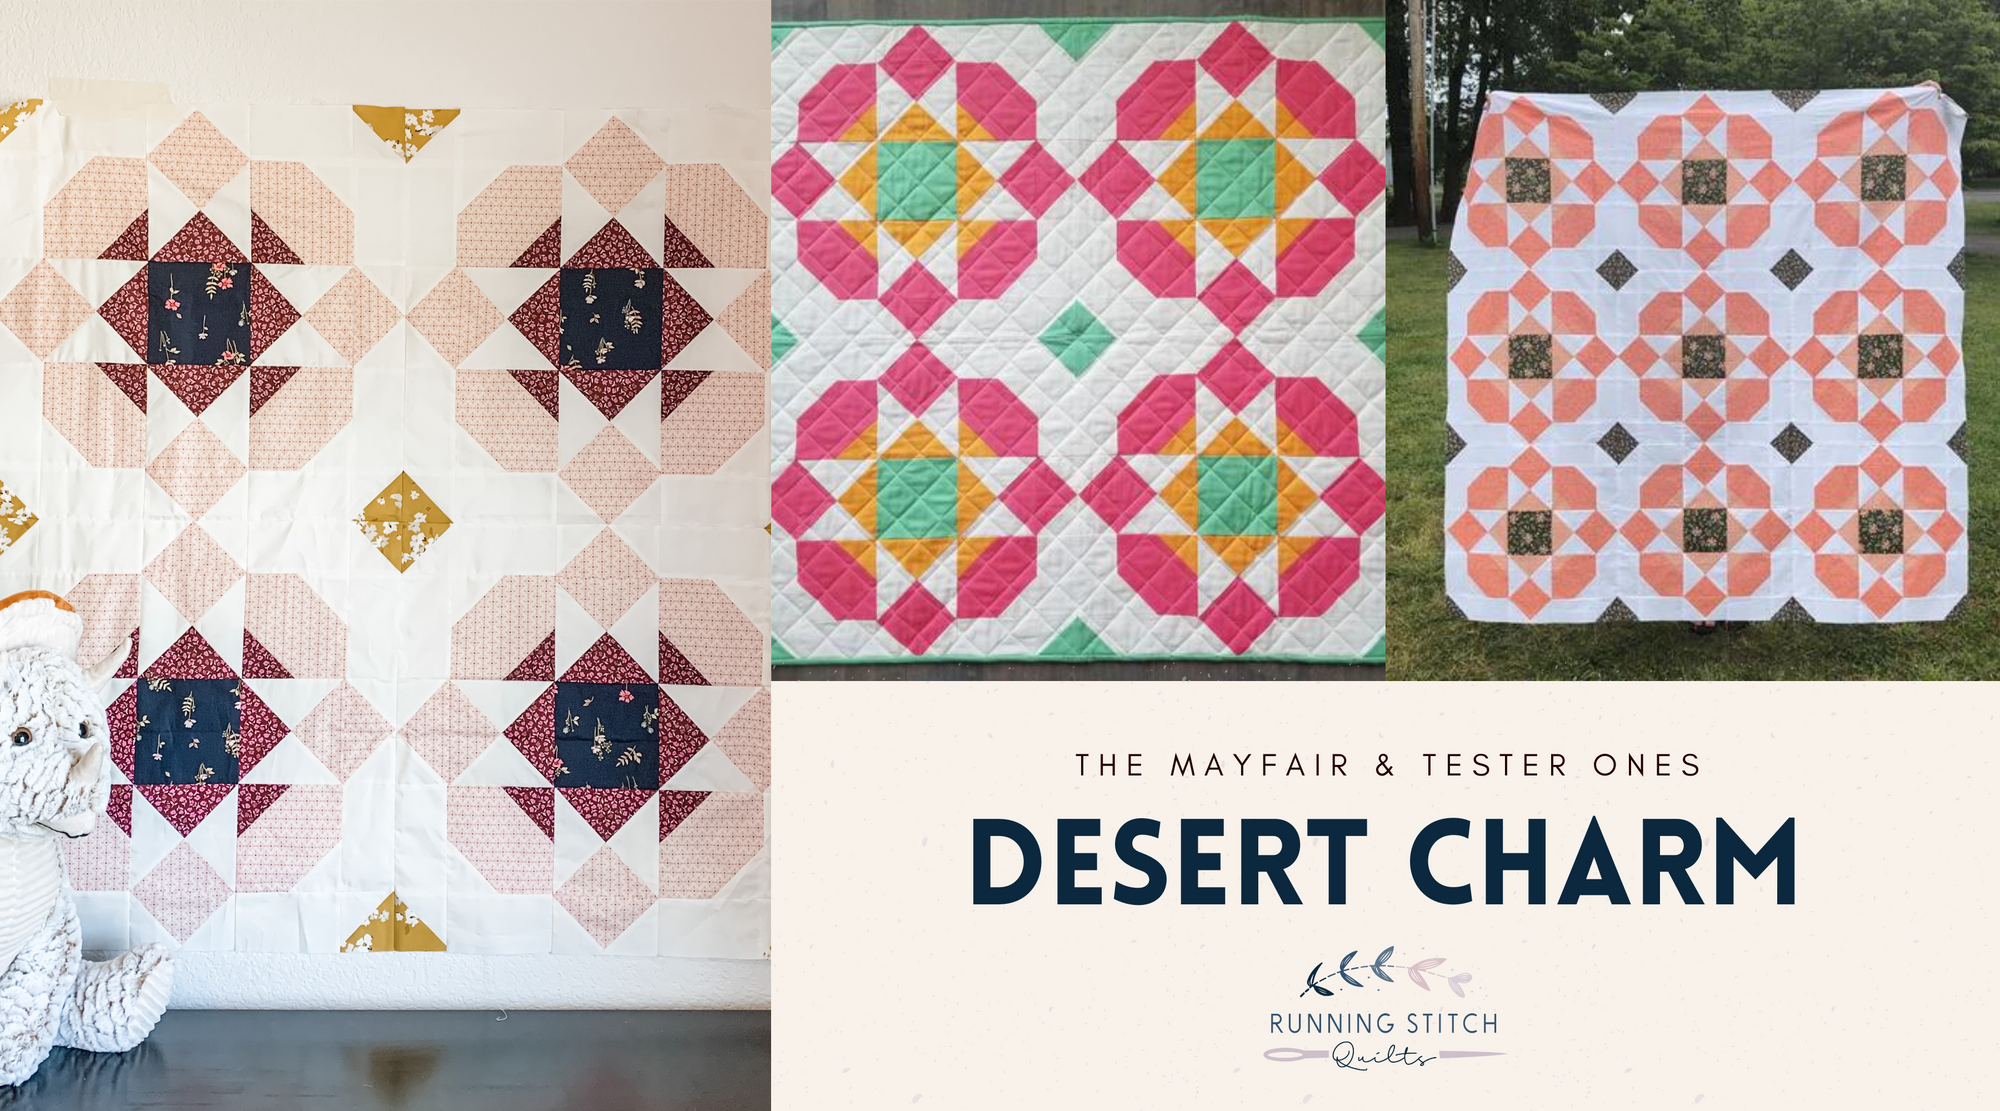
Desert Charm - AGF Mayfair and Tester Versions
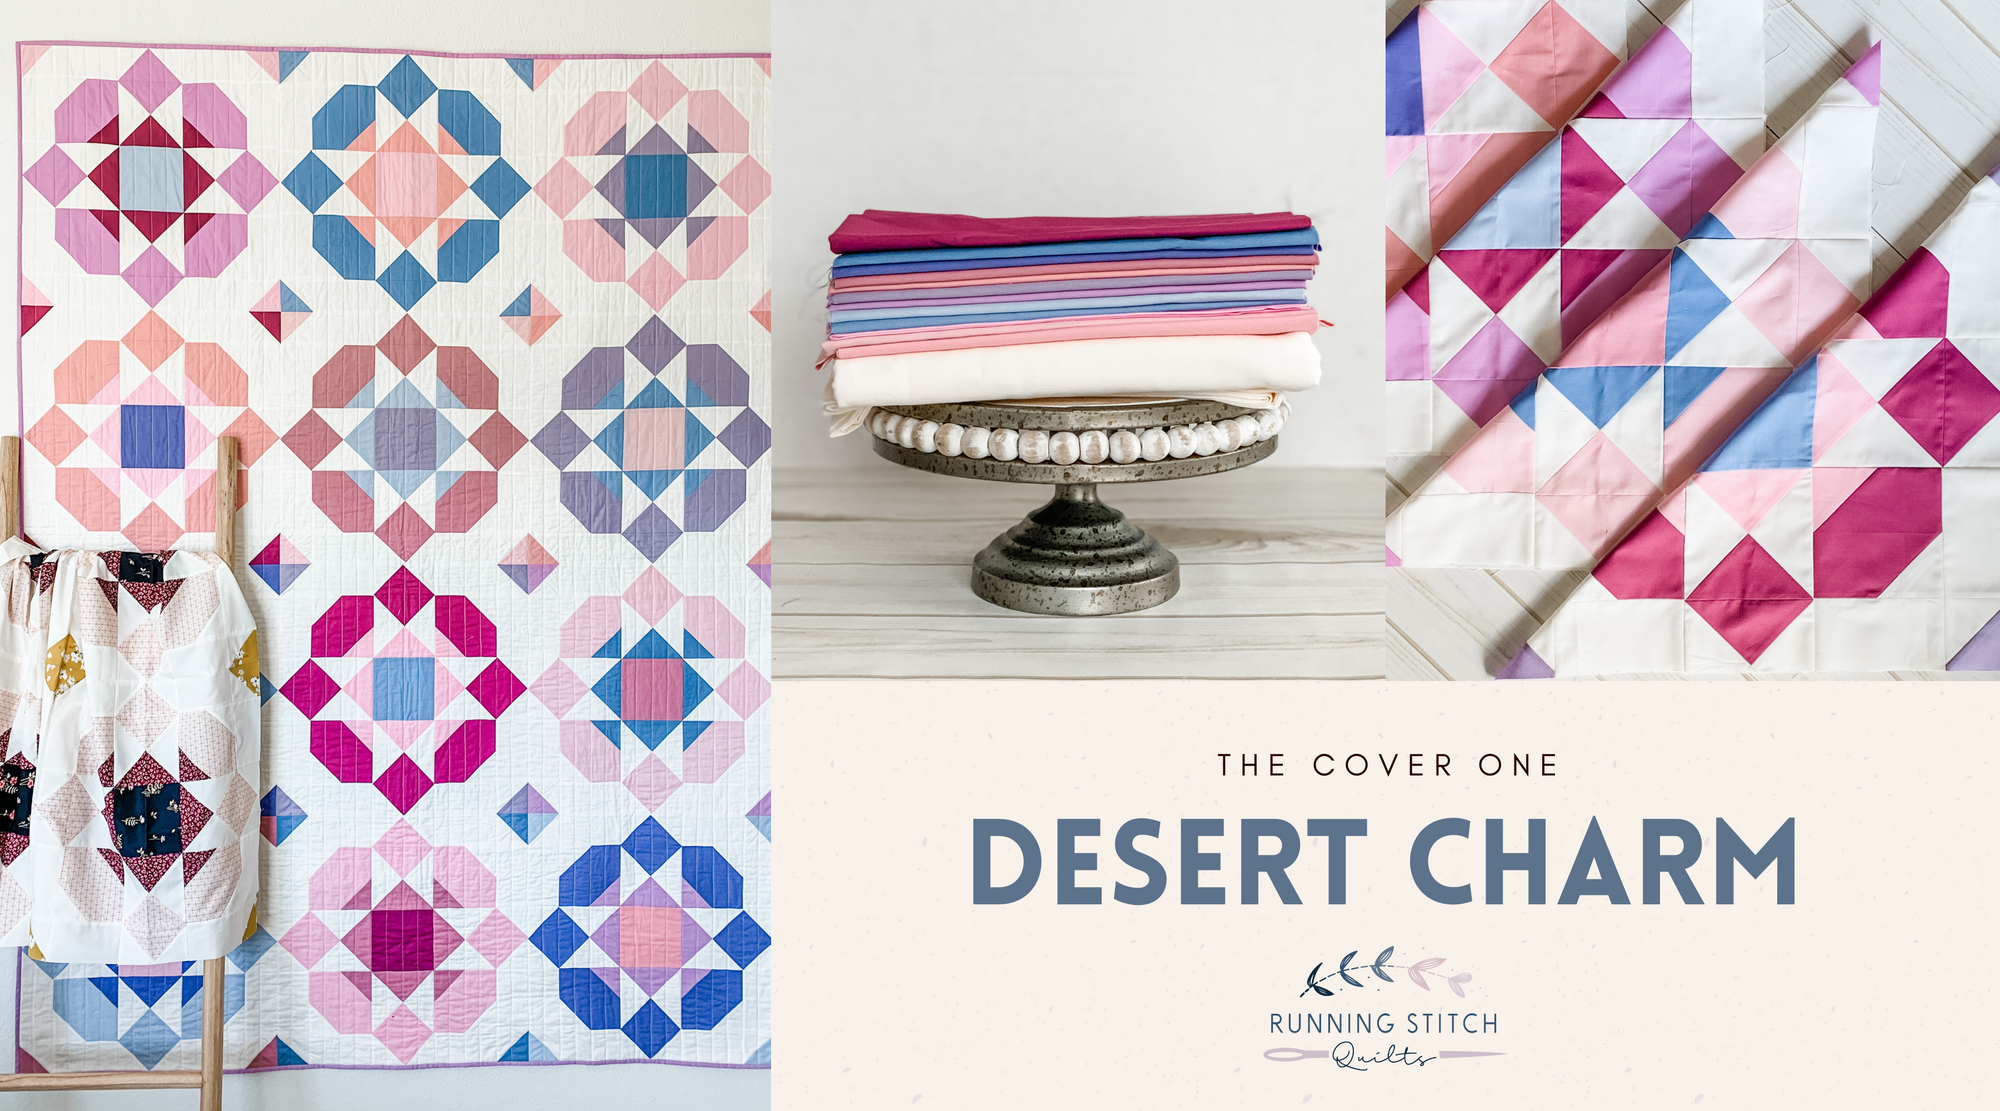
Desert Charm Quilt Pattern
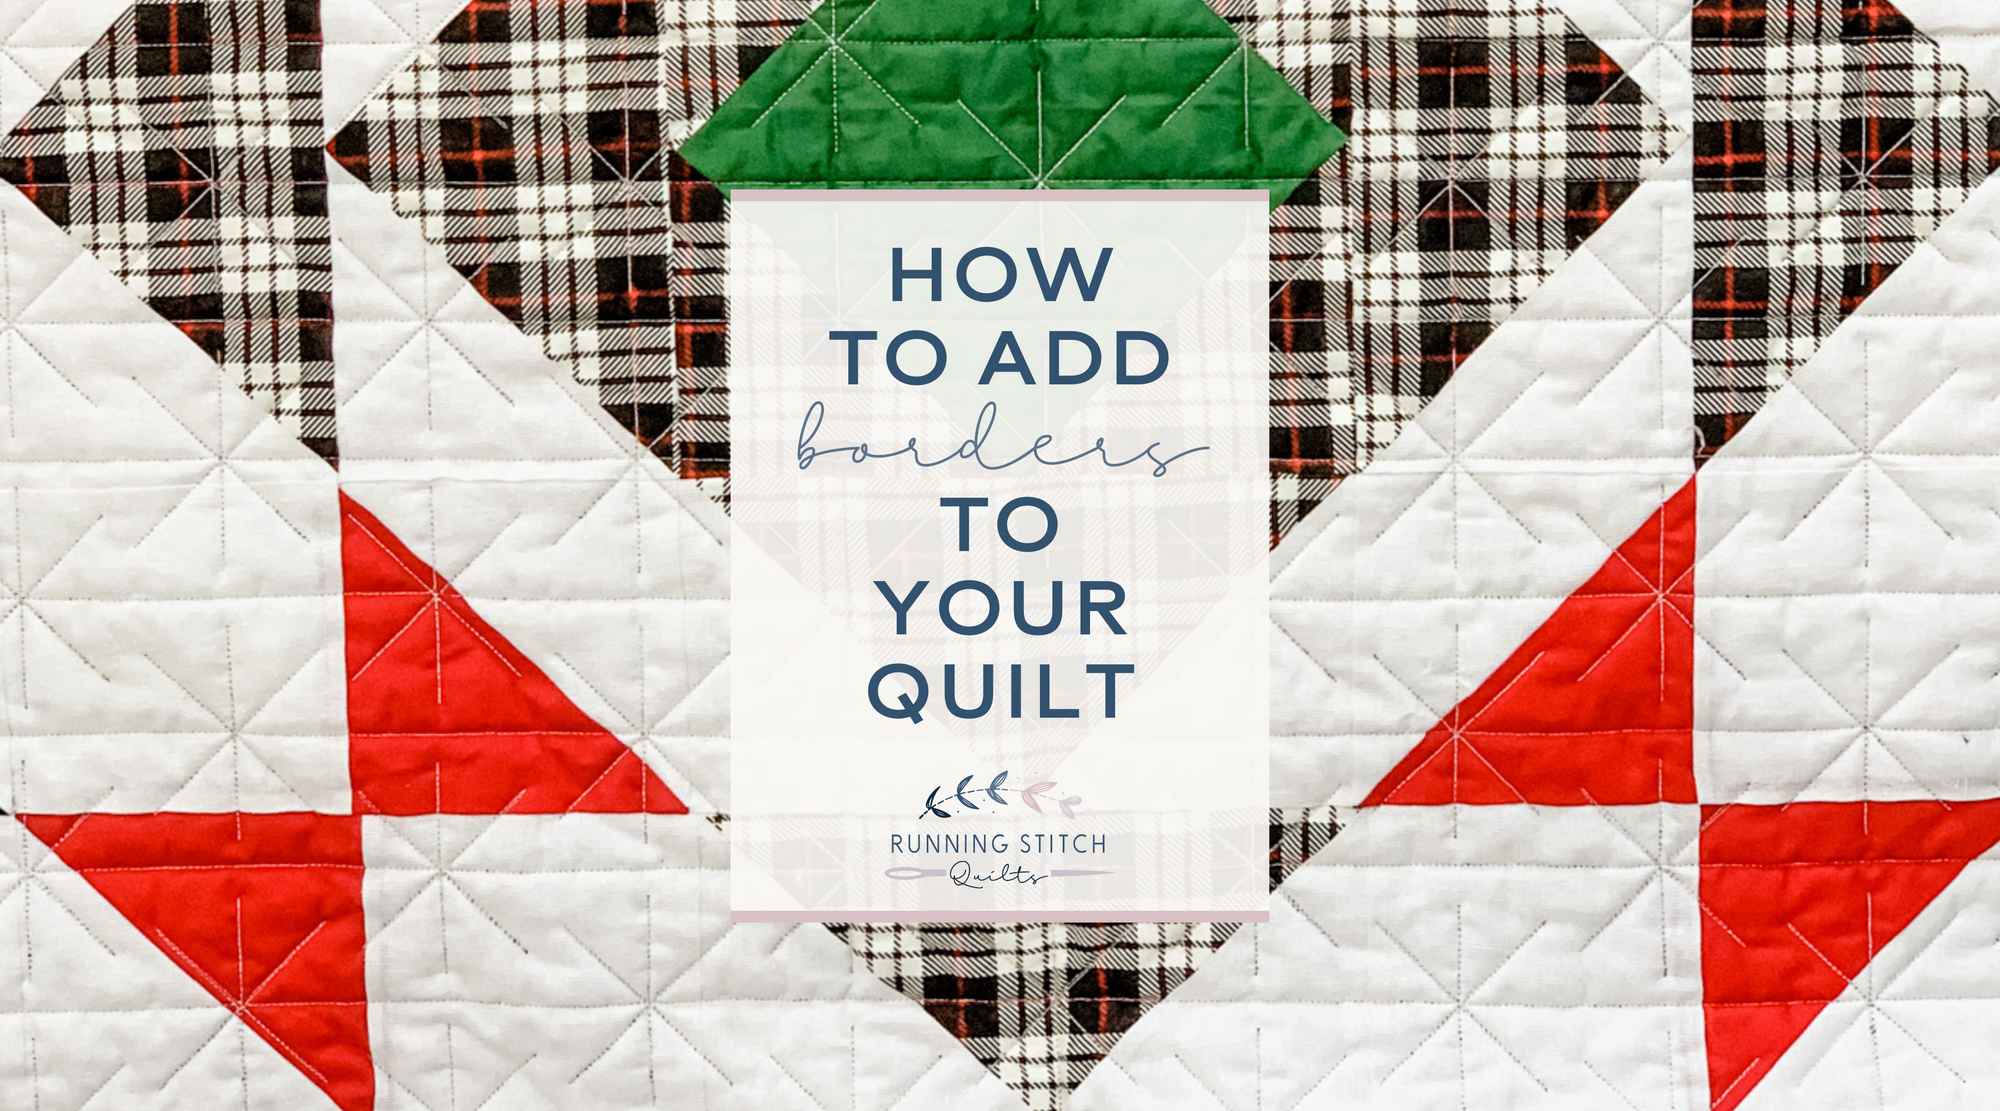
How to Add Borders to your Quilt
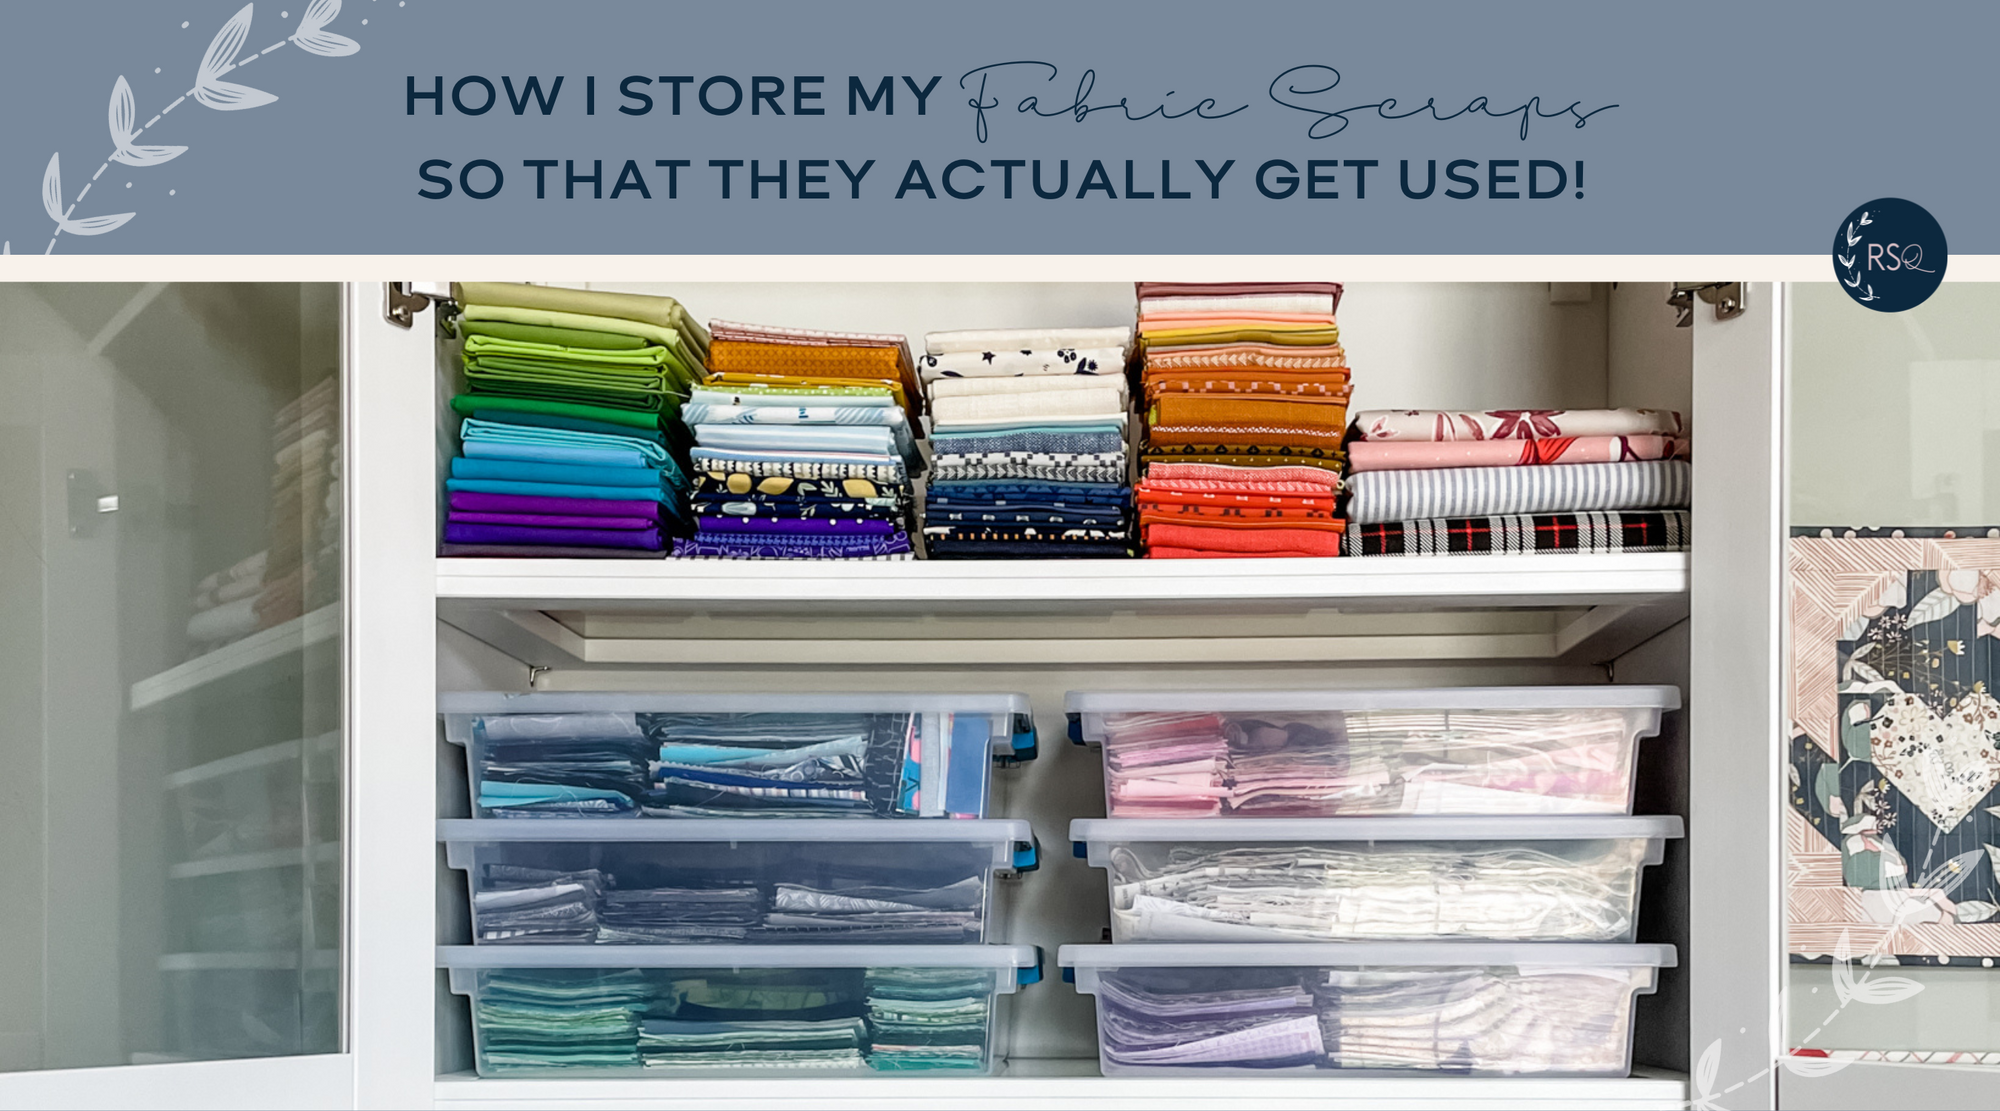
How I Store and Manage My Fabric Scraps
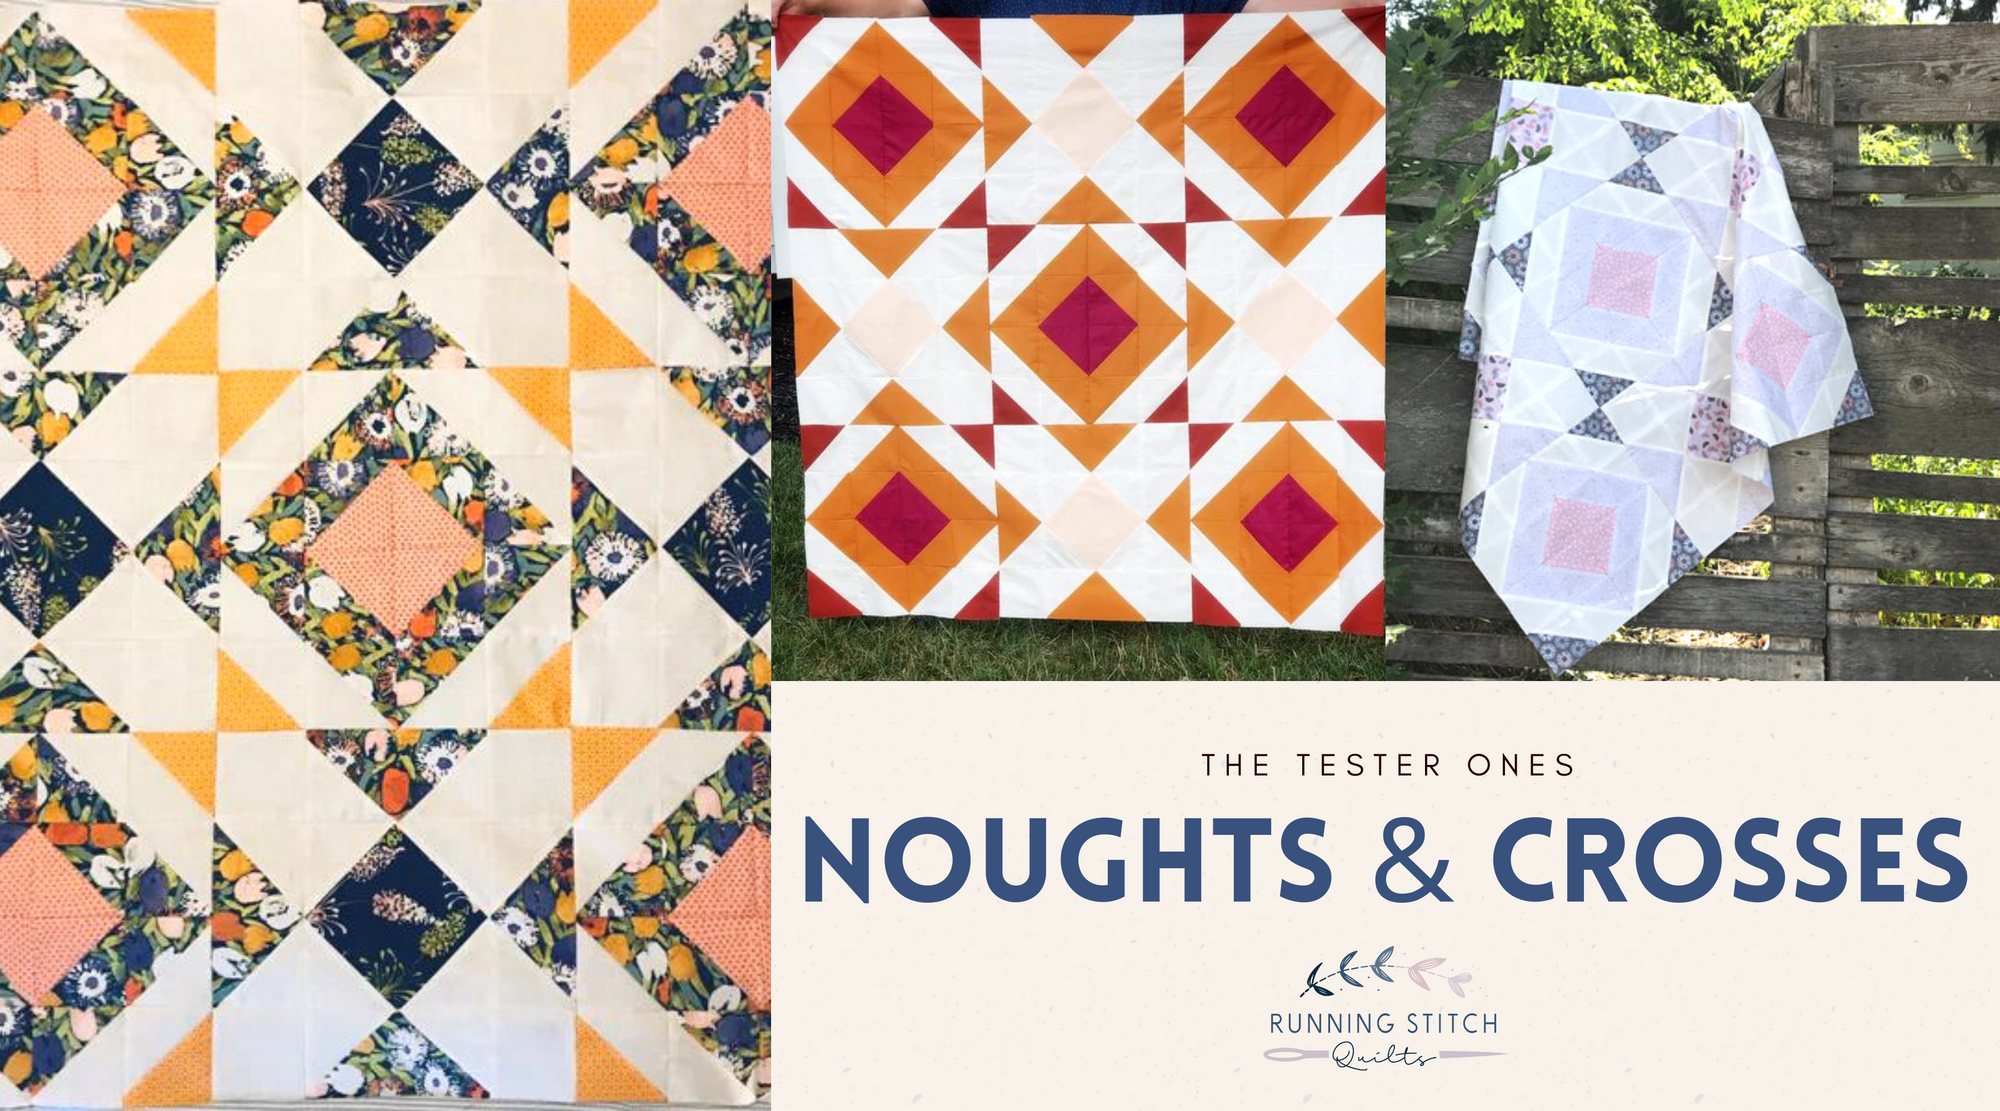
Noughts and Crosses - Tester Versions
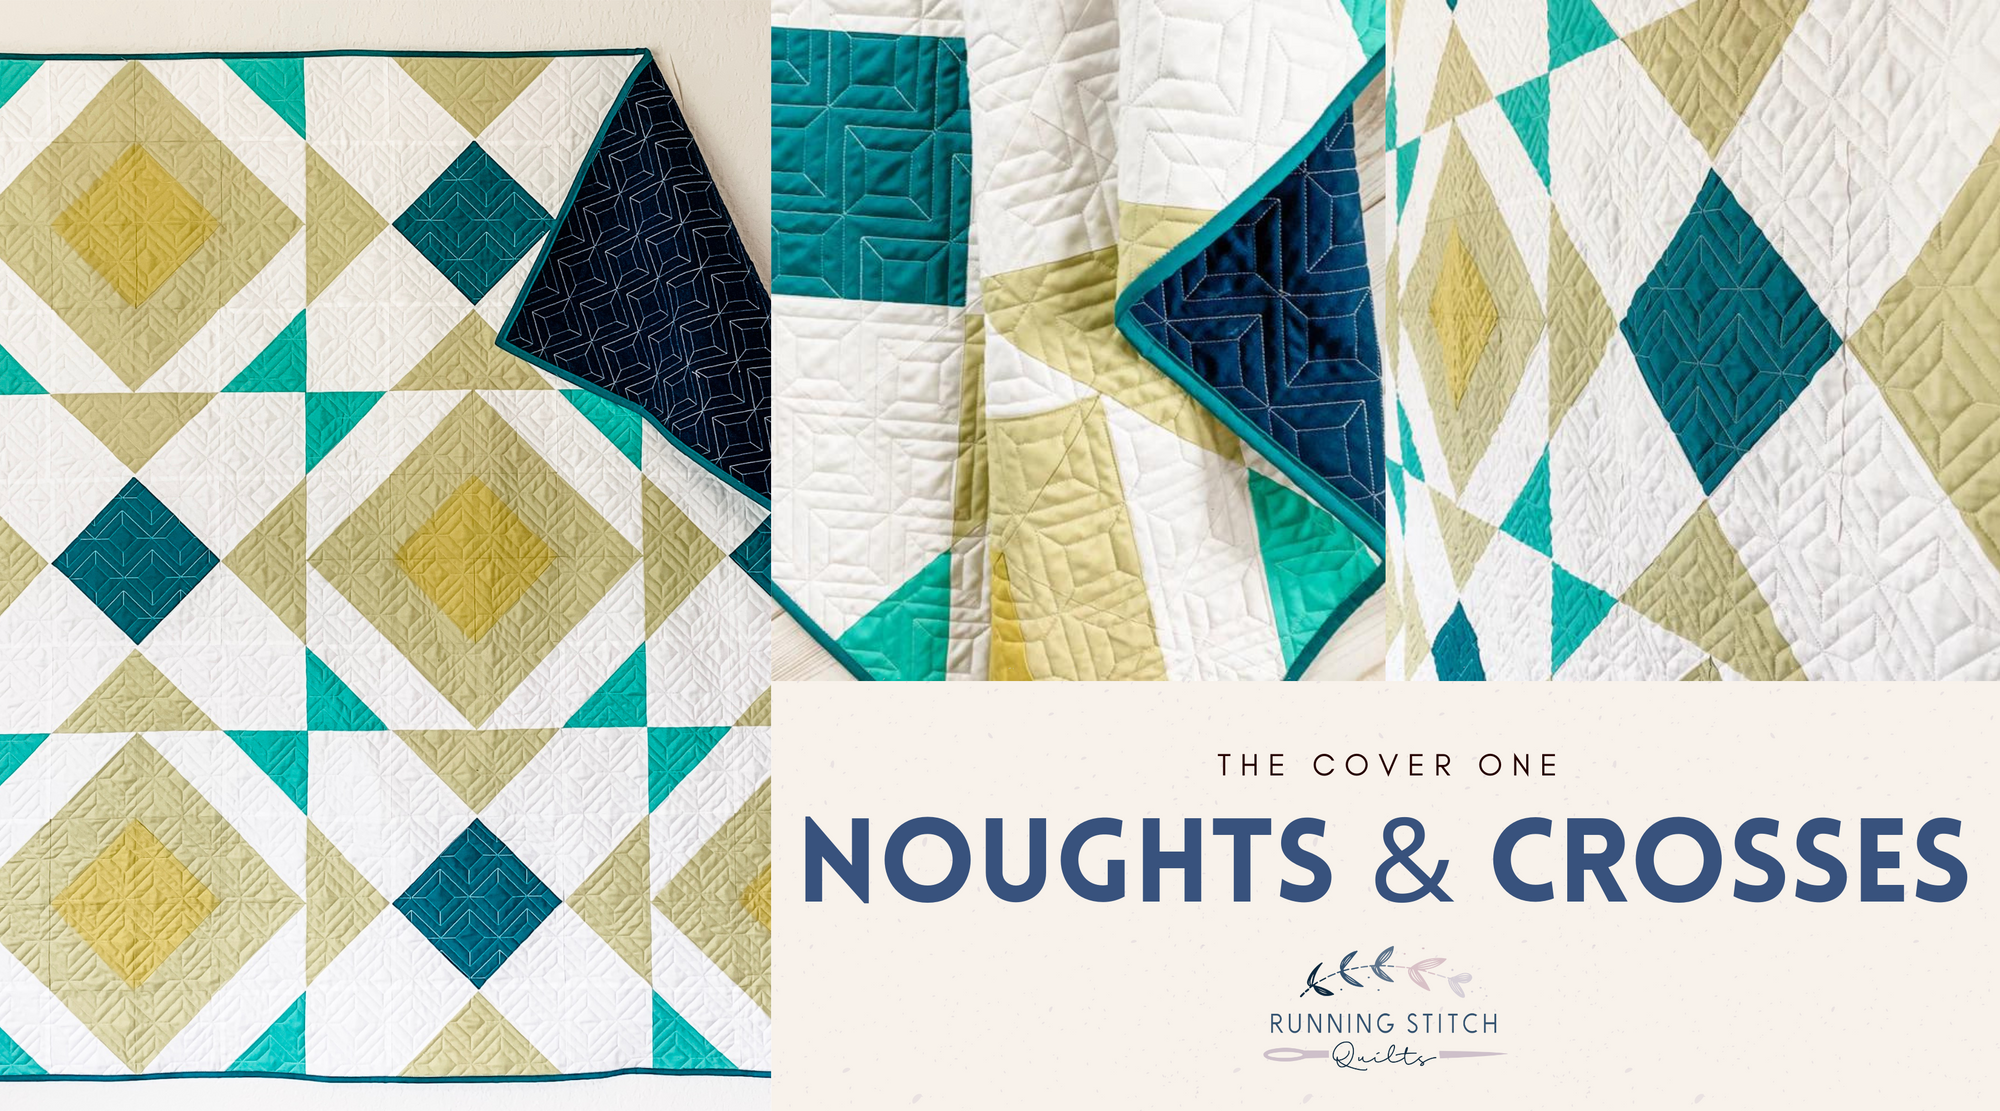
Noughts and Crosses Quilt Pattern
Previous
1
…
5
6
7
8
9
Next
Search