
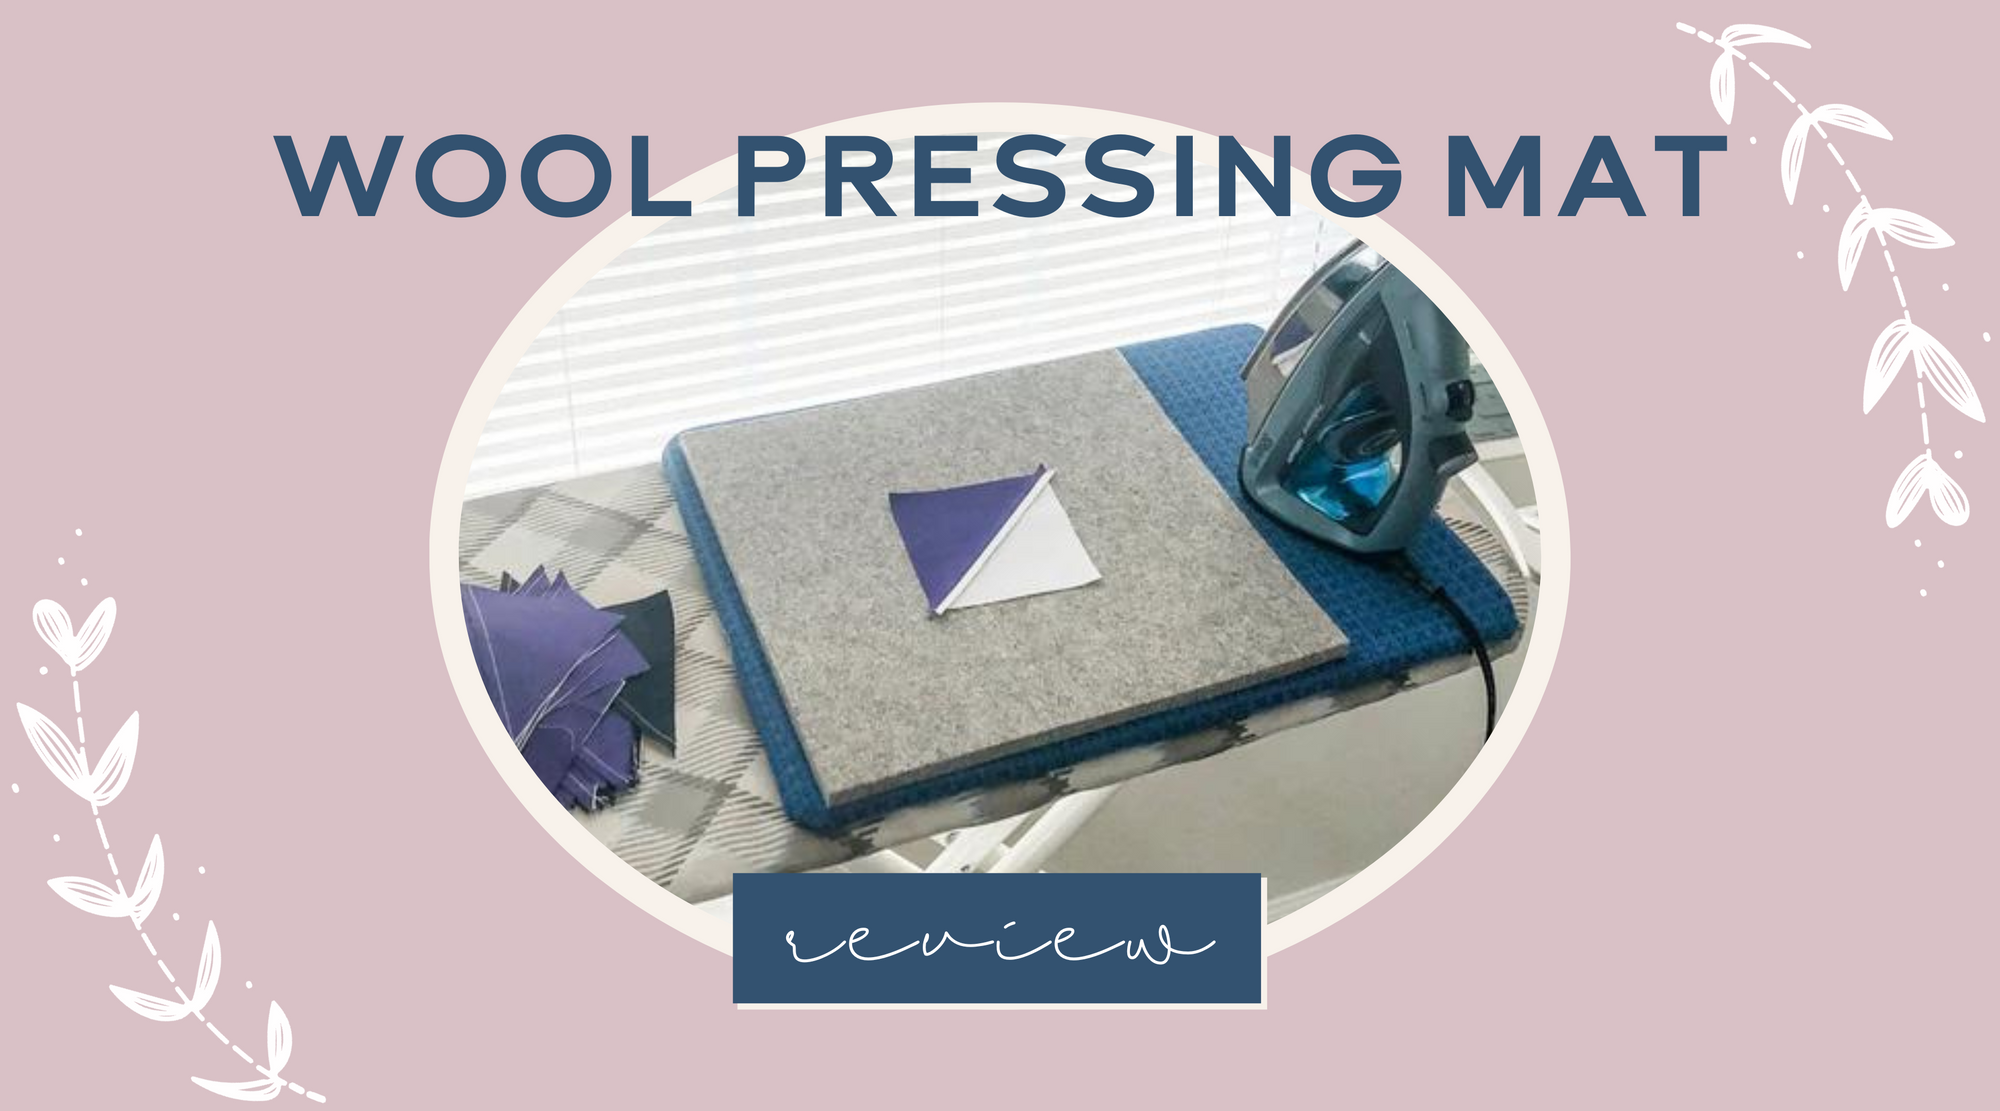
Pressing is one of the unsung heroes of quilting. A nicely pressed seam improves the accuracy of the quilt block and helps the whole quilt top lay flatter. Many of the quilters I am friends with on Instagram started raving about a wool pressing mat recently. So I bought one to try for myself.
Ive been using it for a couple of weeks now, and I have to say, I love it. I can’t imagine going back to pressing HSTs or flying geese without it.
Last week, I asked my IG stories what questions you had about the wool pressing mats. Here are the most common questions I got:
- Yes. Without question. Below is an example of an HST pressed on my ironing board and my wool pressing mat only pressed on one side for a few seconds.

- Again, yes. Due to the way the wool traps the heat, it’s like the seam gets pressed from both sides at once. So, I no longer need to take the extra time/step to flip the block and press from the other side.

- The only time I thought I detected a faint odor was during a marathon pressing session when the heat/moisture from the iron kind of built up in the mat. As soon as as the mat cooled off, the faint odor went away. It also didn't affect my fabric in any way. I have had more marathon pressing sessions since then, and haven't noticed any more weird smells after that first time. It definitely doesn’t stink up the room or anything.
- Nope, I do not. I have not had any problems with color transfer or any adverse reactions to my fabric while using the mat. I would hesitate to cover the mat with something that would block or hinder the advantages of using a wool pressing mat in the first place.
- I currently have mine sitting on top of my pressing board or ironing board so I haven’t had to worry about that. I have noticed that the heat goes all the way through the mat so I wouldn’t use it on my dining room table or surface I cared about without something underneath just in case. Below is a picture of my current set up. Ironing board as a base and extra "table" space. My wool mat sits on top of my homemade pressing board (just because I don't have anywhere else to put that pressing board and it makes a nice carrying tray to move from room to room).

- Mine is 14"x14". In a perfect world, I would have an amazing sewing studio with a huge pressing station, but I don't have that just yet. I need something that is portable (sometimes I do my pressing upstairs where my sewing machine is and sometimes I do it downstairs hanging out with my family), yet big enough to accommodate the size of the majority of blocks that I make. This size fits the bill for that. With my mat sitting on my ironing board, I have pressed an entire throw size quilt top easily. Just scooted things along as needed.
- I teamed up with Project Wool Mats to give you a 10% off coupon code!

Any questions I didn't answer? Leave me a comment and I'll answer them for you!
This post includes affiliate links. It doesn't cost you anything to click them, but I might earn a few cents if you do. Thanks for supporting Running Stitch Quilts!

If you follow me on IG (and if you aren’t, you should) you have probably seen my latest obsession: the Pollinate Quilt. I'm obsessed with everything about this quilt. The pattern...amazing. The fabrics...so beautiful I can't stand it. The challenge of learning a new skill...I seriously can't get enough. It is all I want to talk about right now.
So, that's what a blog is for, right?
I thought it would be fun to share more about my journey into English Paper Piecing as I learn this new skill and make the Pollinate Quilt. And so, the blog series, Adventures in EPP, was born. I'll be sharing what I learn, what works (and what doesn't), and just generally talking about how much fun I'm having with it.

What is EPP? It stands for English Paper Piecing. It is a method of hand sewing that allows for incredibly accurate and intricate piecing. Starting with a paper template, fabric is wrapped around the template and secured using either glue or thread. Then the shapes are sewn together by hand. Sounds simple enough, right? Probably the most common EPP shape is the hexagon.
When I first bought the Pollinate Quilt pattern it sat in a drawer for a month. I felt really overwhelmed and I didn't have any idea where to start. So, I didn't. November rolled around and the pattern designer (Kitty Wilkin, @nightquilter) hosted a progress party on IG for everyone to share their quilts.
I can't resist a good IG party! I pulled my pattern out of it's drawer and started playing fabric choices. Once I nailed down my fabric choices for the first rosette, I was finally ready to turn off the video tutorials and get started. Buuuuuut, I realized I didn't have the necessary supplies...like hand sewing needles.
I was so busy watching videos on how to sew my shapes together, how to tie a quilters knot, and playing with various fabric options that I had completely forgotten I might need other tools and notions that I didn't already have. Oops.

I read several blogs about "must have tools and notions for EPP" and started making a list. Some things were on every list (like Sewline Glue Pens) which made it easy to add them to my Amazon cart. Other things were a little more confusing because they seemed to be personal preference of the person writing the list.
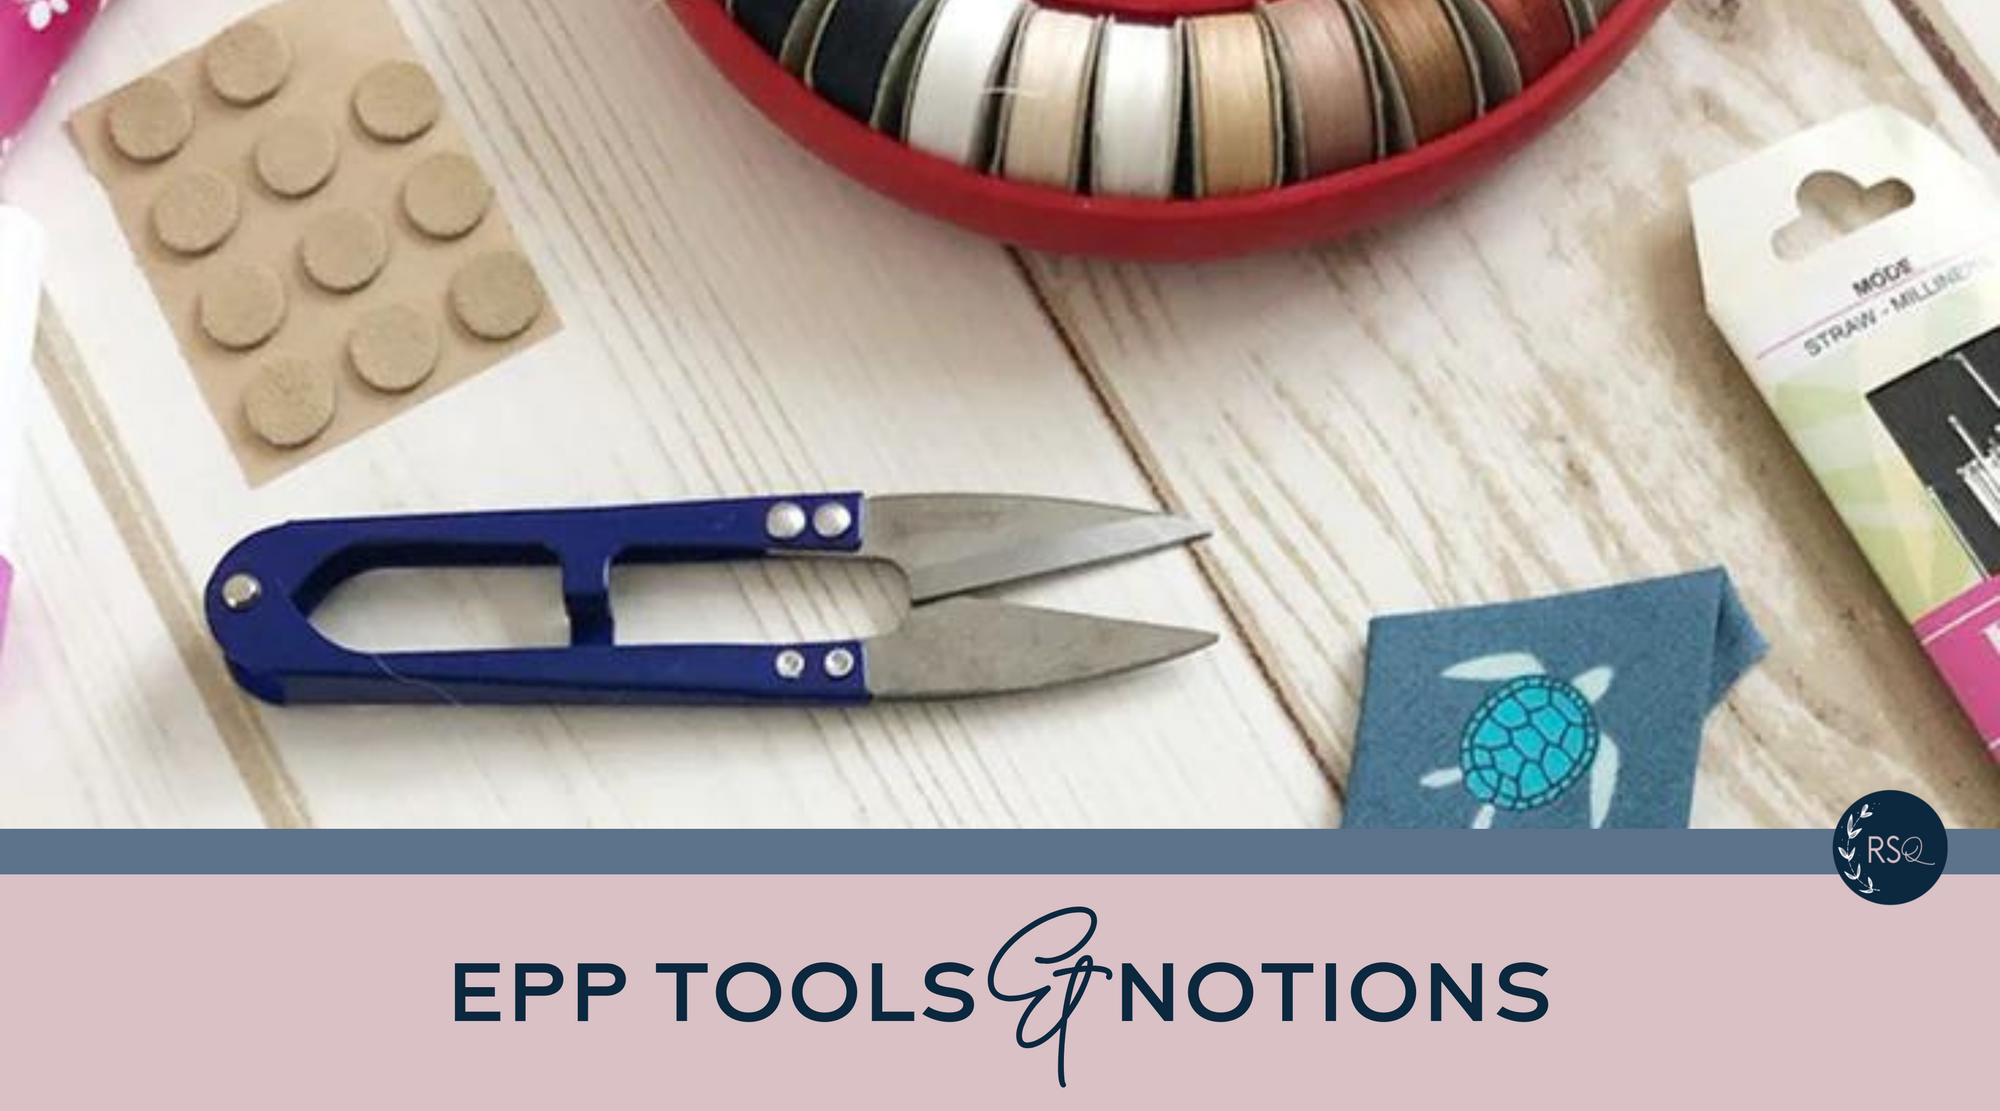
If you are like me and are wanting to start learning EPP, here are the tools and notions I went with and how I have liked them so far:
Sewline Glue Pens and refills - I think every single list I read included these. It was a no brainer to order them, and so far, they have worked beautifully. My fabric stays attached to the template, and I was able to remove the paper template easily. One last thing about the glue pens, I can't remember where I read this tip, but keeping the glue pen and refills in the fridge helps with finer application of the glue.
Millner needles - this is one I went back and forth on. Do I get a thicker needle that is sturdier or a thinner needle that pokes smaller holes in the fabric? What brand is best? I went with these. So far, I've bent both needles I've used. Maybe its something I'm doing wrong, or maybe it's the needle, but I think I will buy the next size up when I order again.
SuperBob's Bottom Line Thread - in quilting, I use 100% cotton thread. One of the comments I saw repeatedly was that cotton thread is more likely to shred as it is passed over the paper template repeatedly. Superior Threads Bottom Line thread was probably the most recommended option. I'm really happy with this purchase. I have every color I could possibly need, and the thread is really fine, but I haven't broken it once.
Thimble - several people recommended the thimble pad! Like the glue pens, it was a no brainer option for me. Now that I've used it, I have to say, I don't love it. I will be looking for a more standard thimble. When I first tried it, I had to reposition it several times. Then, after a while, the thimble pad kept siding around my finger. While it gets the job done, it is annoying. I have ordered this leather thimble, and I will report back!
Wonder clips - to hold the pieces in place as you stitch. This is more useful than you think. I didn't bother at first, and had to rip out my stitches and redo them because the pieces shifted ever so slightly. Chalk that up to a lesson learned the hard way.
Embroidery scissors - there are lot of threads to cut. This is a no brainer. I didn’t buy anything new, I used what I already had
Needle/Thread holder - I've been putting my used, still threaded needle back in the little paper envelope they come in - which has worked fine, but I do think this would be handy though.
Smaller rotary cutter - while my regular 45mm rotary cutter get the job done, I would like a smaller one that cuts around the templates easier.

I have the center of my first Pollinate Quilt rosette stitched together. One issue I've noticed is that my pieces are fitting together a tad too snug which is causing some puffiness in the center of the rosette. I suspect I'm stitching too much of the fabric together making the pieces just a hare to small which starts to add up as the quilt gets bigger.
My goal for this next row of pieces is to make sure I'm only getting the very edge of the fabric. Then we'll see how it looks! Luckily, I've caught my errors early enough on that I don't think it will negatively impact the quilt as a whole. Fingers crossed, anyway!

This post contains some affiliate links. Thank you for supporting Running Stitch Quilts!
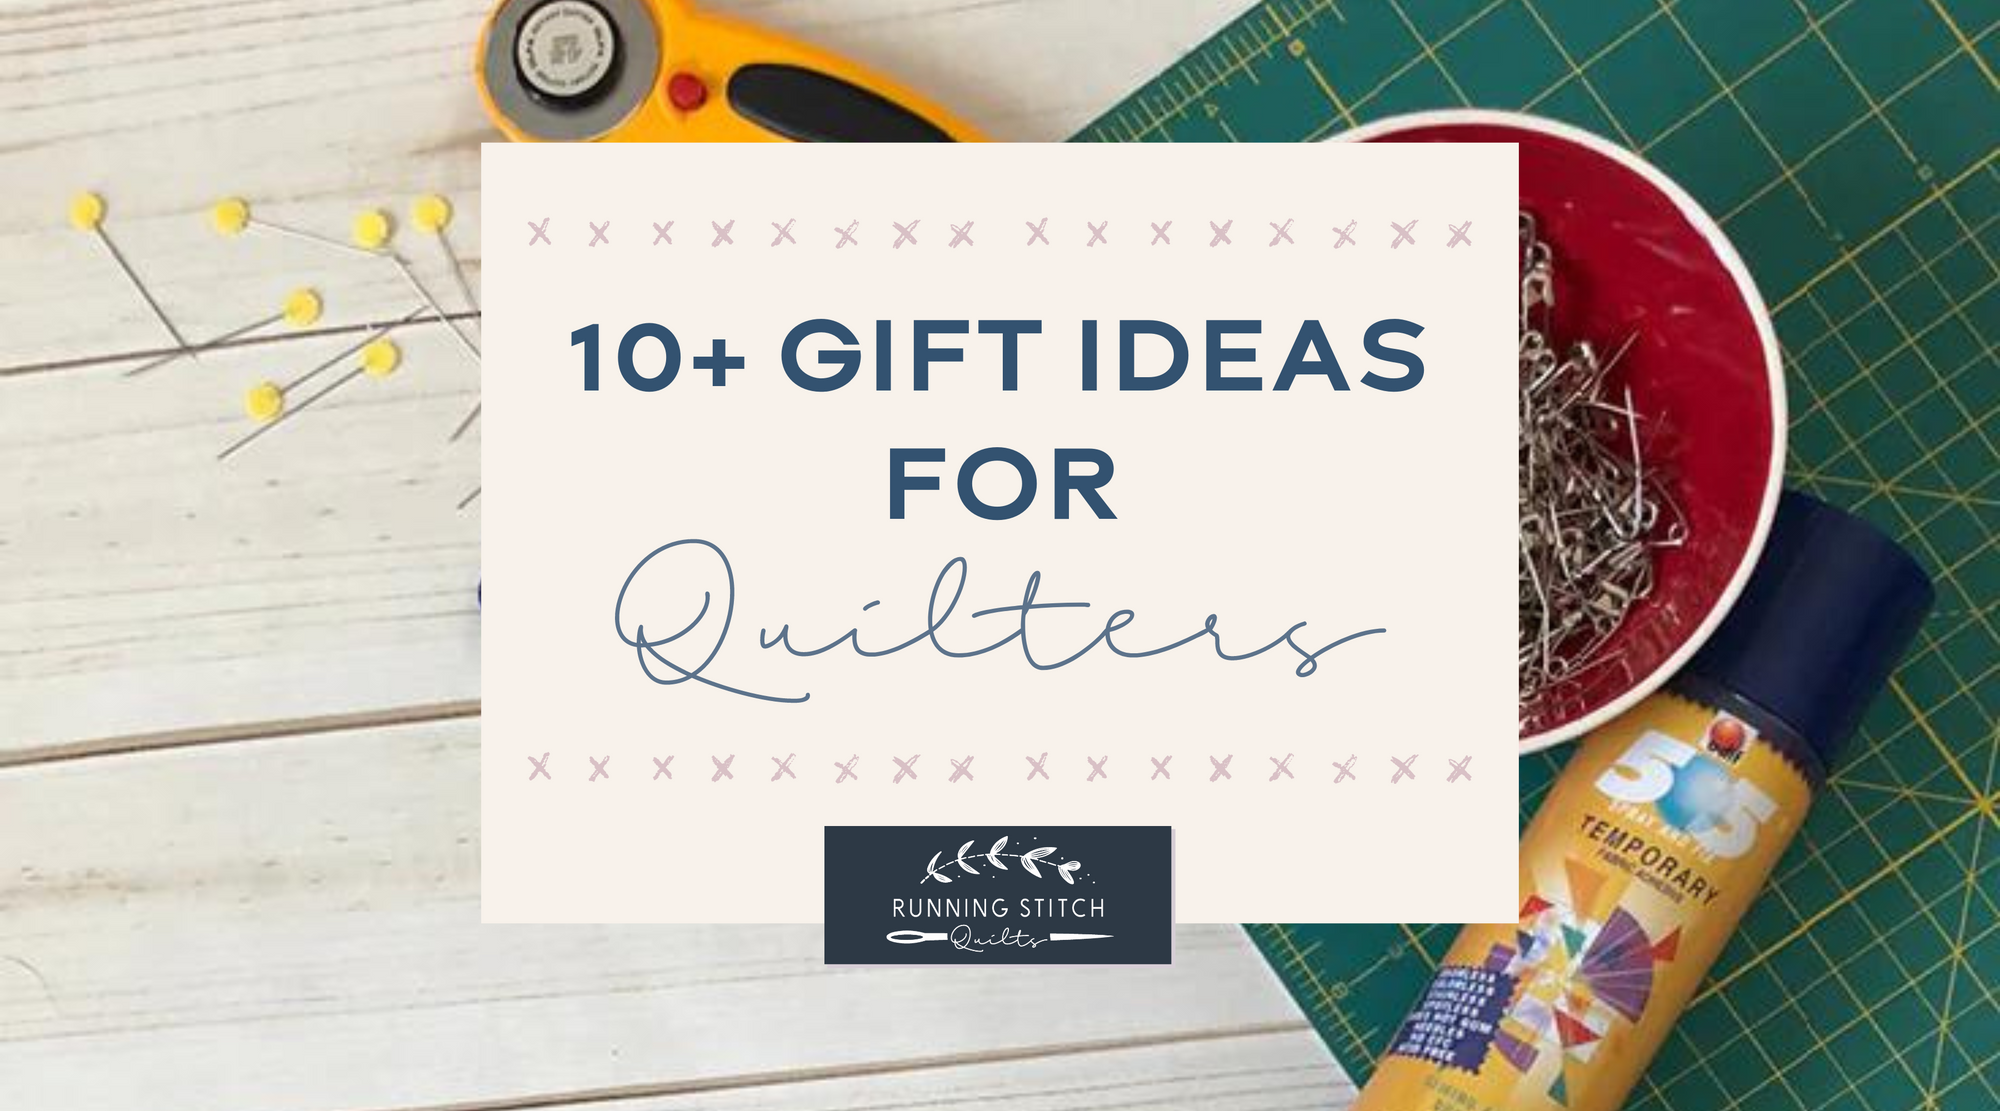
Every year I’m asked to make a Christmas List. And every year, I hem and haw and put it off until the last minute because I don’t know what I want. Or, I give really vague suggestions that aren’t helpful to anyone.
This year, however, I’m on top of my game. I’m asking for quilting notions and supplies I can never have enough of, and the things that I haven’t purchased for myself because it feels like a splurge.
Since I was writing up the list anyway, I figured I’d share it in case you need some ideas as well!

These are the tools and notions that aren't sexy or exciting, but are ones that are used daily. I know, personally, I put off spending money on this stuff because I would rather buy something fun...like fabric.
Extra rotary cutter - I could remember to take my rotary cutter downstairs with me when I need to use the big table to cut fabric, or I could have an extra one to keep downstairs and save myself the trouble. Either way, these get used a ton, and it never hurts to have a spare. It is also handy to have a smaller one for cutting curves or around a template, and a larger one to easily cut multiple layers of fabric.
Extra rotary cutter blades - I am notorious for leaving my blades in my rotary cutter until I'm practically hacking away at my fabric. Then, when I finally change the blade, it slices through the fabric like butter and I wonder why I waited so damn long to change the blade. Fresh blades make cleaner cuts which improves accuracy. Fresh blades also require less force making it easier on the wrist and hands.
Curved safety pins - these guys fall under the "can never have too many" category. It is no fun to run out of pins 2/3 of the way through basting a quilt (ask me how I know). While every quilt needs to be basted before it can be quilted, it doesn't have to be basted with pins. This spray is a good alternative to pin-basting.
Wonder clips - these guys are so incredibly handy. They can be used for everything: binding the quilt, holding EPP shapes together for hand sewing, keeping stack of blocks together to keep organized, etc. Wonder clips also fall in the "can never have too many" category.
Aurifil thread cone - aurifil is my go to thread for both piecing and quilting. It is 100% cotton, comes in every color imaginable, and isn't quite as linty in my machine. Win-win-win.
Glass head pins - the last thing in my "can never have too many" category. They are thin enough that they don't leave visible marks or holes in the fabric, but also strong enough to withstand not being bent easily. Because they are made of glass, the fabric can be pressed with the pins in place.
These are things things that feel frivolous and would be considered a "splurge". So, I rarely buy them for myself because if I'm spending money on quilting, I'd rather being buying something I need...like fabric.
Specialty Rulers - such as the Bloc-loc which makes trimming HSTs and flying geese blocks easier, or the Stripology ruler which allows you to cut a bunch of strips in a short amount of time.
Fancy, extra sharp scissors - such as these beauties from Warm Crochet. Not only would they be incredibly useful to snip threads, but they make a fun prop for Quilty IG photos.
Reversible cutting mat - I would argue that every quilter has a self-healing cutting mat. But this one is high on my list of wants. It is white on one side and black on the other. Imagine the beautiful IG photos! Go for at least the 18"x 24", but get the 24"x36" if you can! If fancy IG photos aren't important, these self-healing mats are really excellent quality.
Magnetic pin holder - this one is worn on the wrist. There is nothing handier than easy access to pins no matter if you are sitting at the sewing machine or standing at your ironing board. Etsy makes some really cute bowls like this or this that would also make great gifts.
Gift cards to online fabric stores - buying new fabric is one of the great joys in life that is only topped by buying new fabric with a gift card. Fat Quarter Shop, Fabric Bubb, and Stash Fabrics are my go-to options.
I hope this gives you a good start on buying the perfect gift for you favorite quilter. Or, me if that's who you are shopping for. ;)
This post includes affiliate links. It doesn't cost you anything to click them, but I may earn a small commission if you do. Thank you for supporting Running Stitch Quilts!


