All orders placed between 5/3/2026-5/10/2026 will ship on 5/11/2026!
Log in
Cart (
0
)
Checkout
HOME
IMPROV
SHOP
PDF Patterns
Printed Patterns
Book
Fabric
Quilt Kits
Fabric Bundles
Backing Fabric
Fabric Destash
Notions & Gifts
Handmade Quilts
BLOG
Scrap Management
Tutorials
Color Inspo
ABOUT
WHOLESALE
CONTACT
LOGIN
HOME
IMPROV
SHOP
PDF Patterns
Printed Patterns
Book
Fabric
Quilt Kits
Fabric Bundles
Backing Fabric
Fabric Destash
Notions & Gifts
Handmade Quilts
BLOG
Scrap Management
Tutorials
Color Inspo
ABOUT
WHOLESALE
CONTACT
LOGIN
Blog
Home
Blog
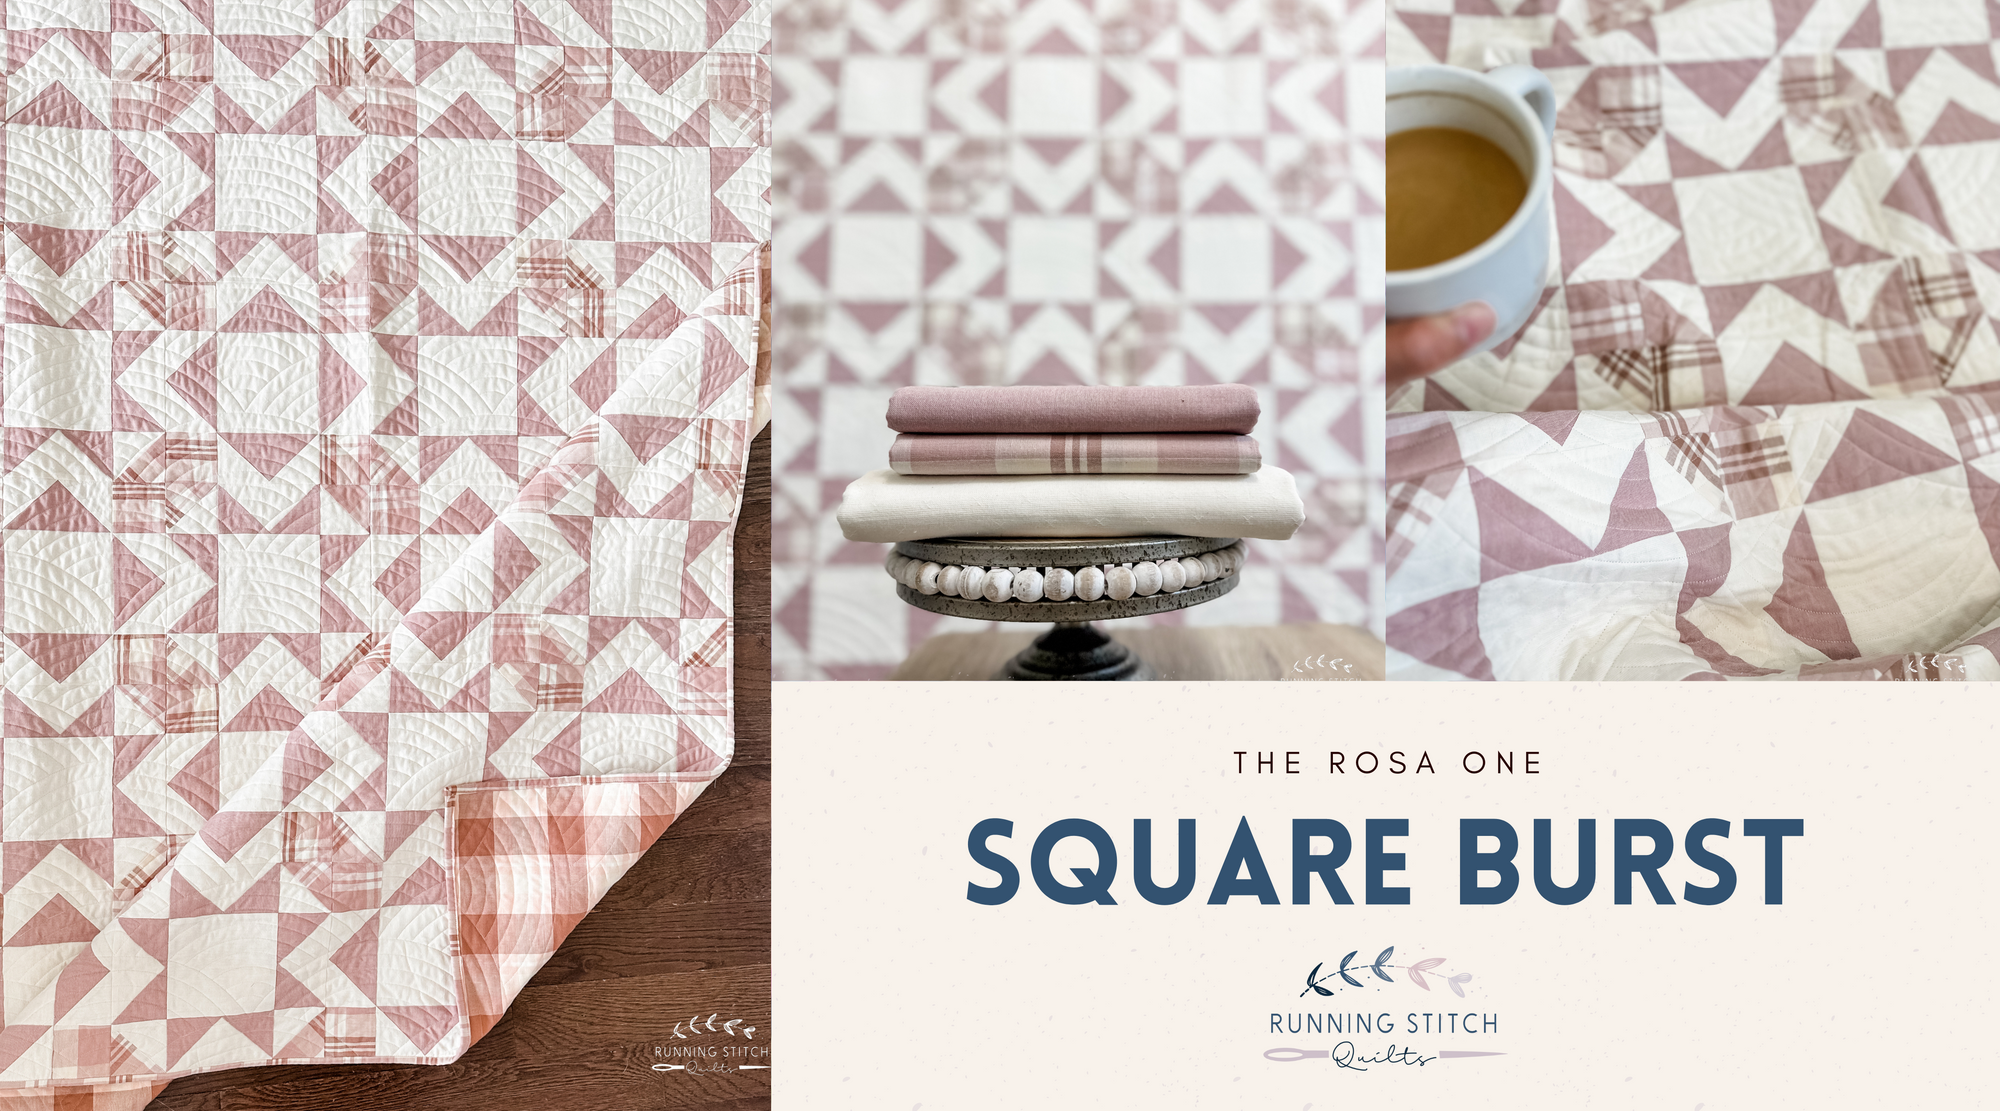
Square Burst - The Rosa One
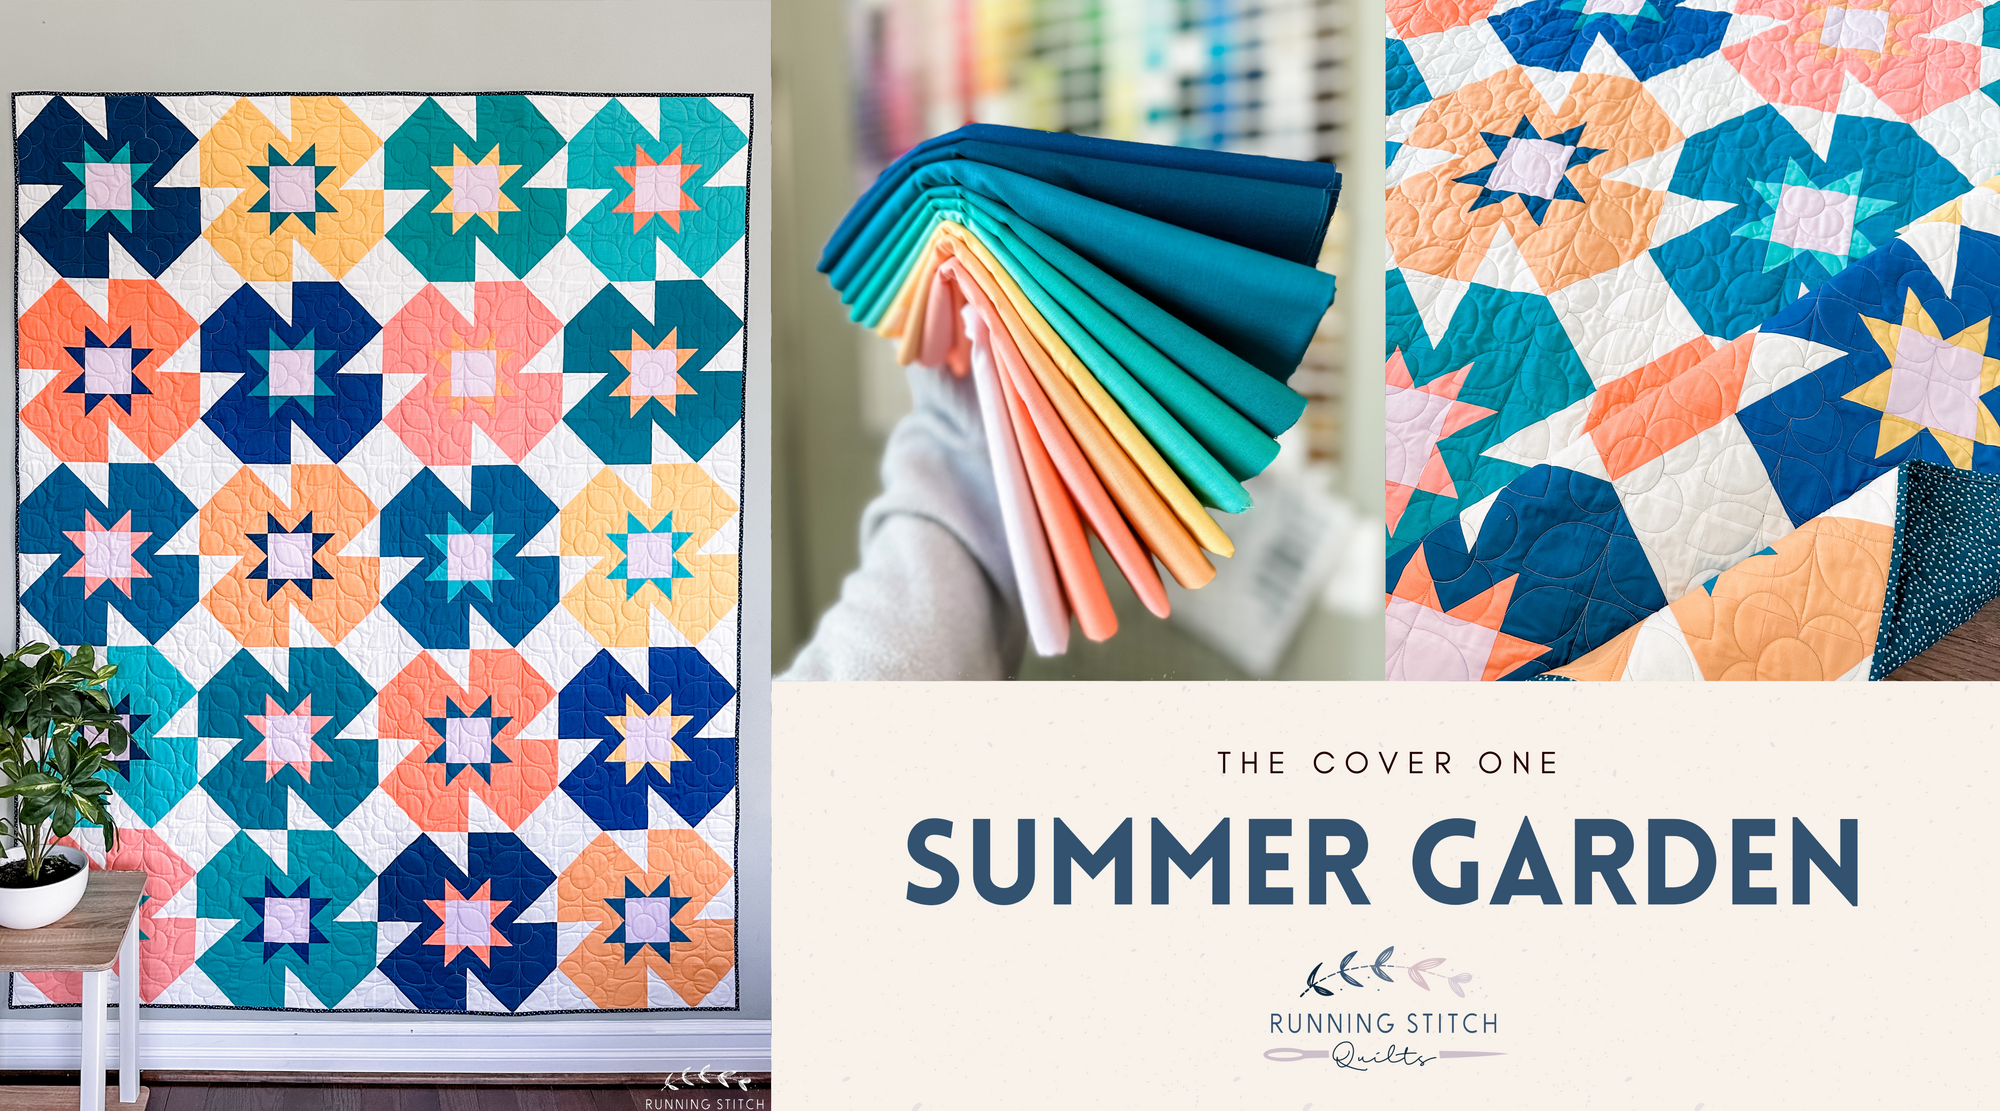
Summer Garden 2.0 - The Cover One
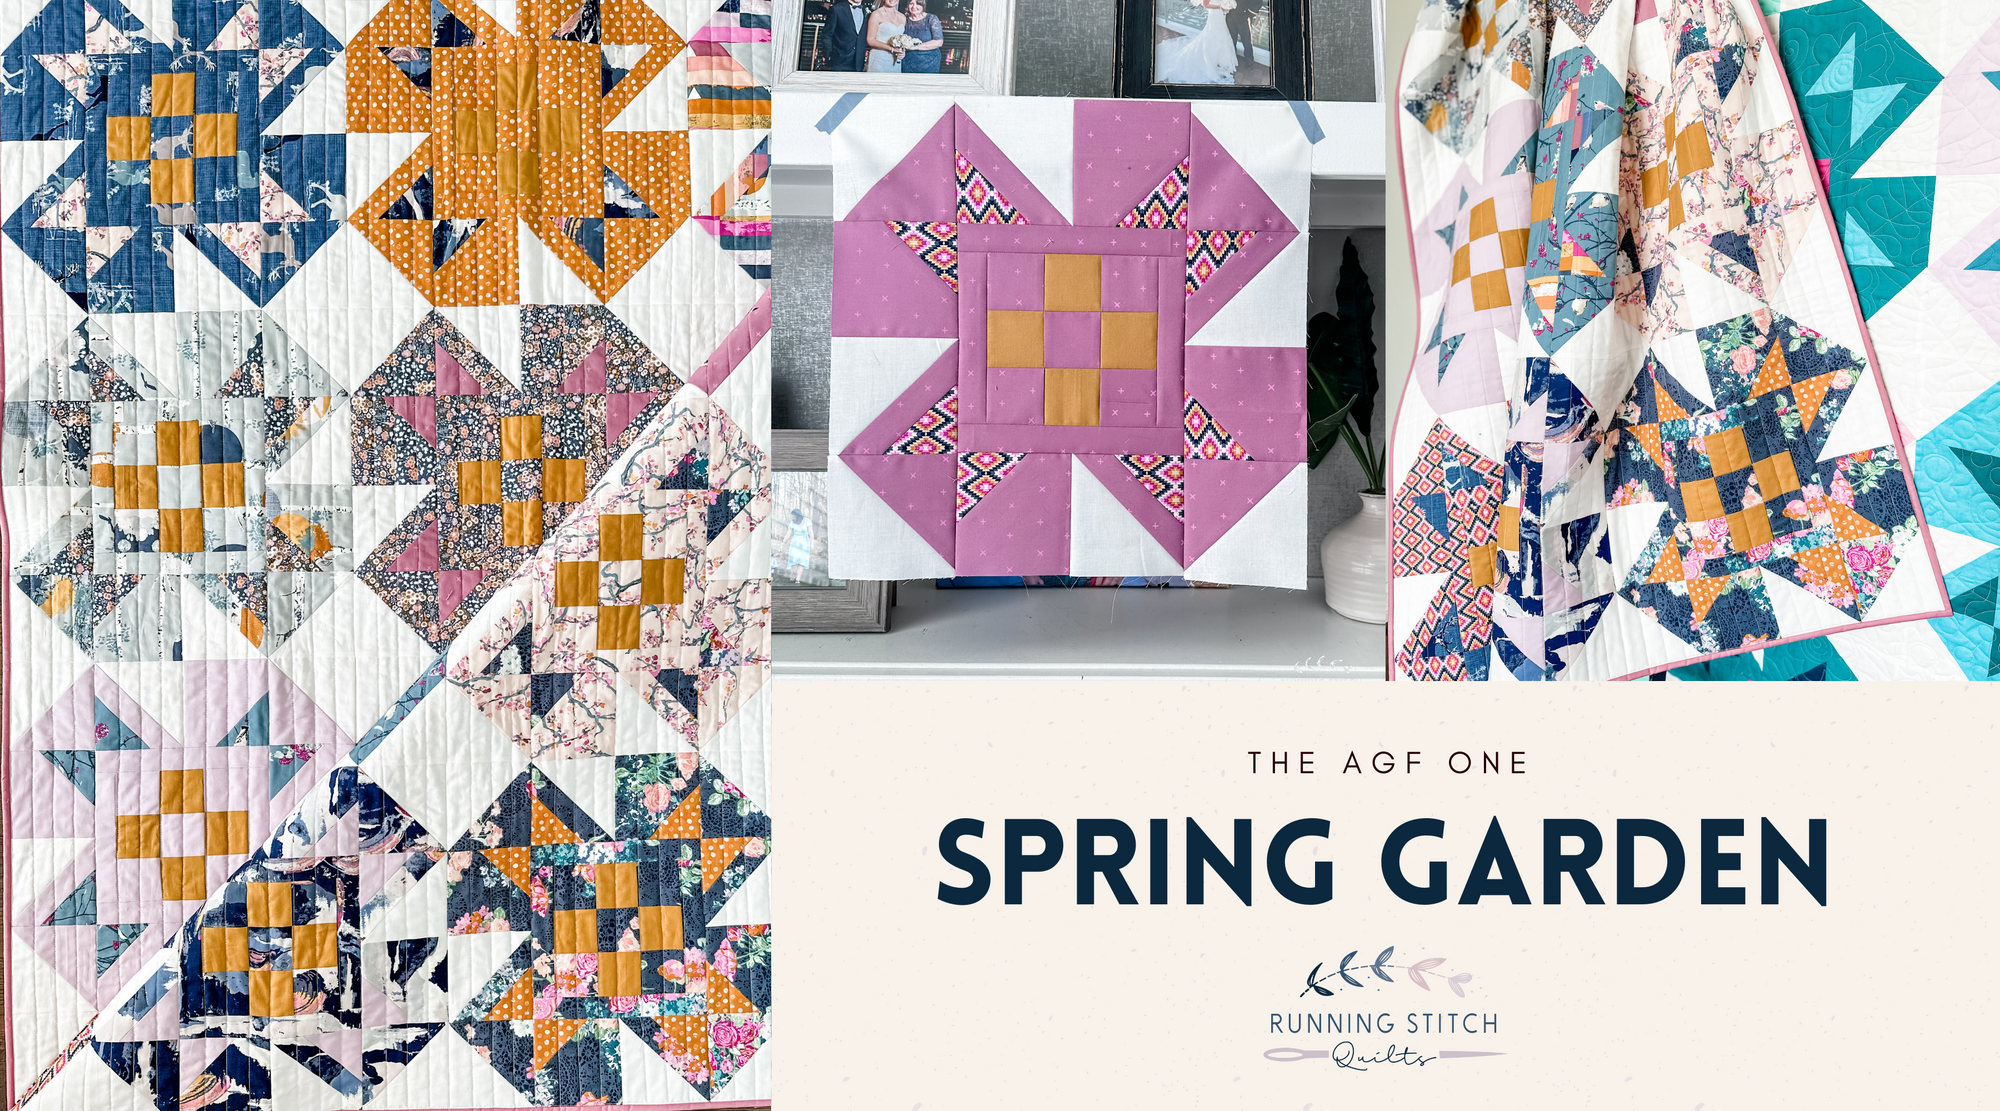
Spring Garden - The AGF One
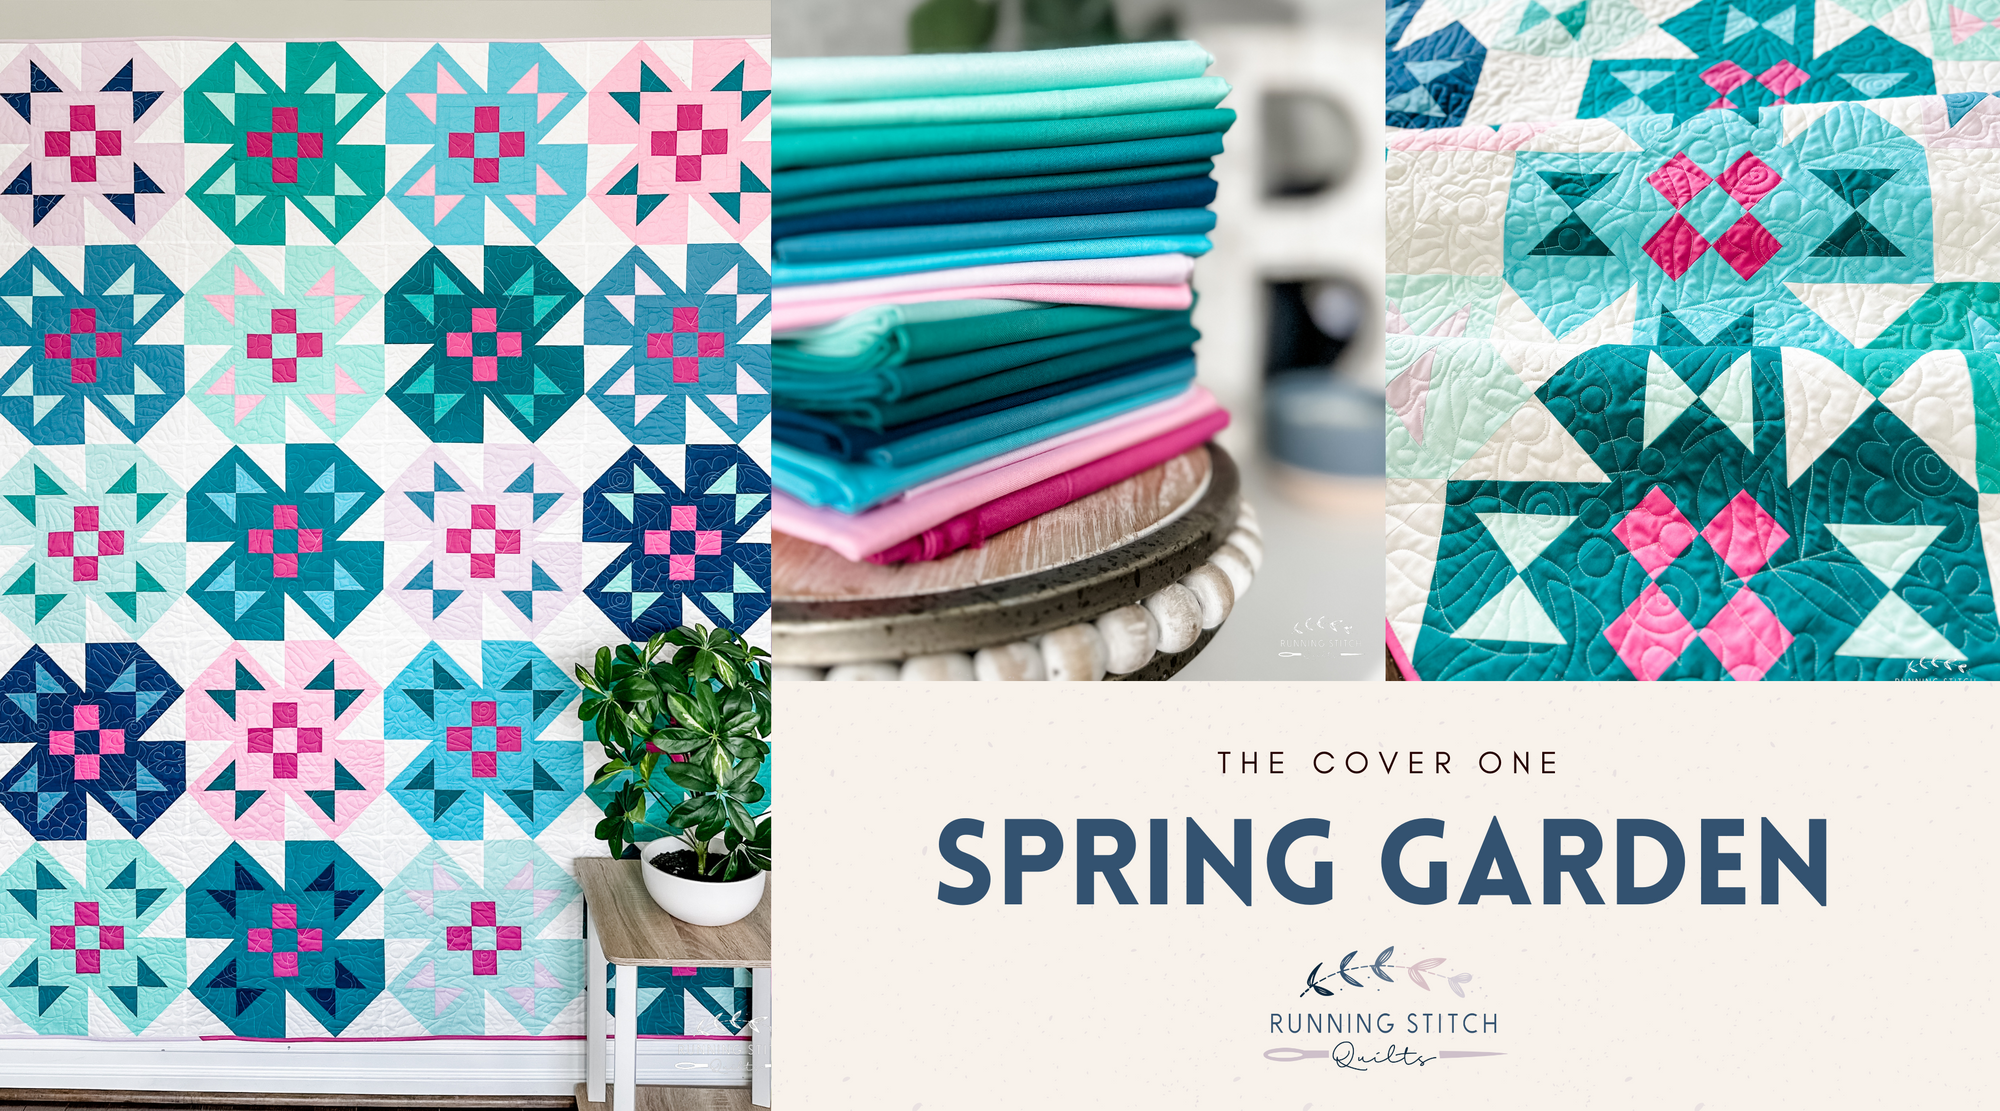
Spring Garden - The Cover One
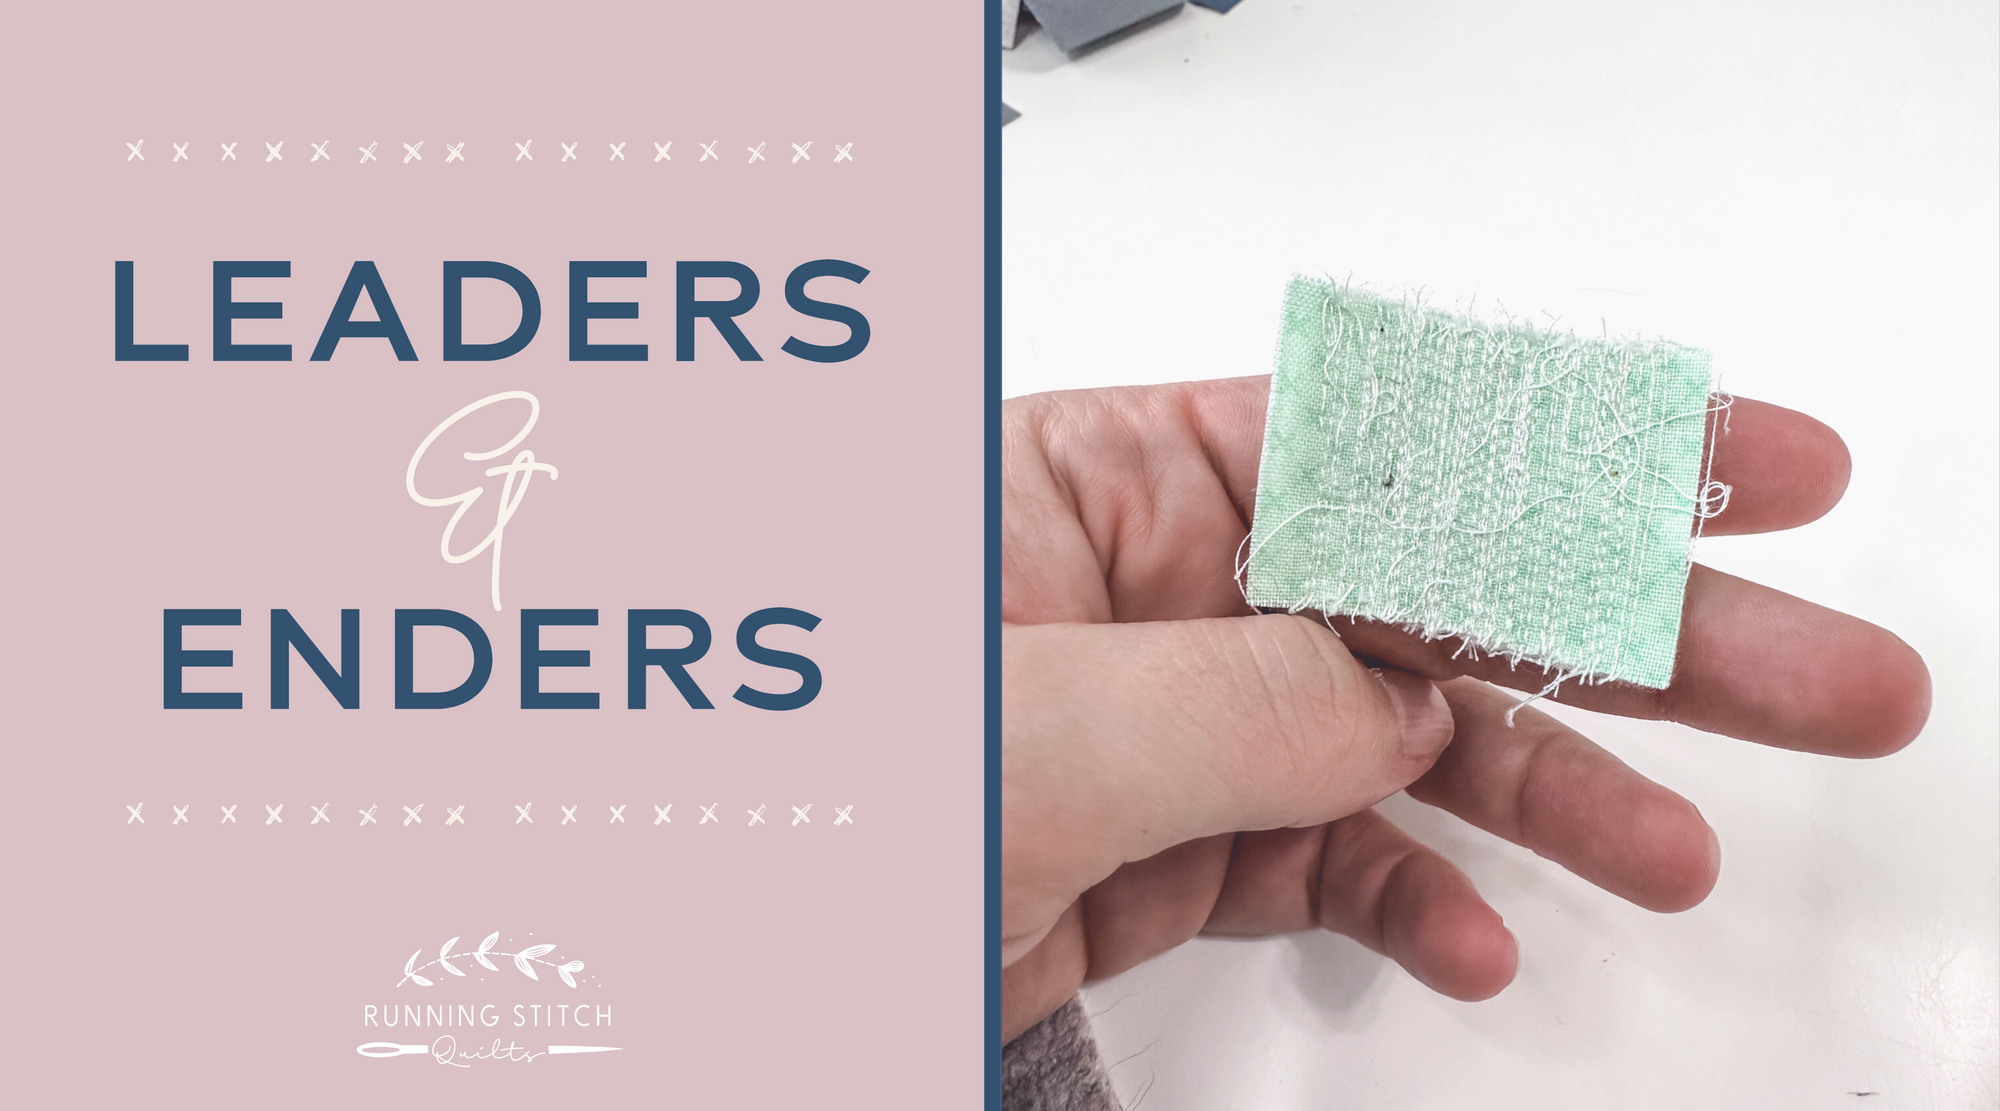
Leaders and Enders
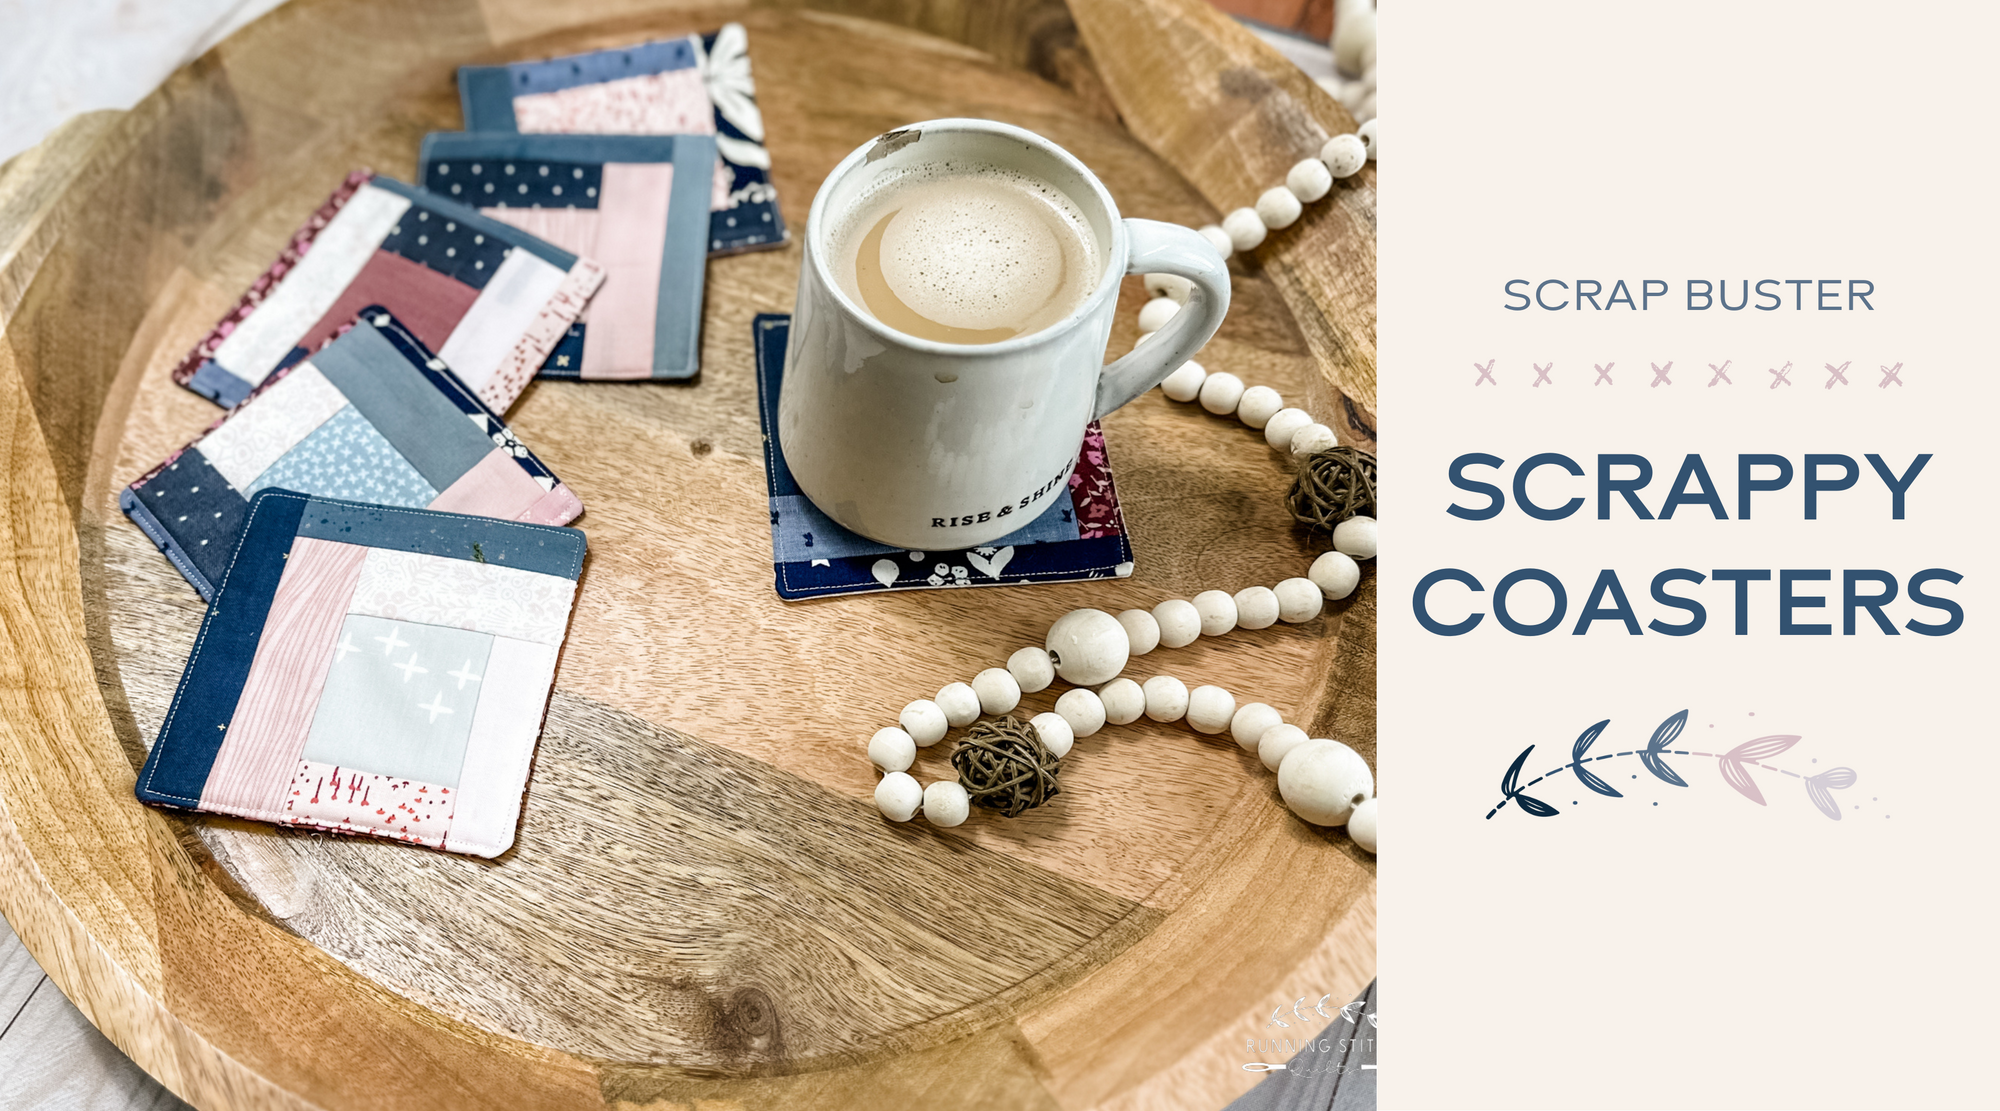
Scrap Buster Project - Scrappy Coasters
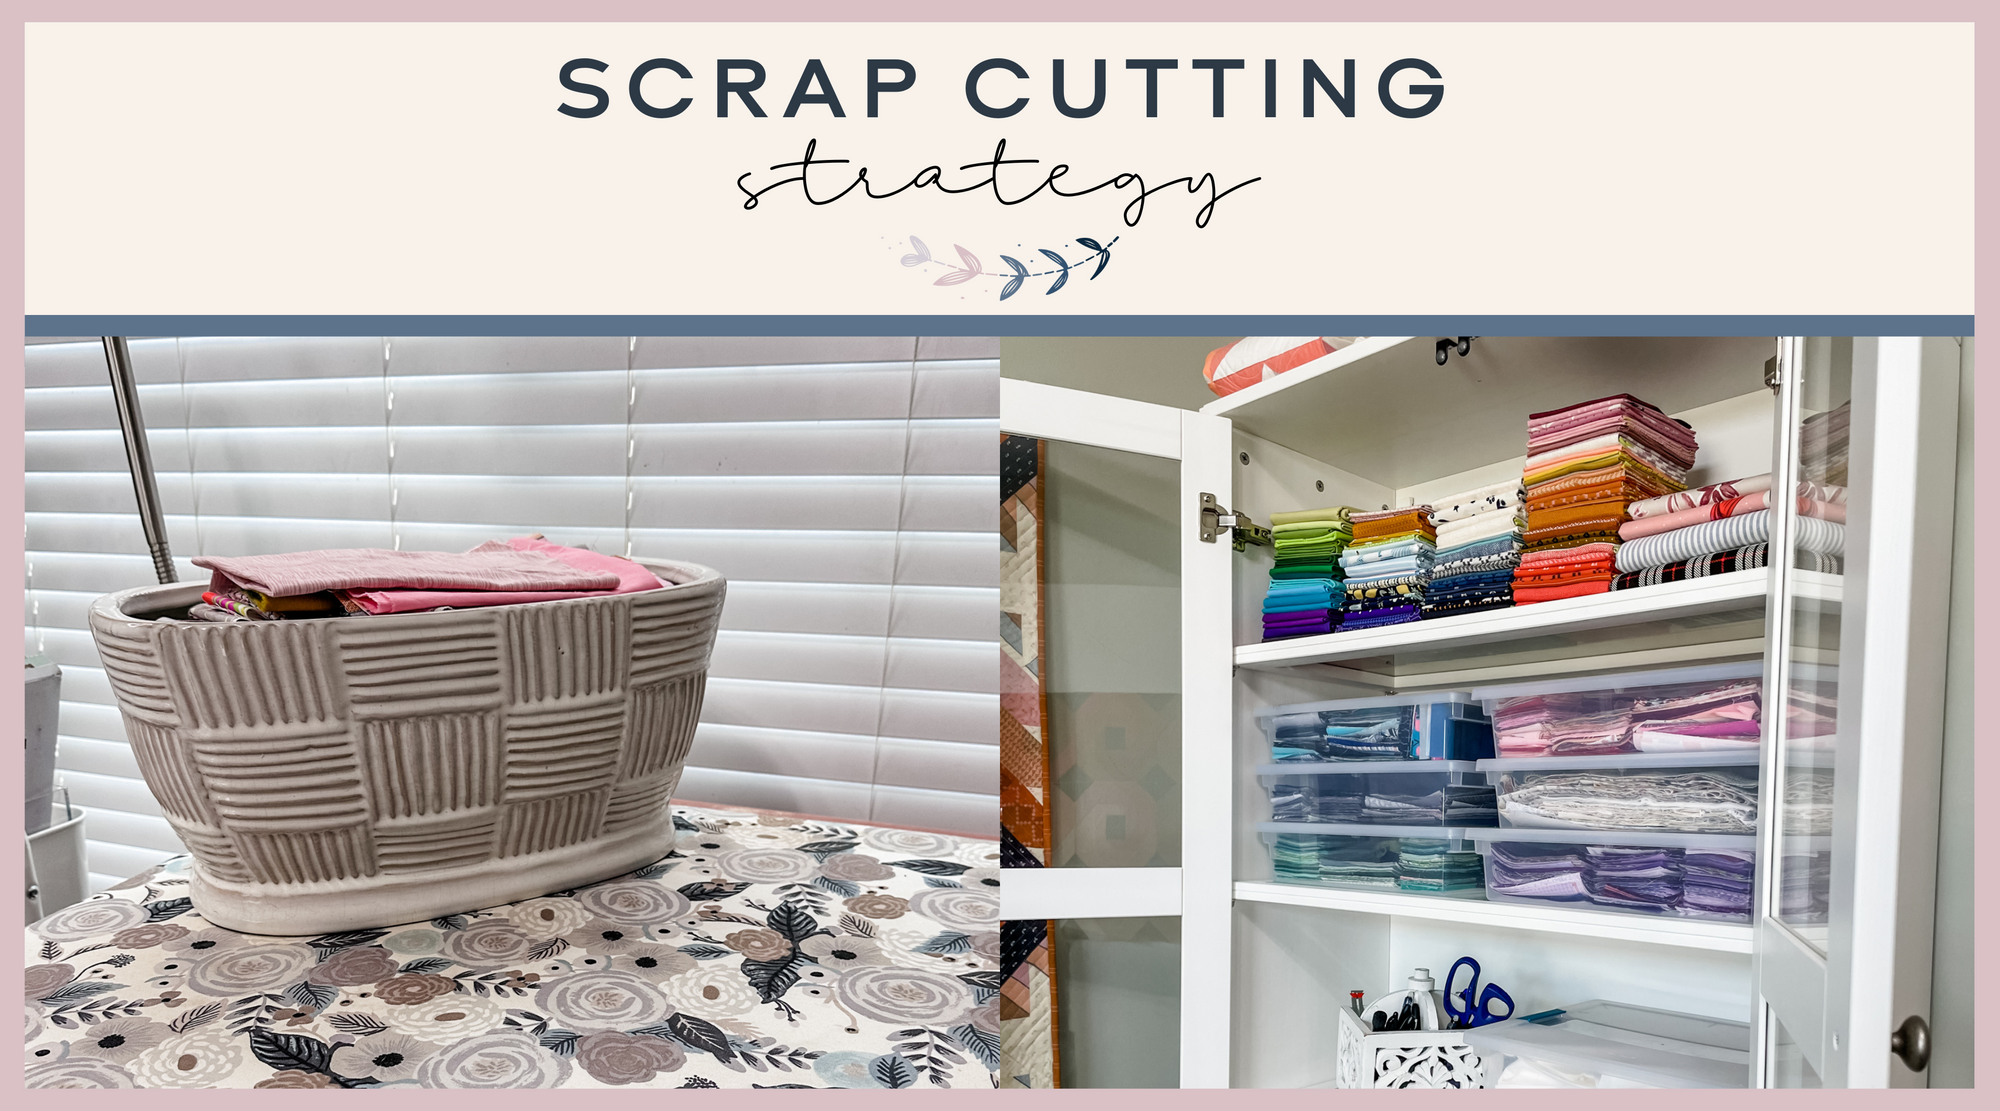
Scrap Cutting Strategy
Chevron Stars - the Cover One
Chevron Stars - the Moonglow One
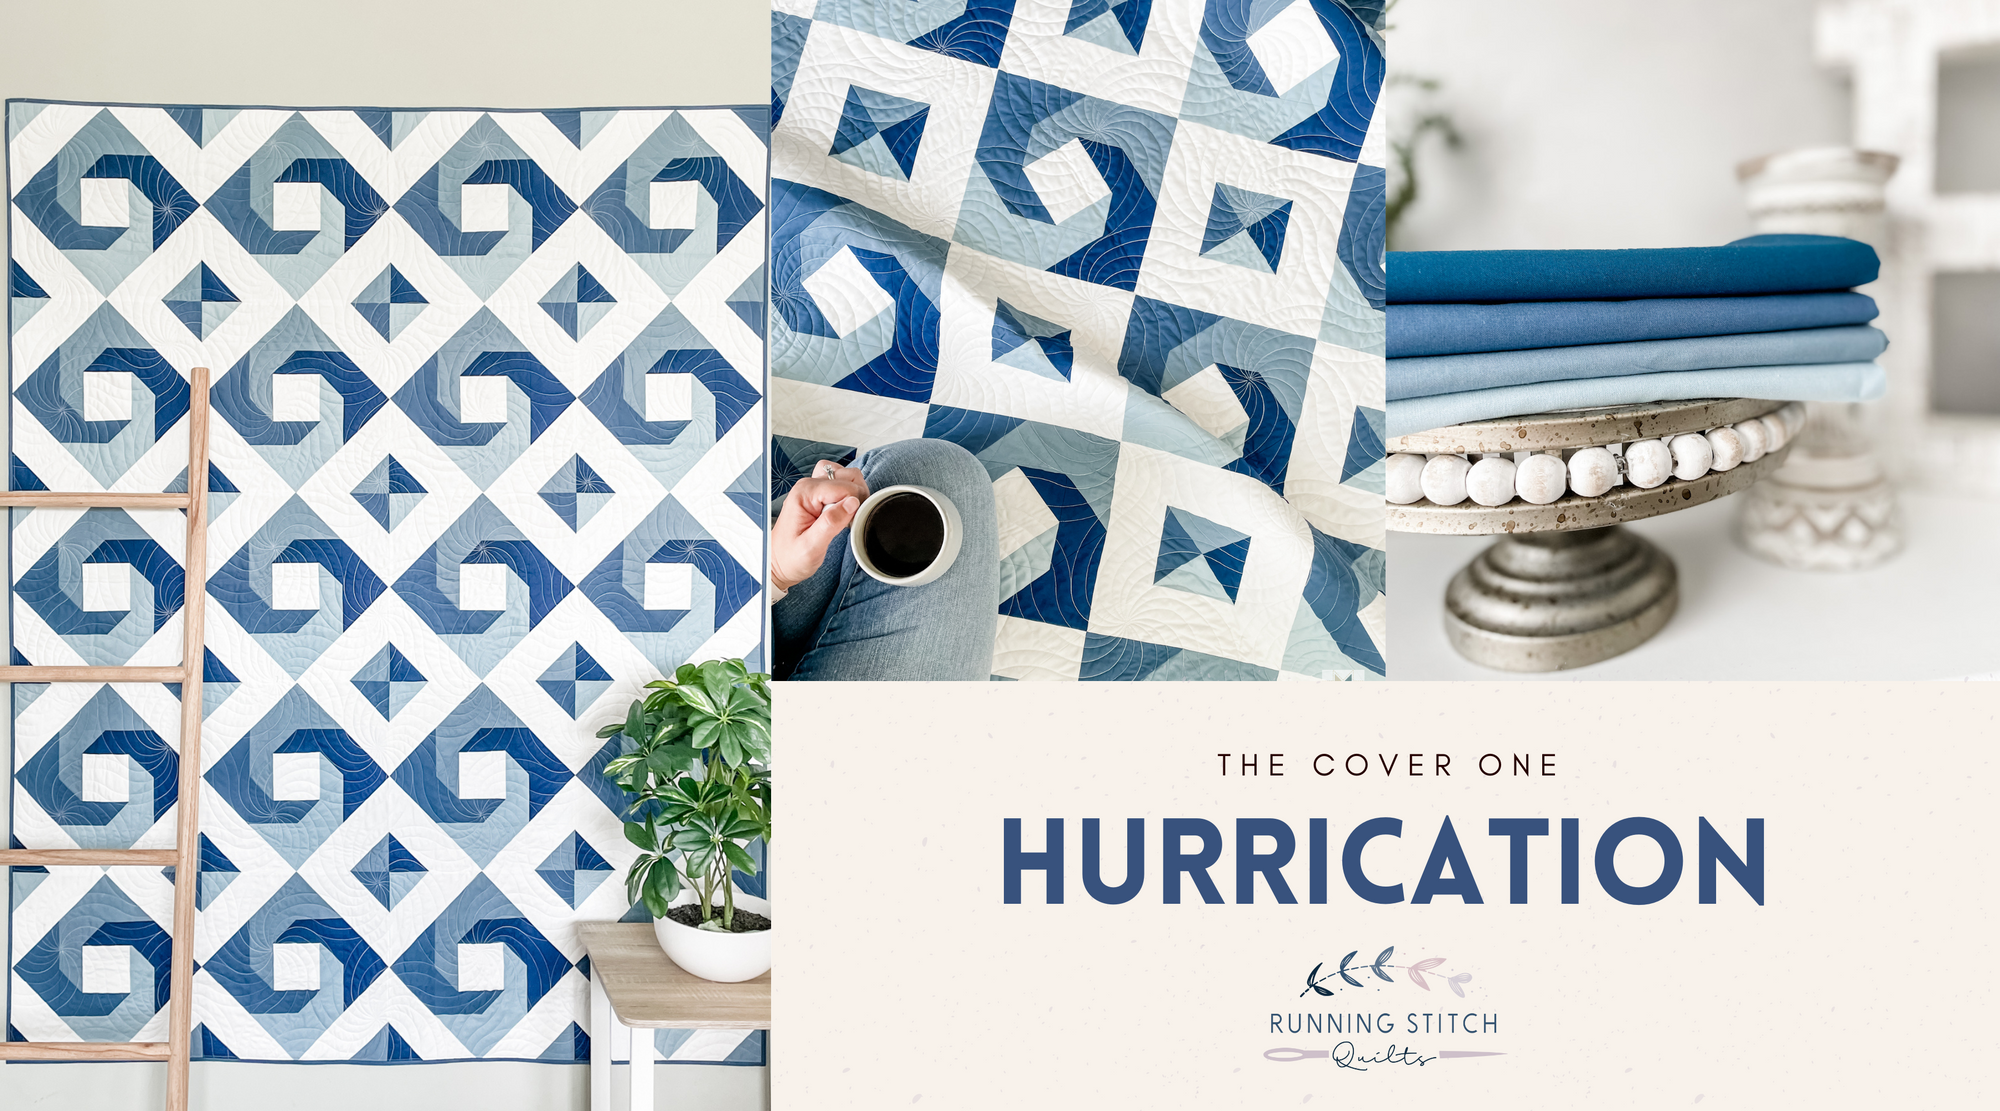
Hurrication - the Scrappy One
Hurrication Quilt Along - The LAST Week!
Hurrication - The Cover One
Previous
1
2
3
4
5
…
9
Next
Search